Re: Shaun's (AR's) CRM250AR/CR250 Conversion
Posted: 19 Jun 2012, 08:01
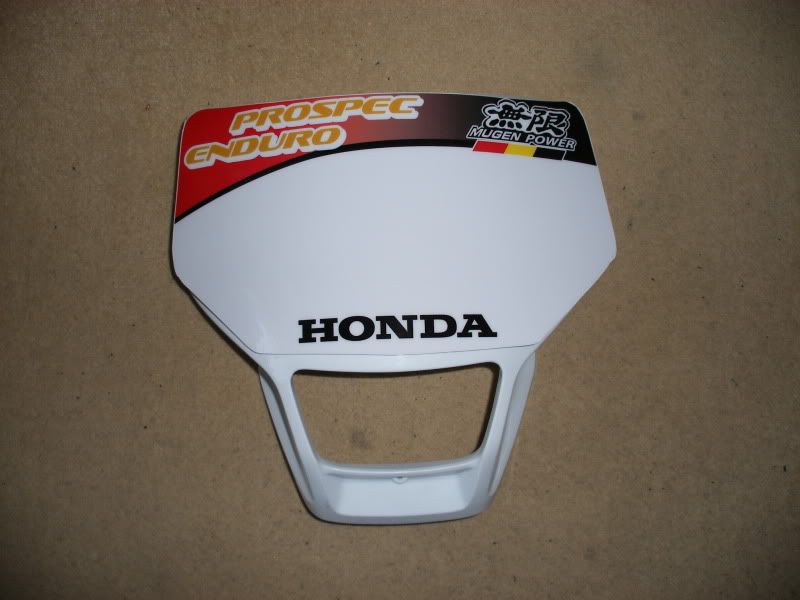
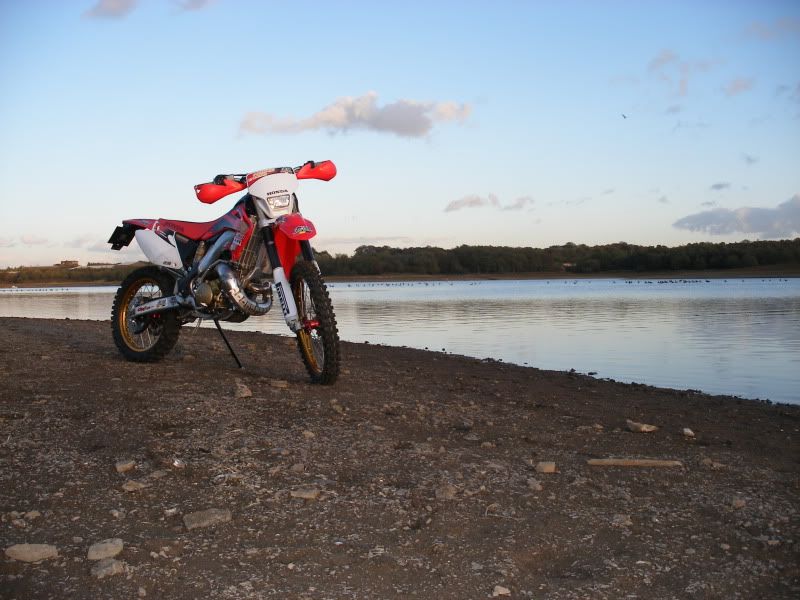
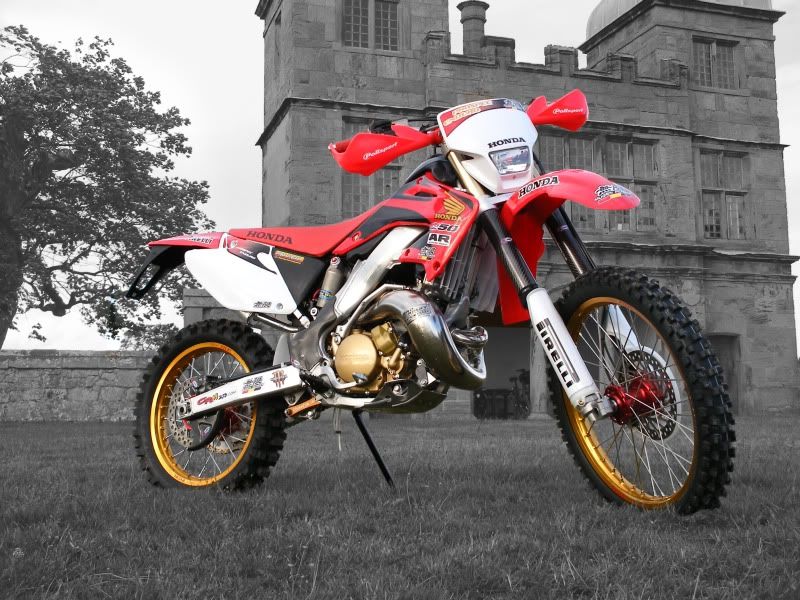
I really, really wanted a CRF headlight, too keep the subtle Honda theme, and many aftermarket ones look out of place. It took me ages to source them, and the price was shocking, plus hardly anything available on ebay. Eventually though I did manage to get the plastic and the glass headlight separately on ebay for very good prices, however of course the CR had no mountings for this (later discussed).
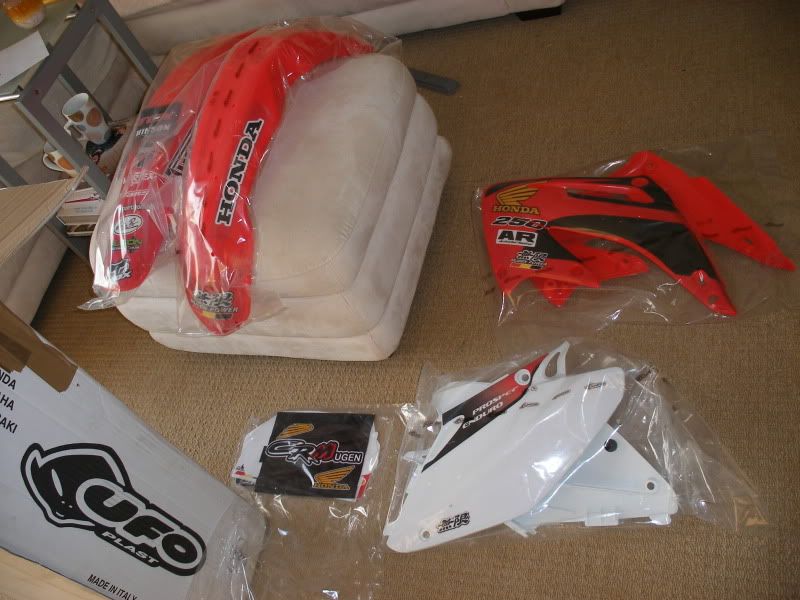
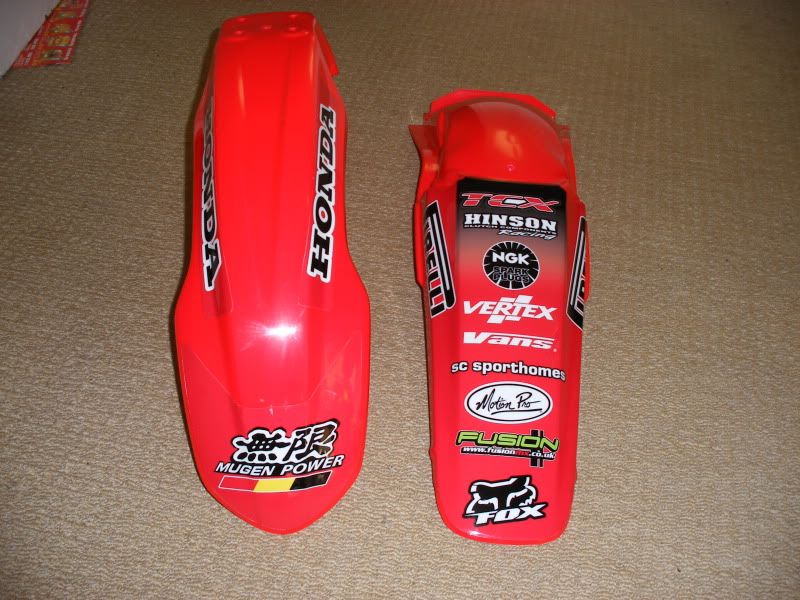
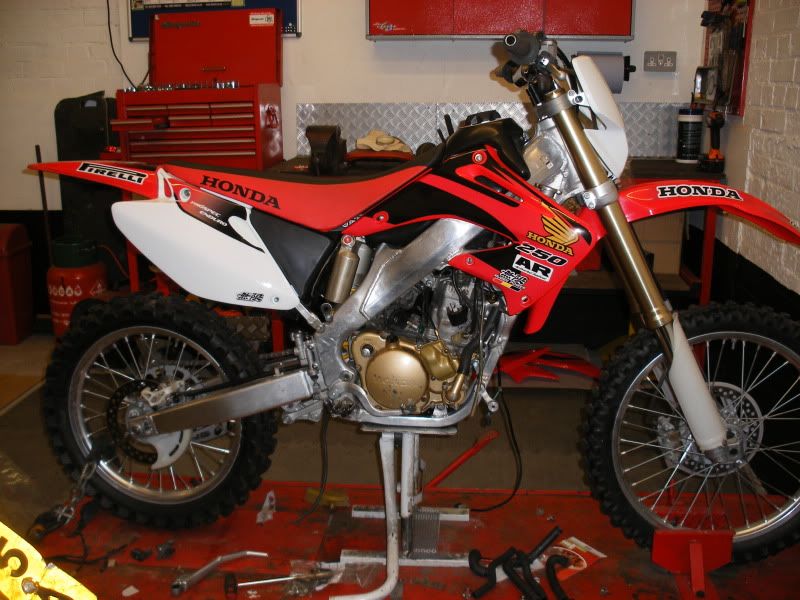
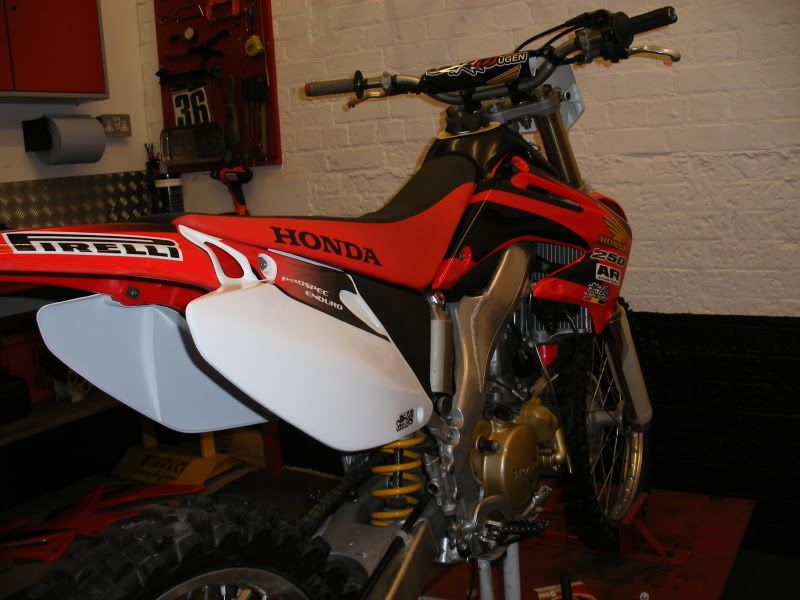
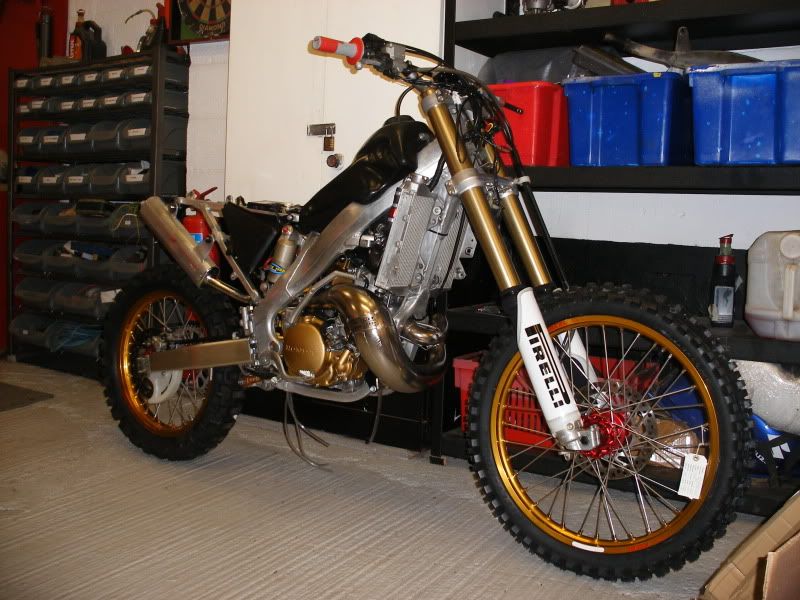
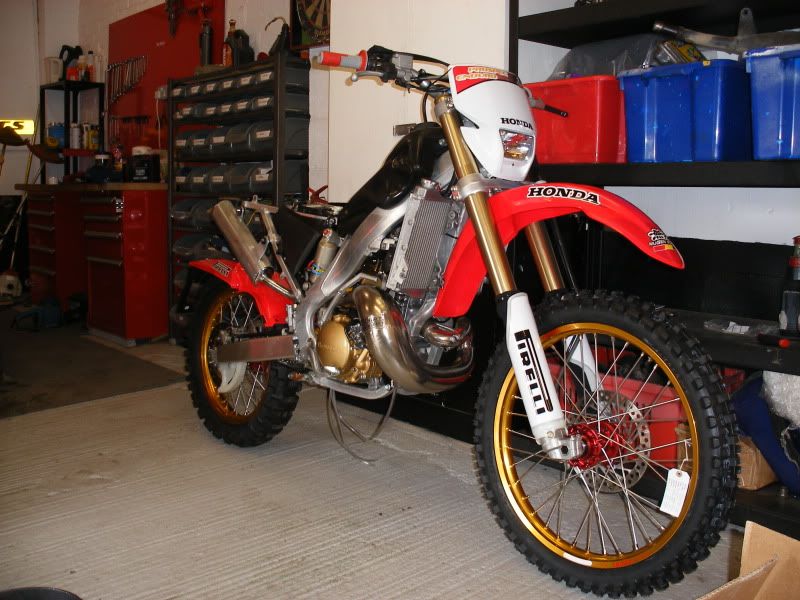
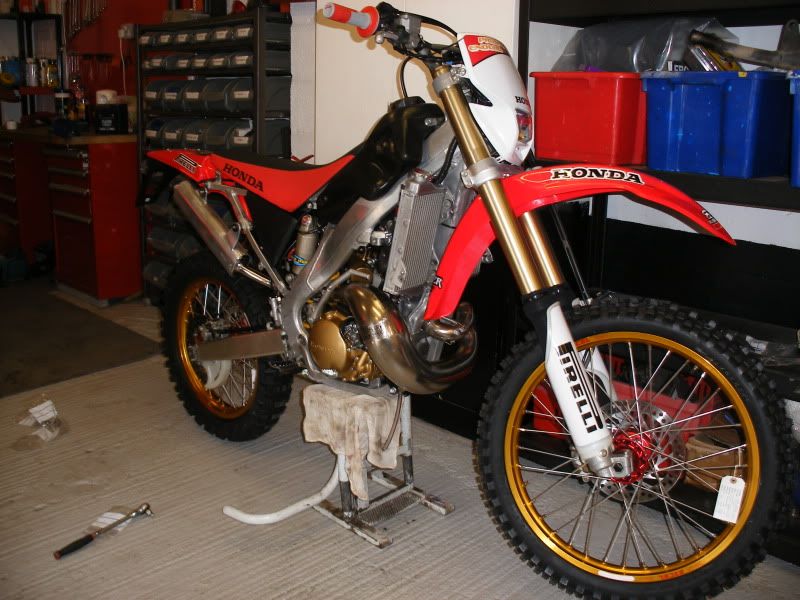
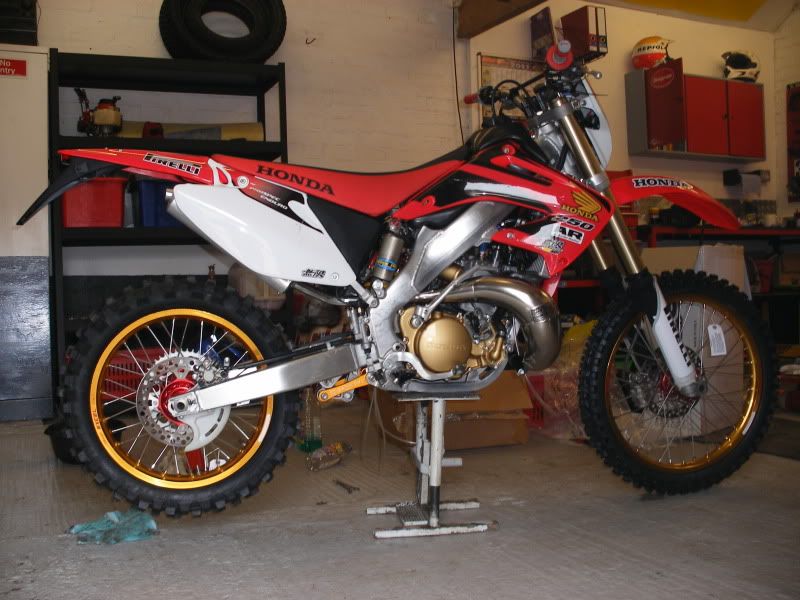
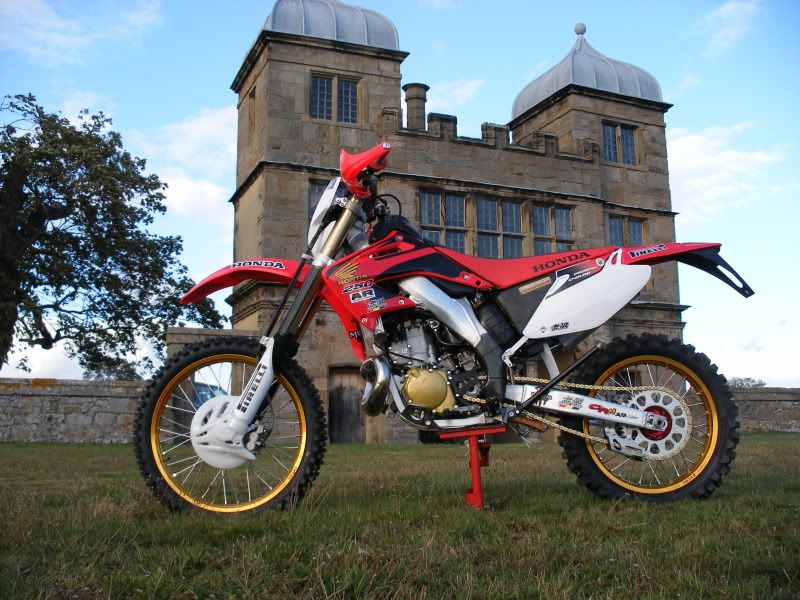
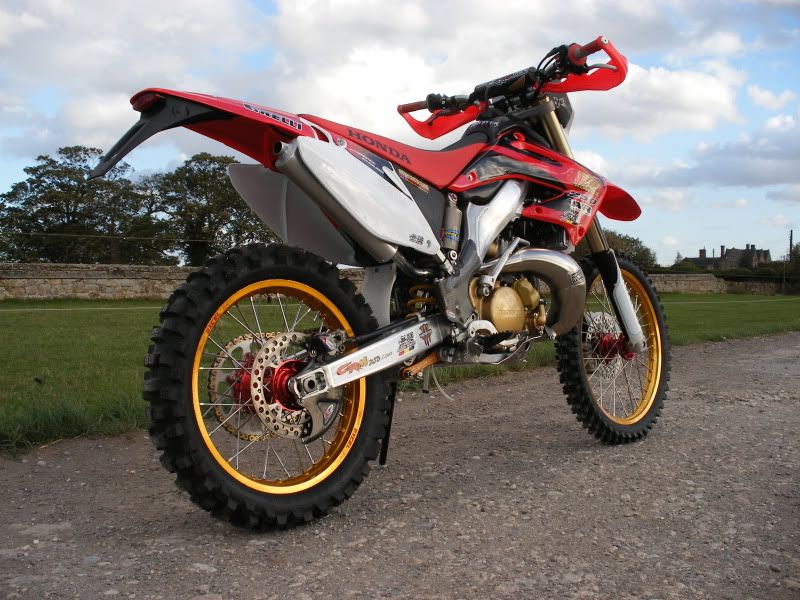
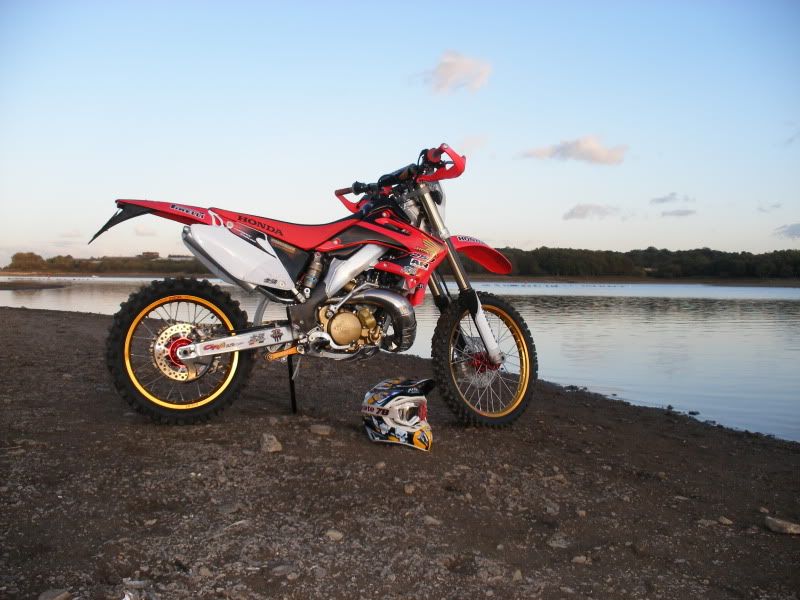
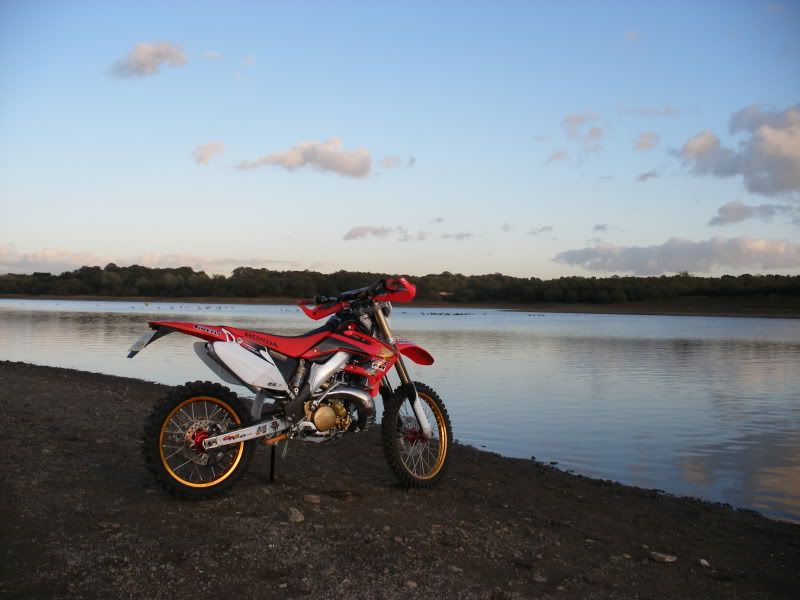
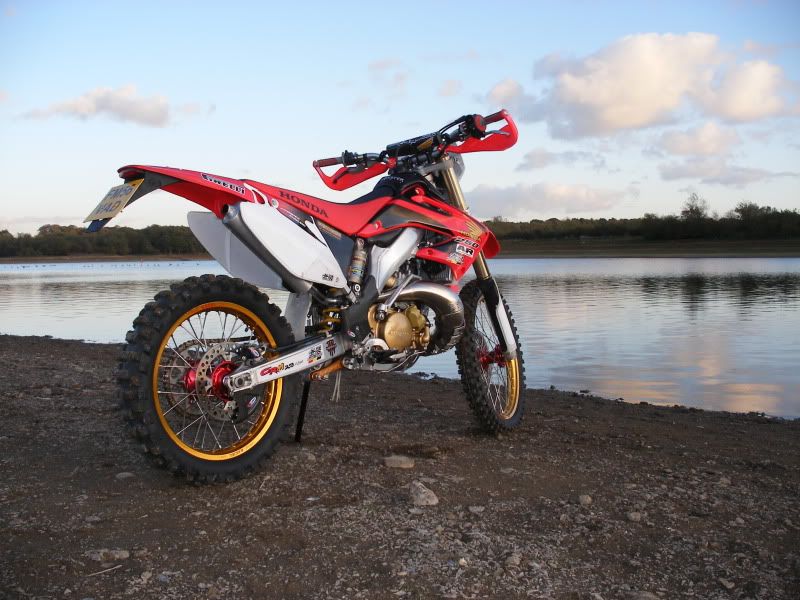
In the mean time, between me and Gary at fusion-mx, we designed the custom graphics which I’m still to this day thrilled with and wouldn’t change. I gave him rough designs via email, photos and sketches in paint etc. After many, many tweeks, eventually they were perfect and on order, along with new plastics. I was chuffed when they arrived:
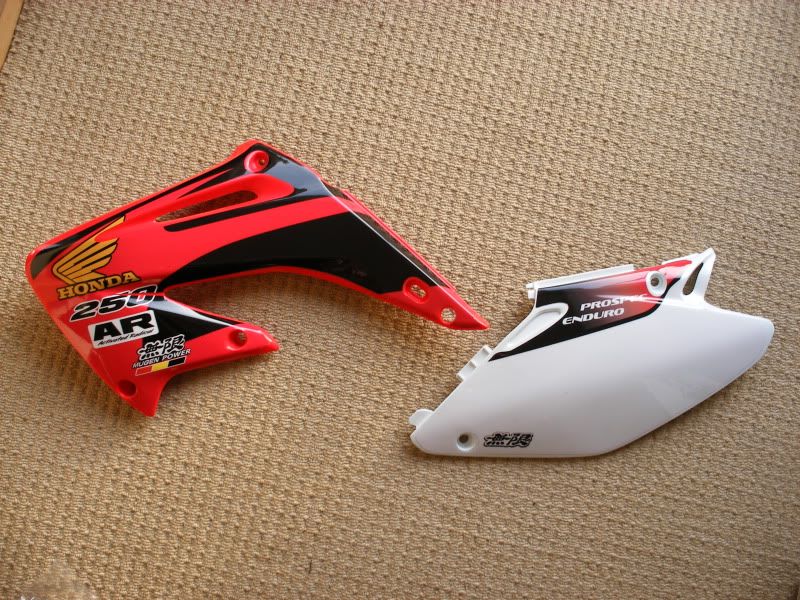
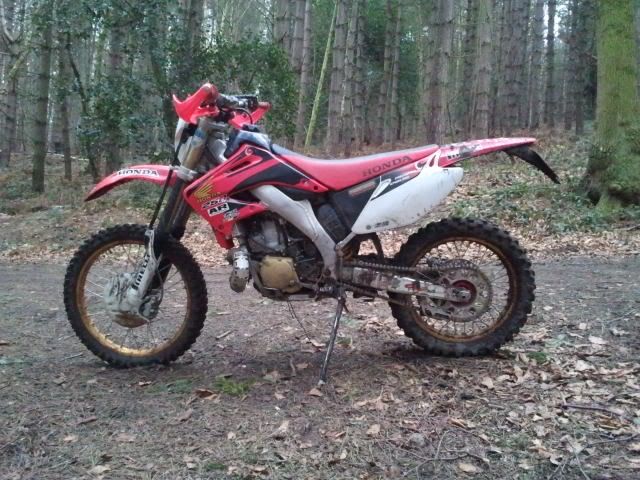
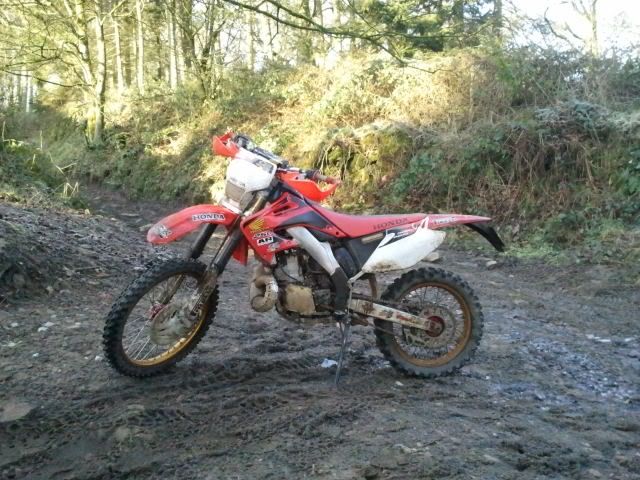
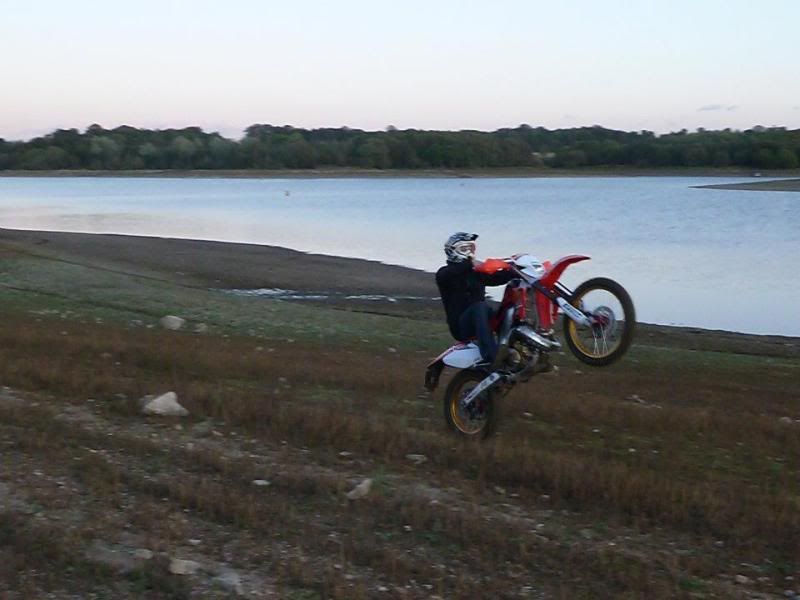
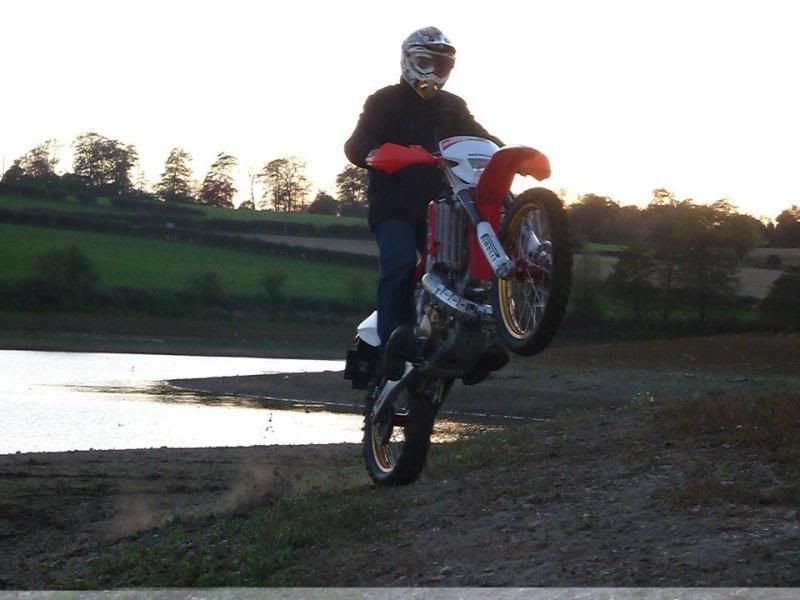
Obviously the first thing I did was try them on the bike, and oh did this get me excited and put a smile on my face:
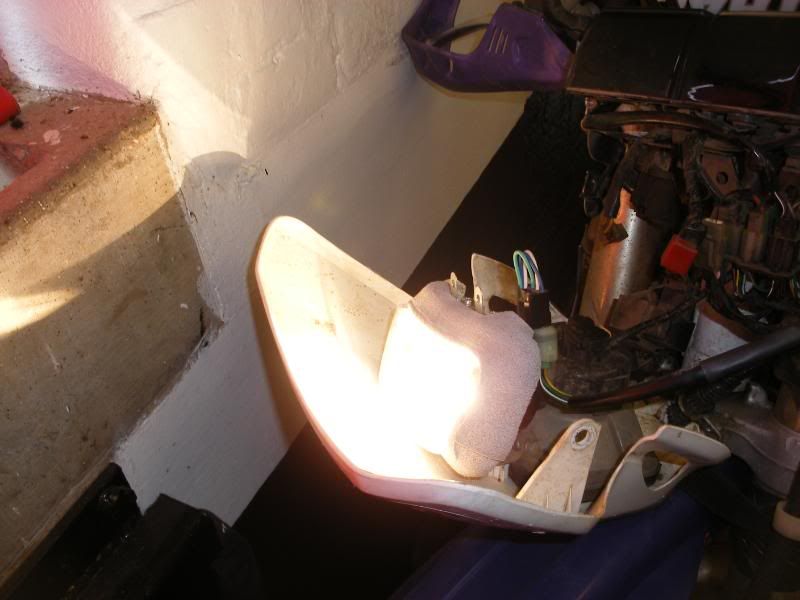
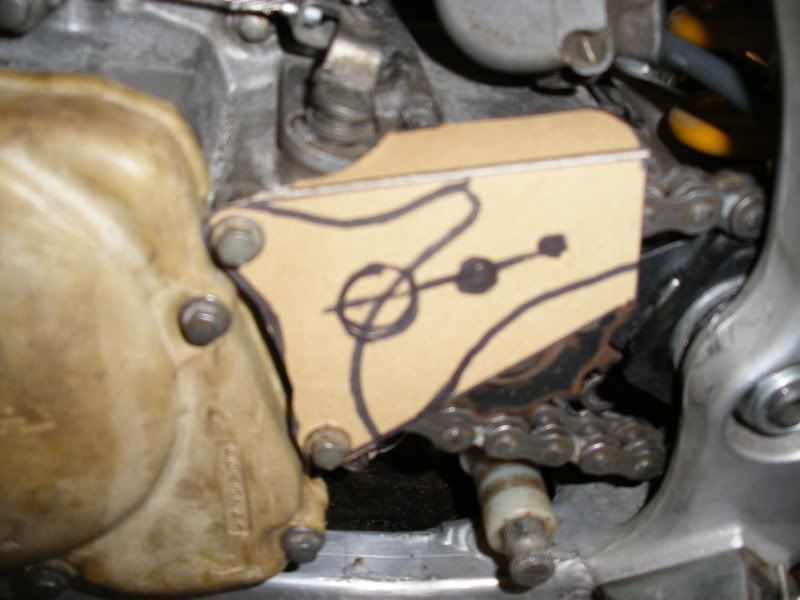
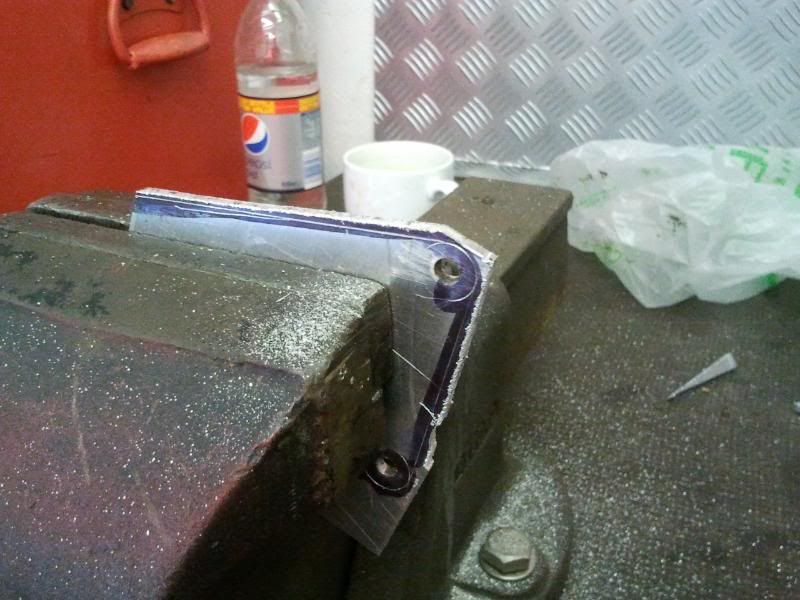
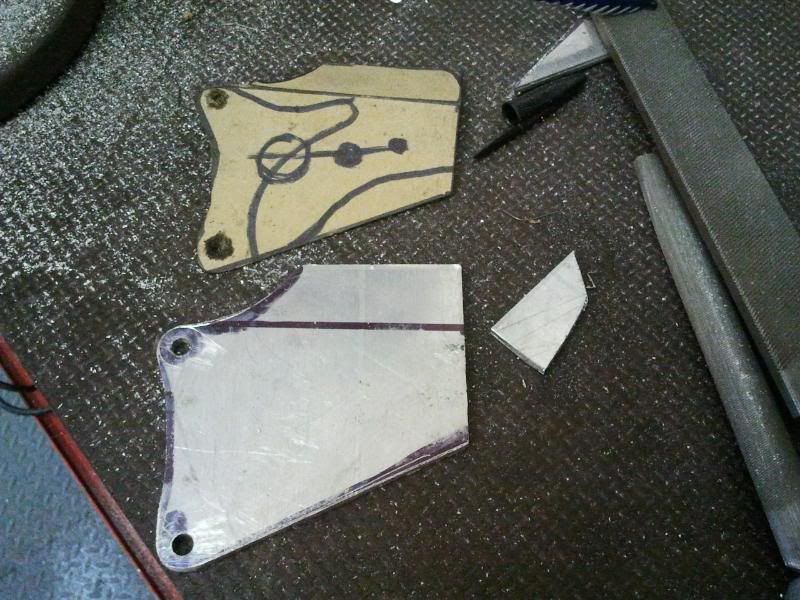
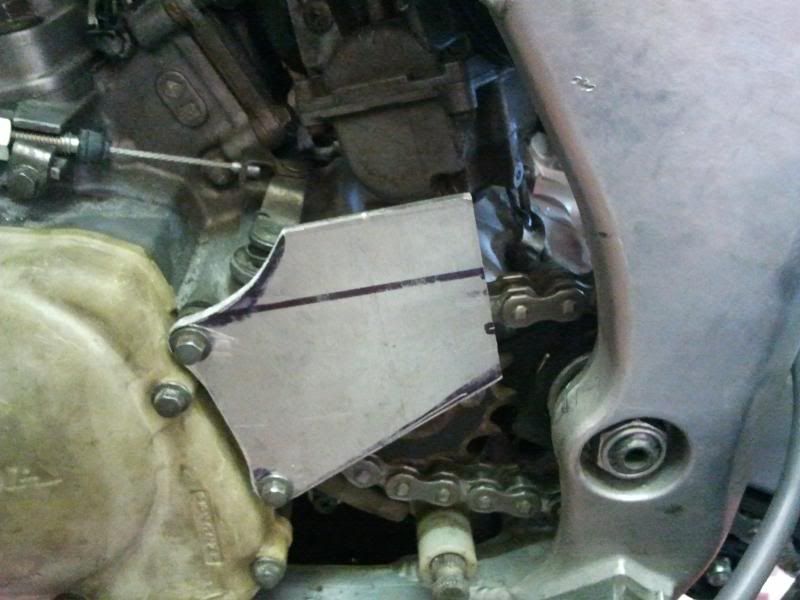
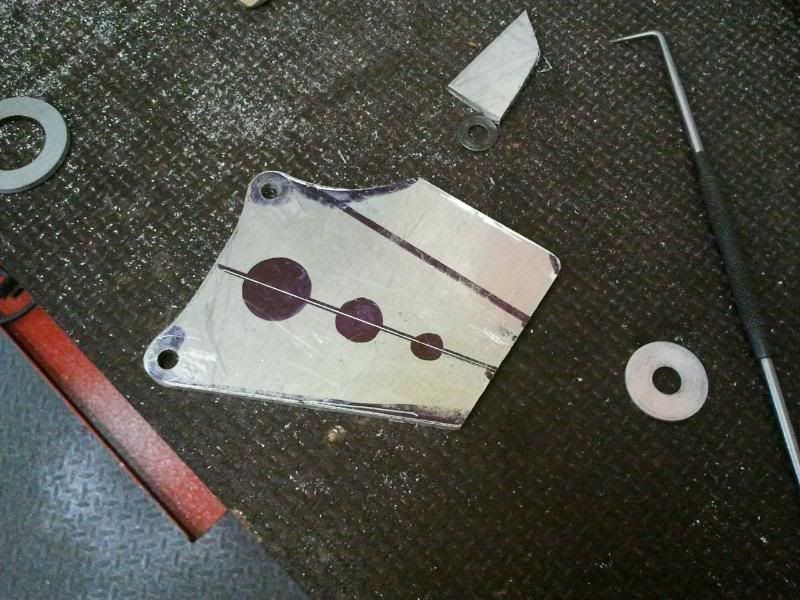
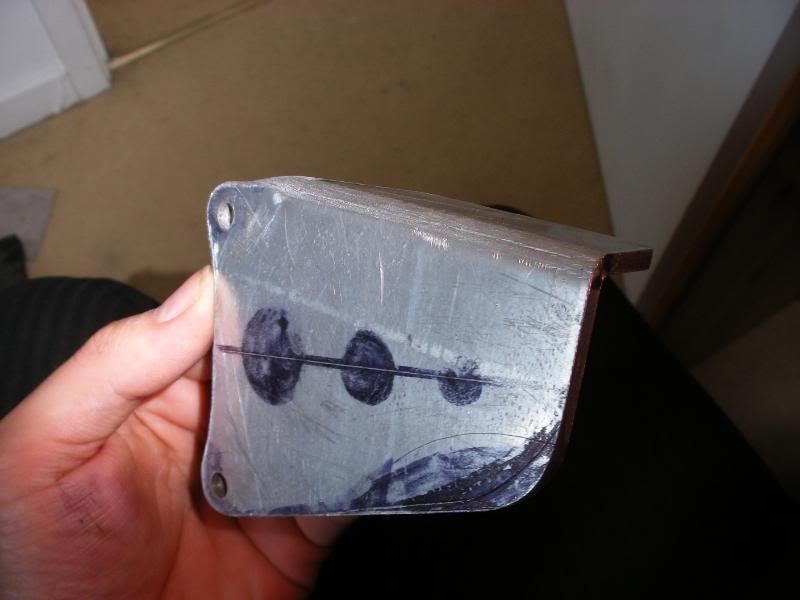
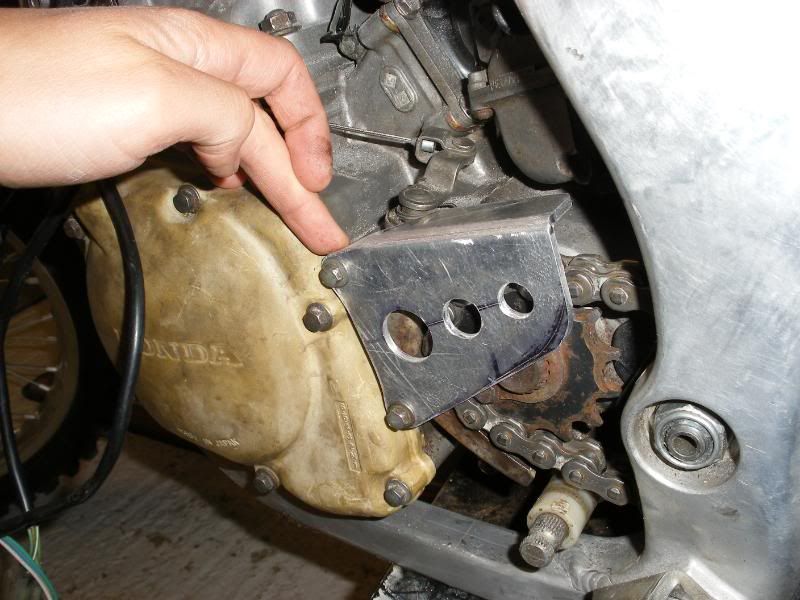
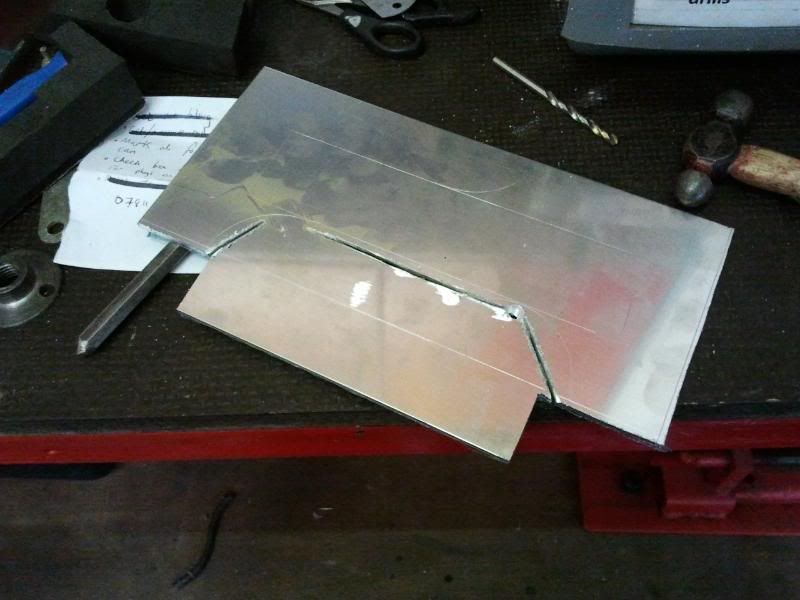
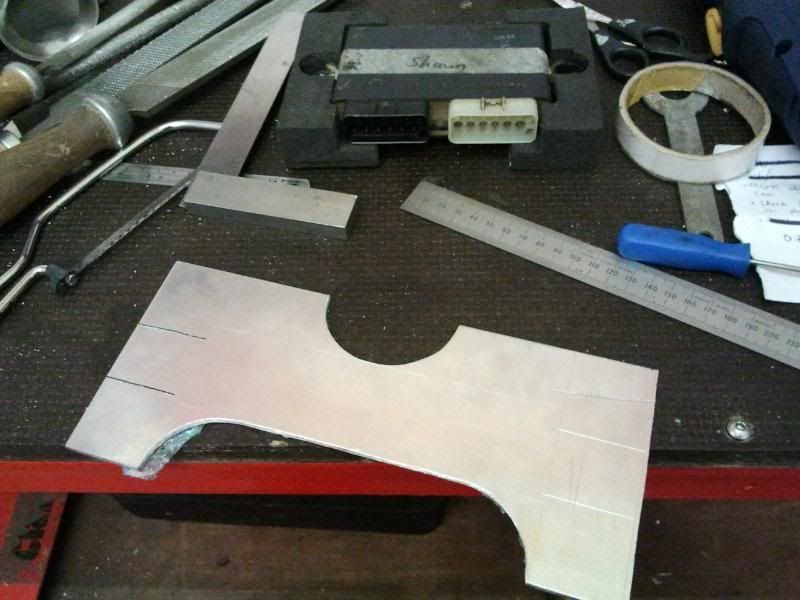
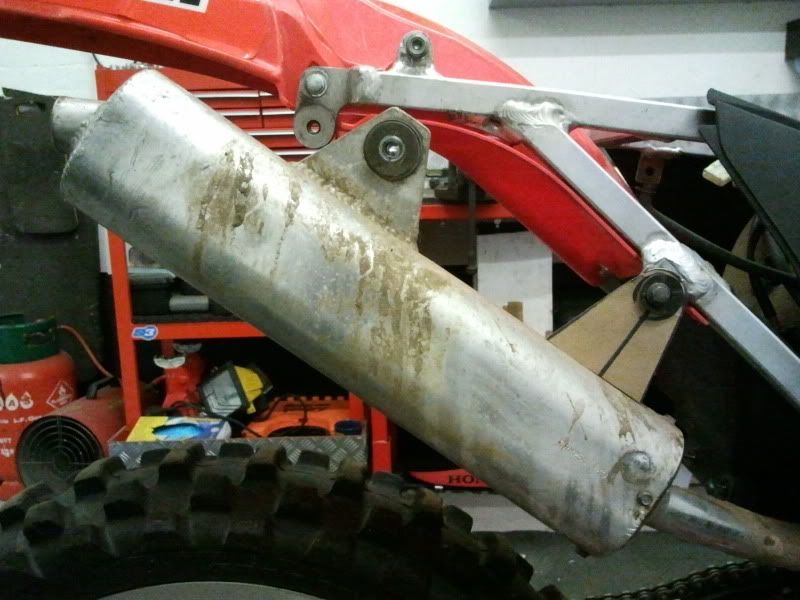
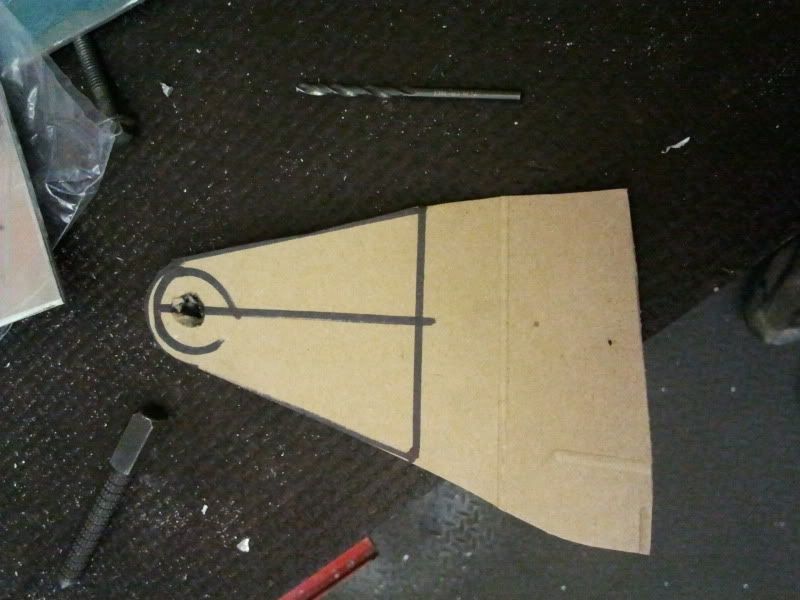
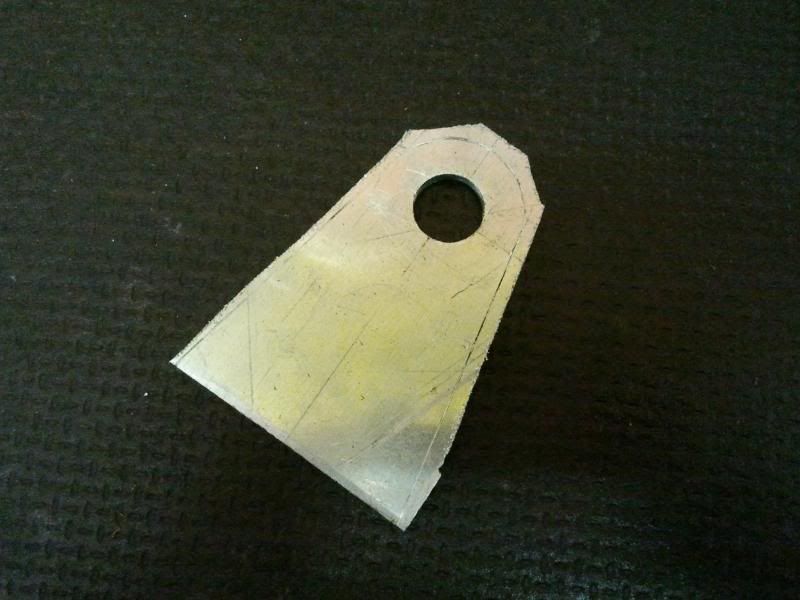
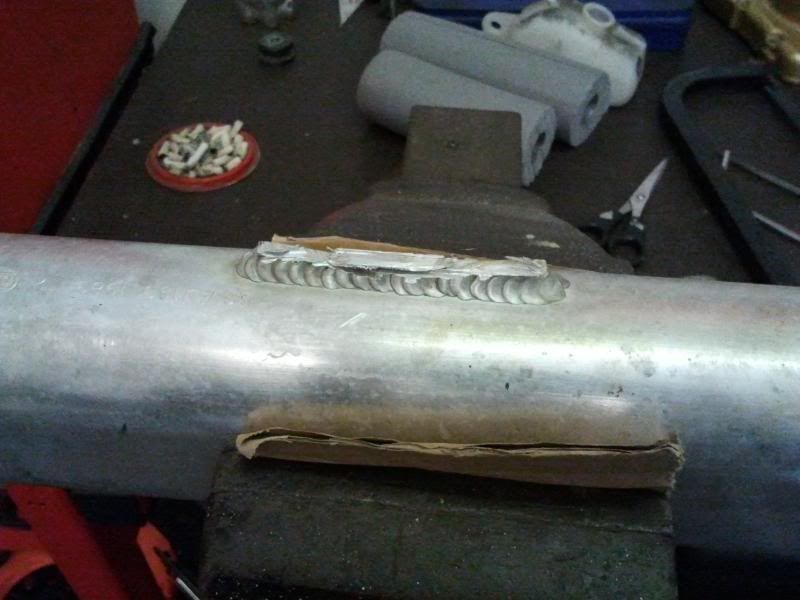
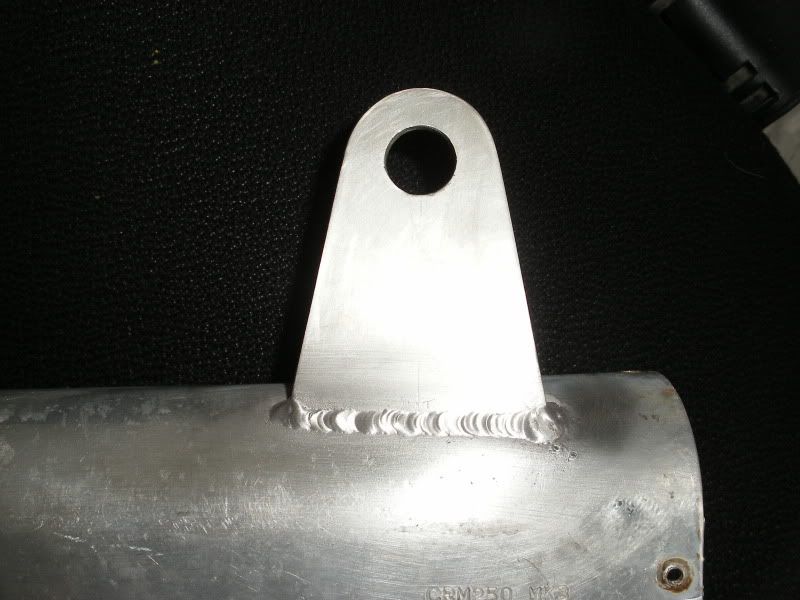
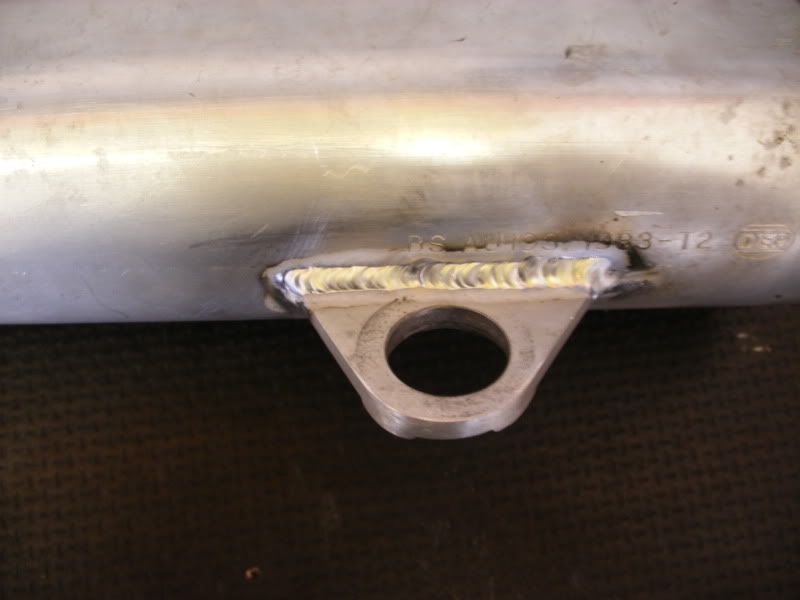
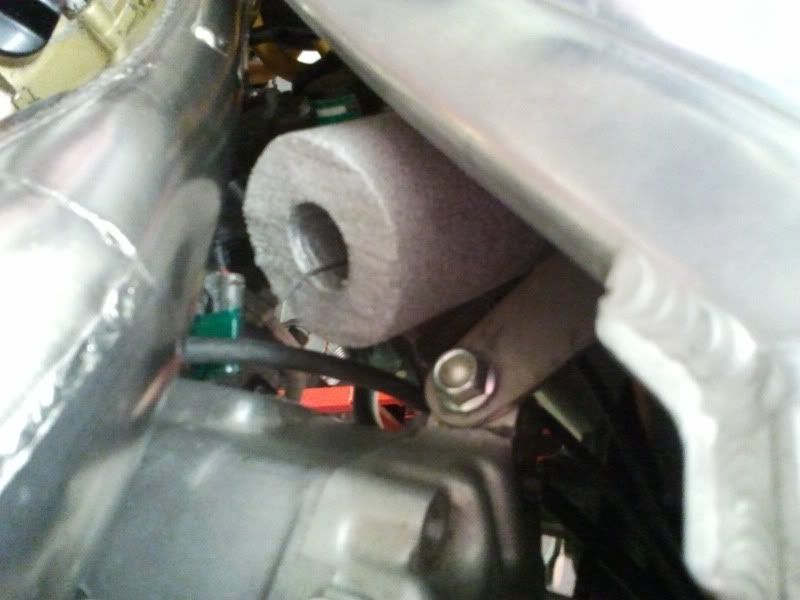
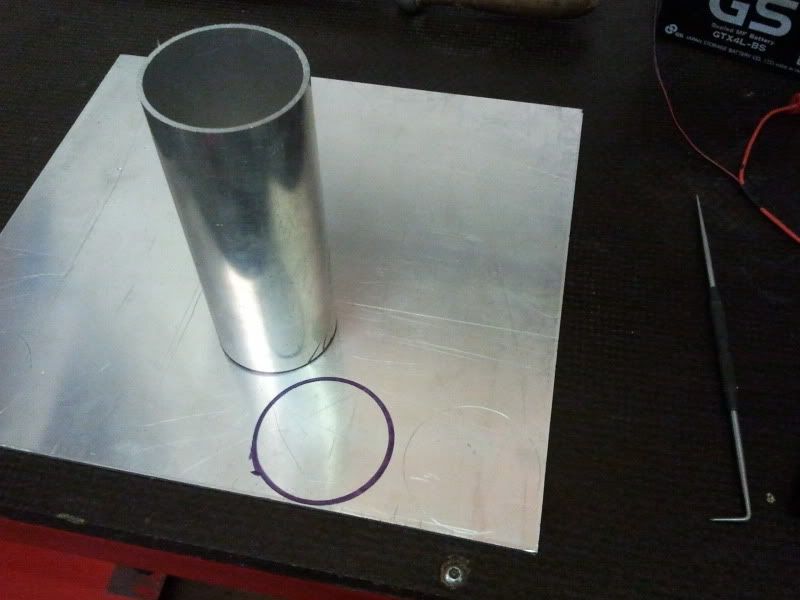
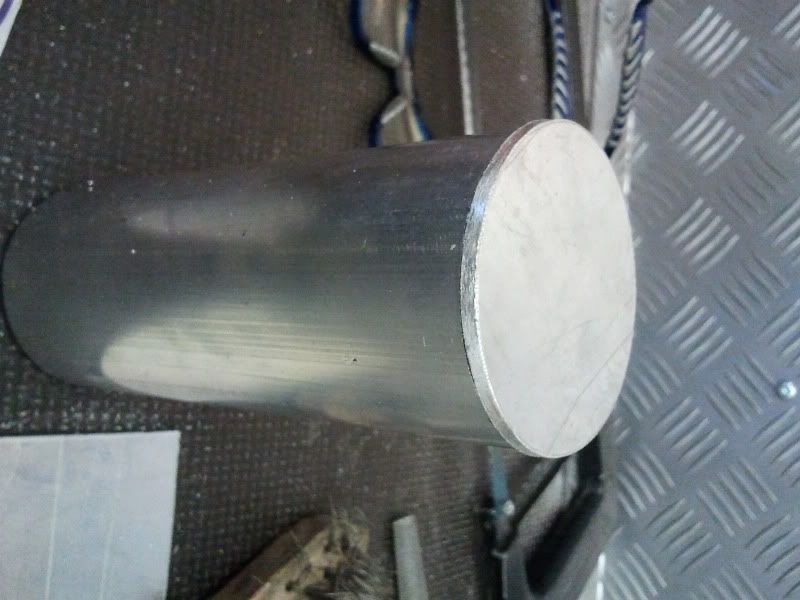
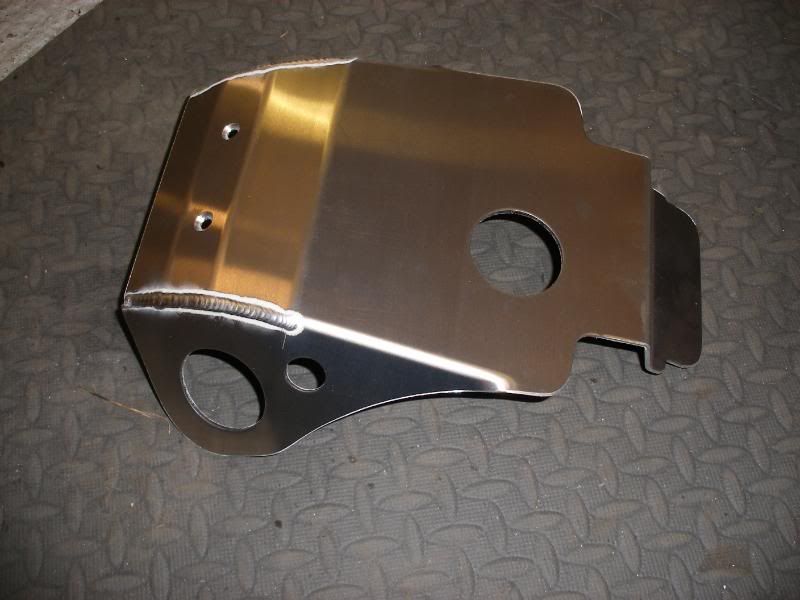
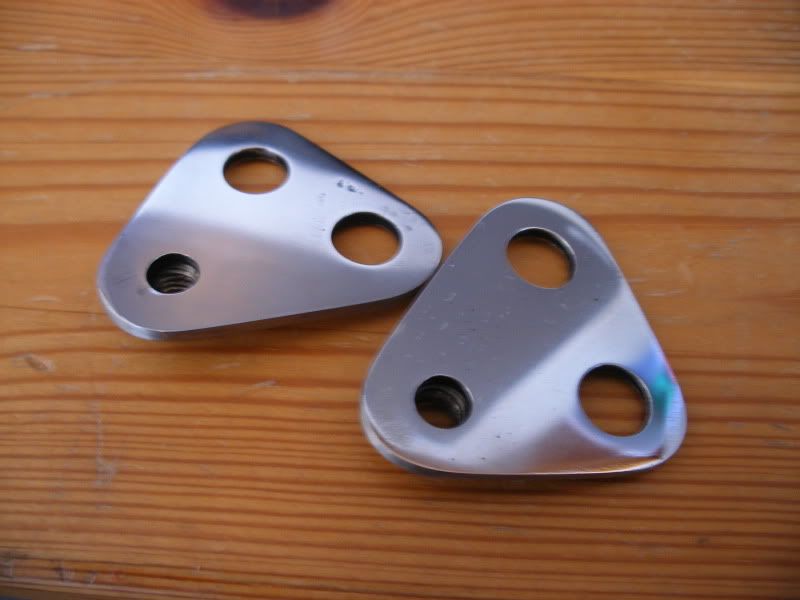
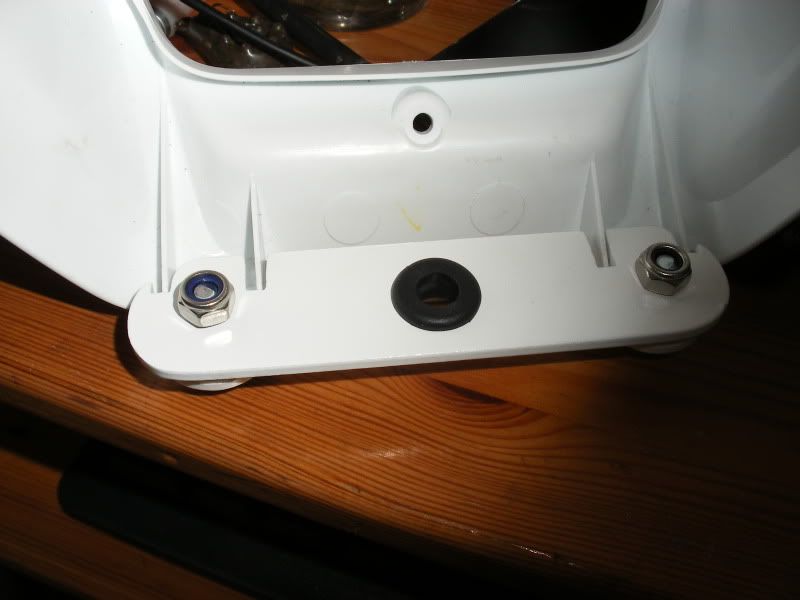
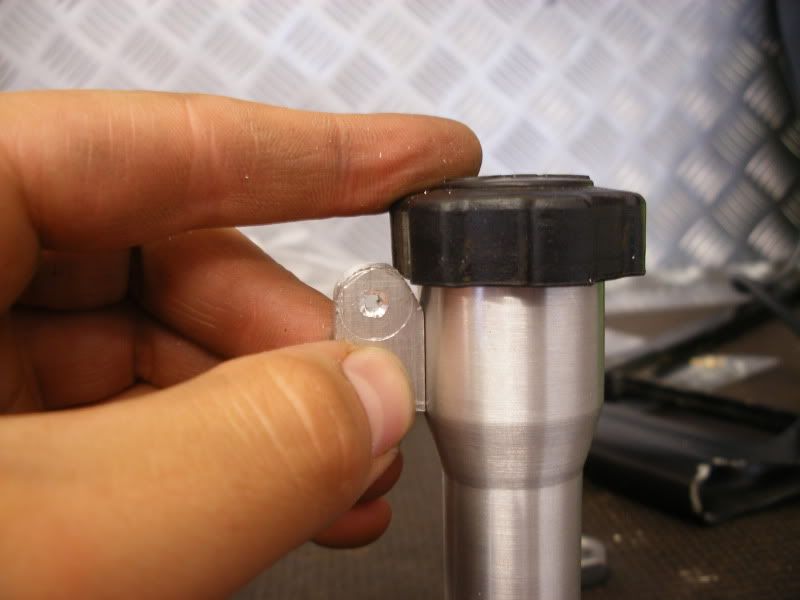
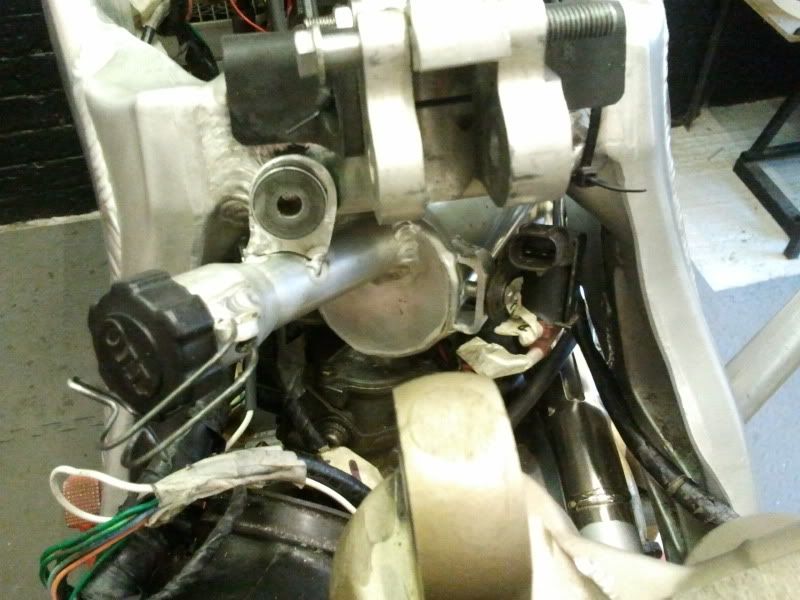
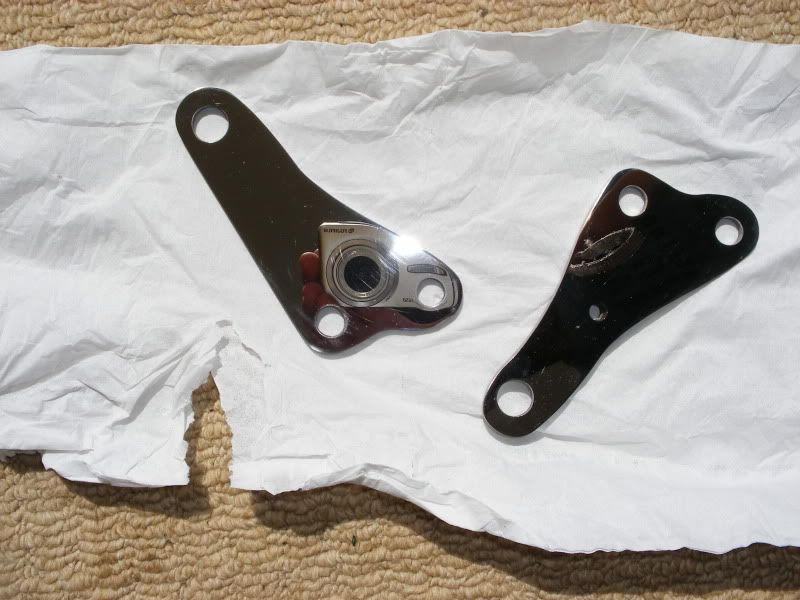
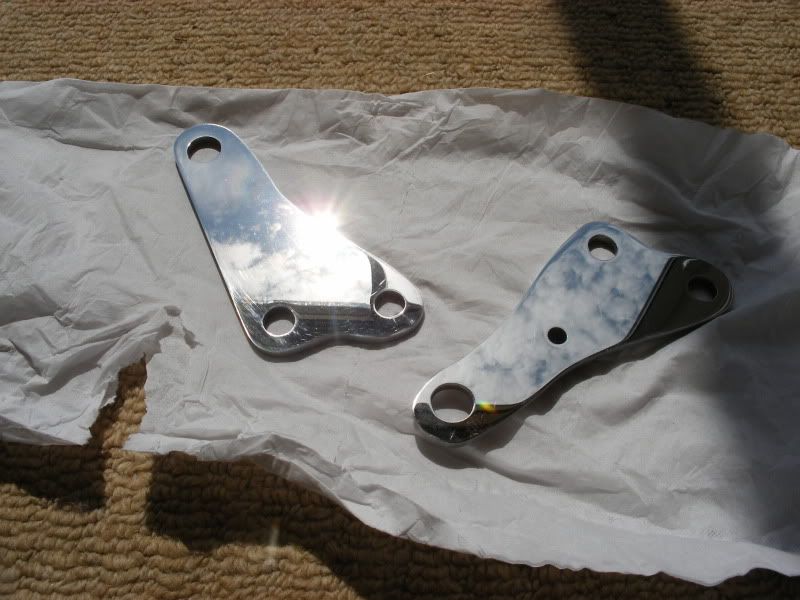
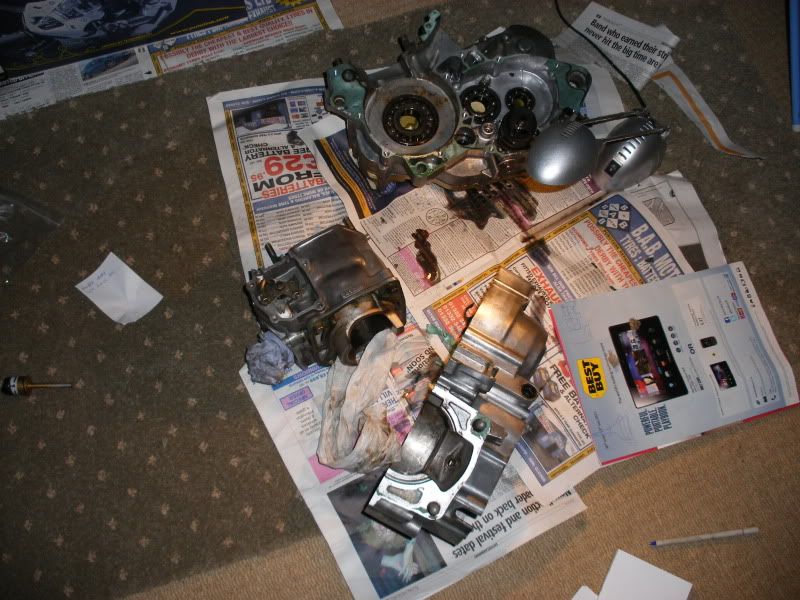
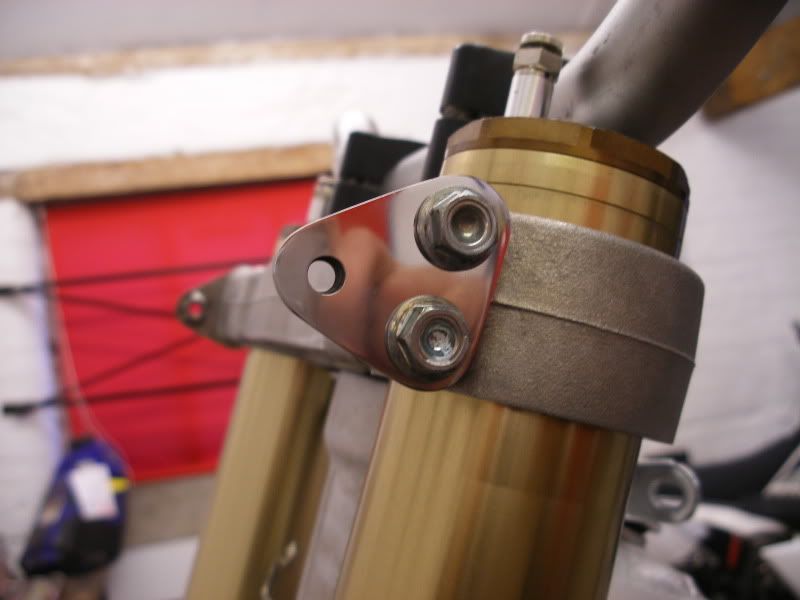
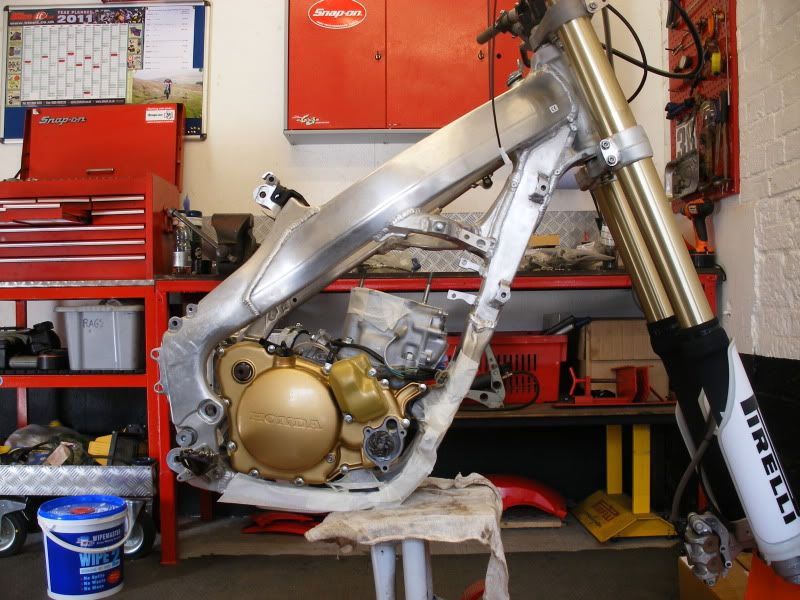
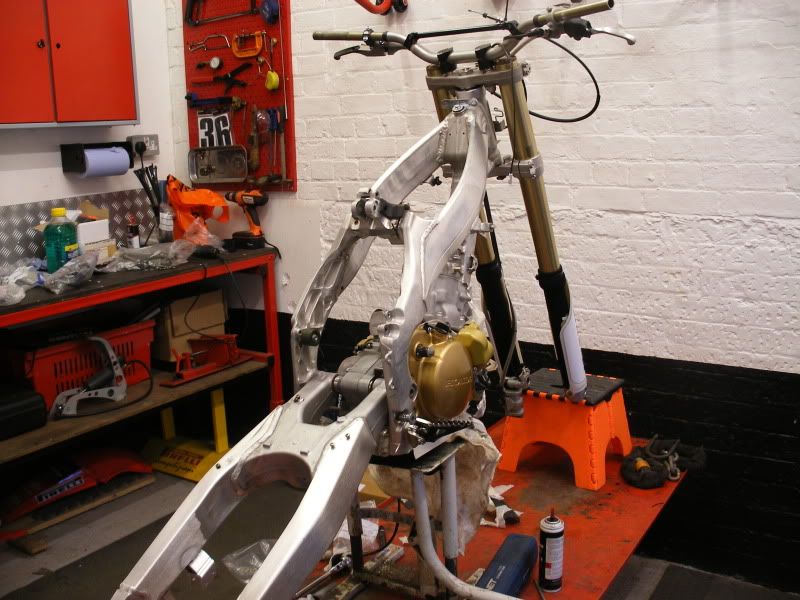
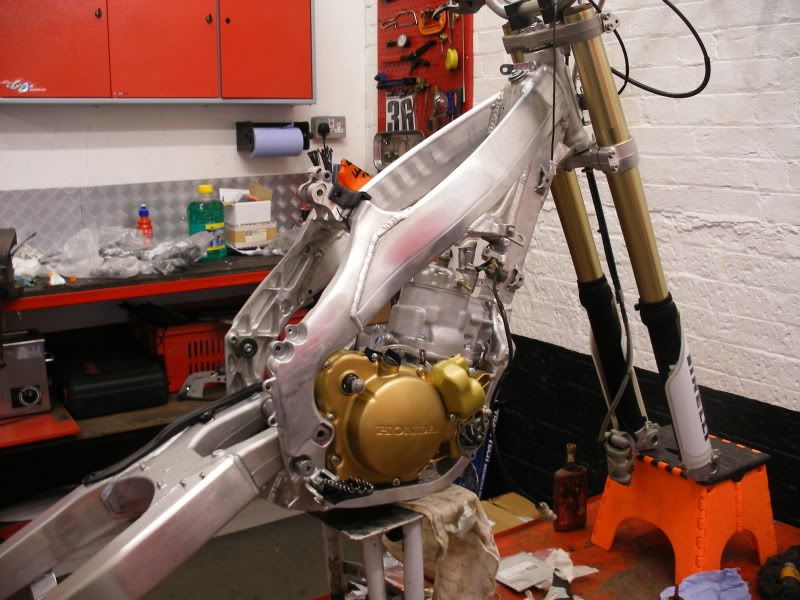
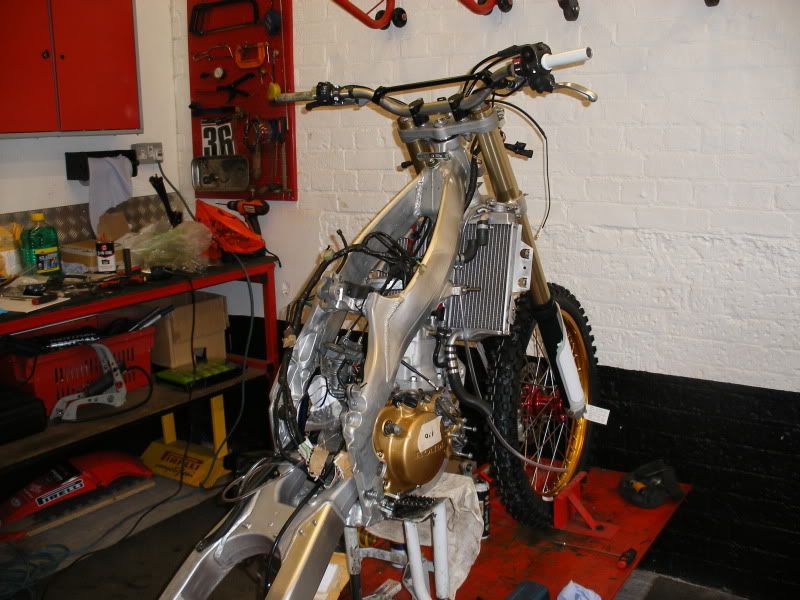
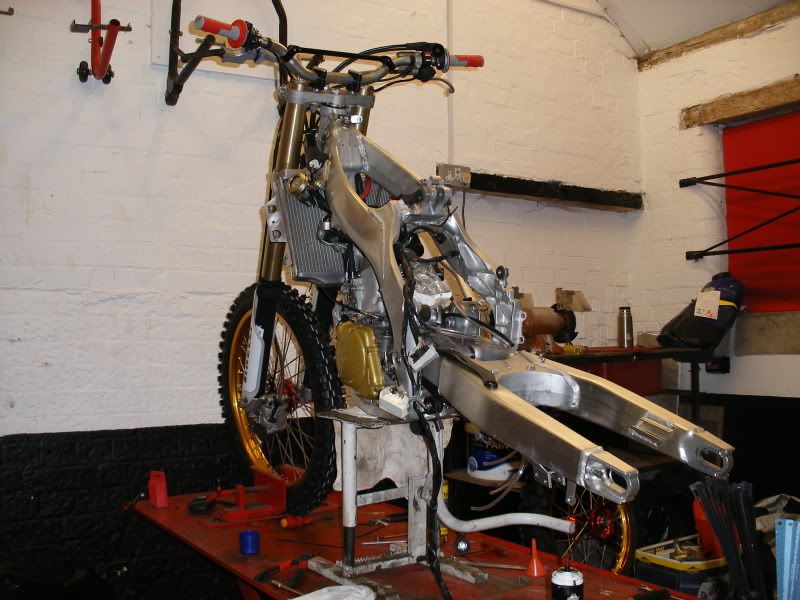
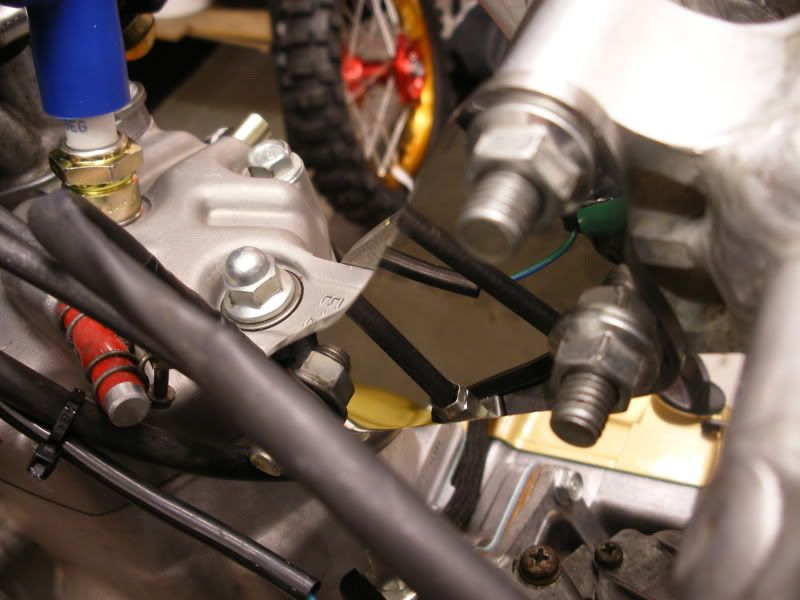
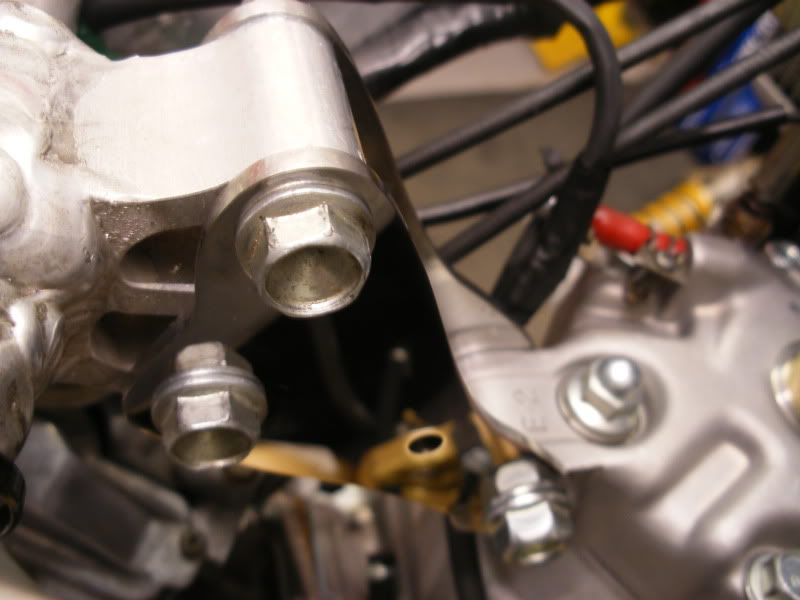
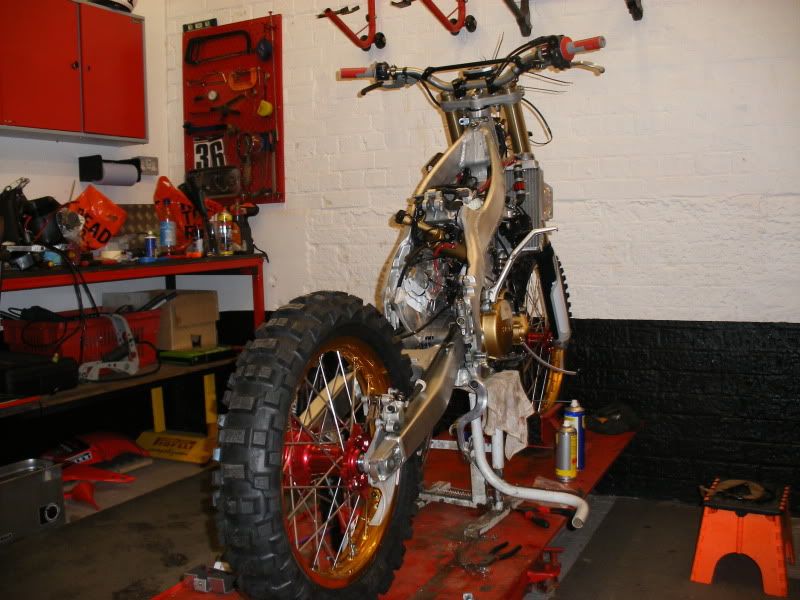
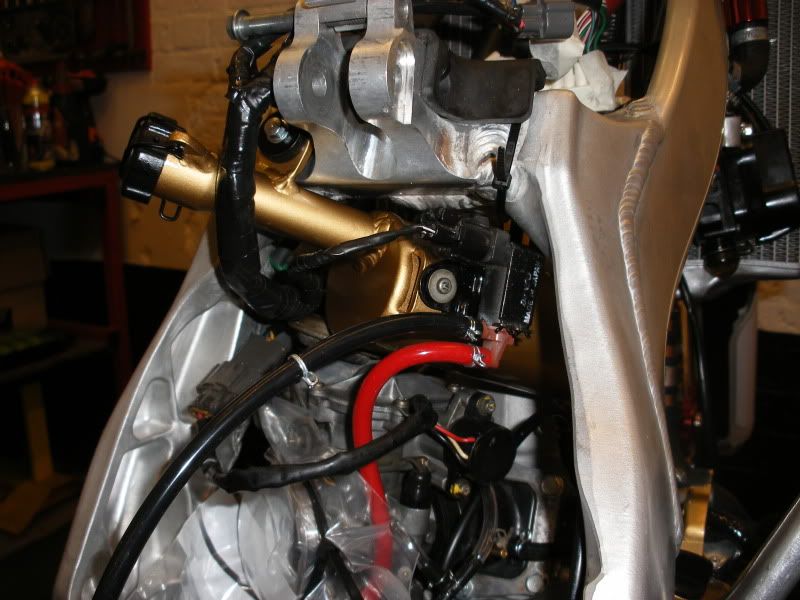
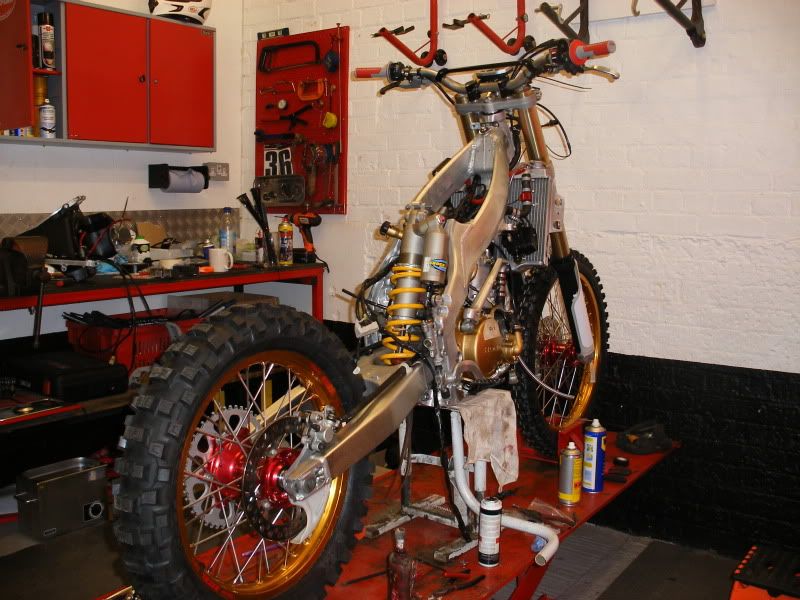
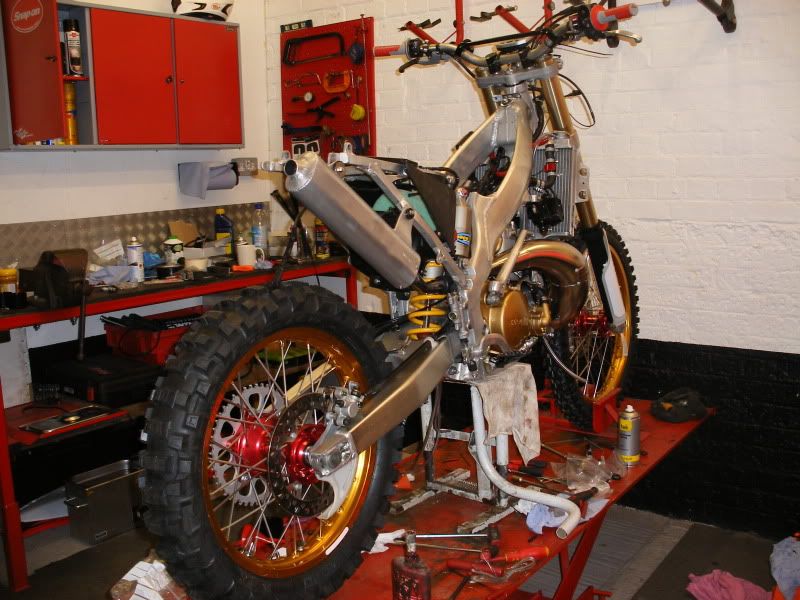
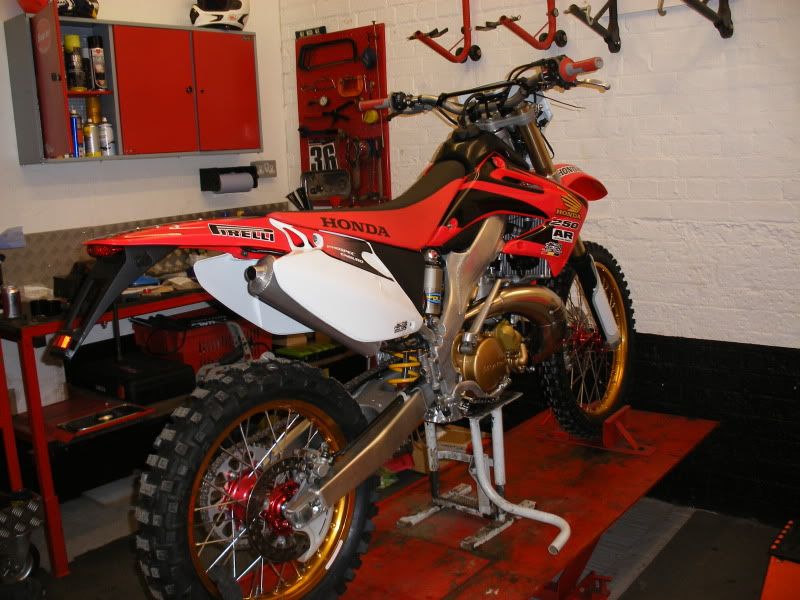
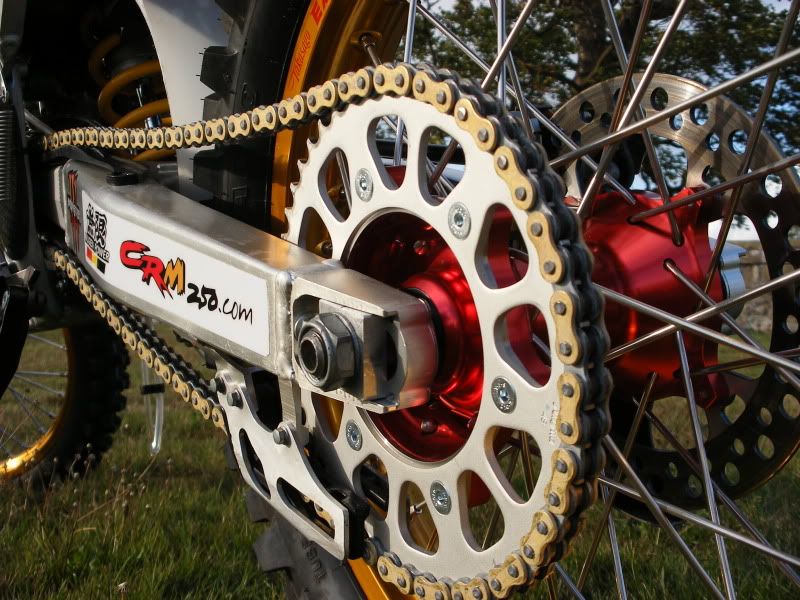
Anyway, as mentioned earlier, now came the mounting of the headlight. This was a fairly tricky one as the original should be rubber mounted, however not too challenging in comparison to other bits of the bike. I had the special top-hat washers made once I’d worked the sizes out, and made the brackets myself:
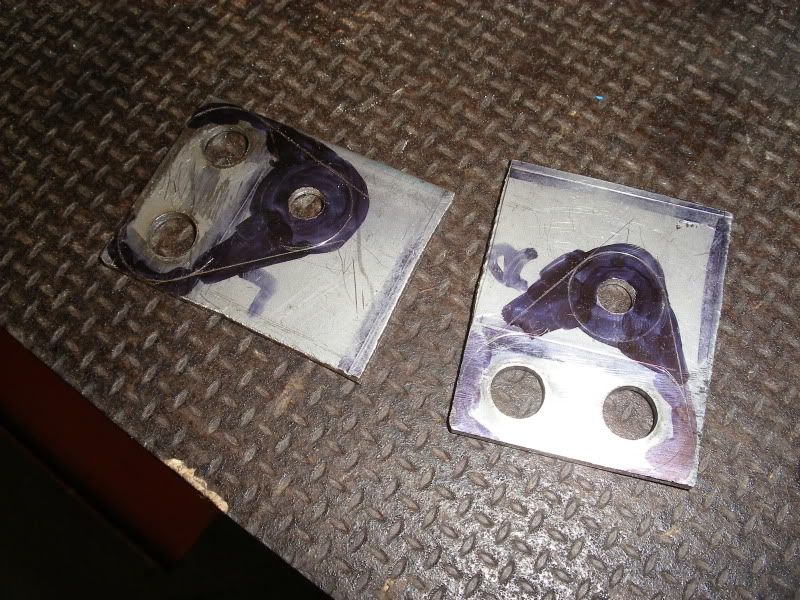
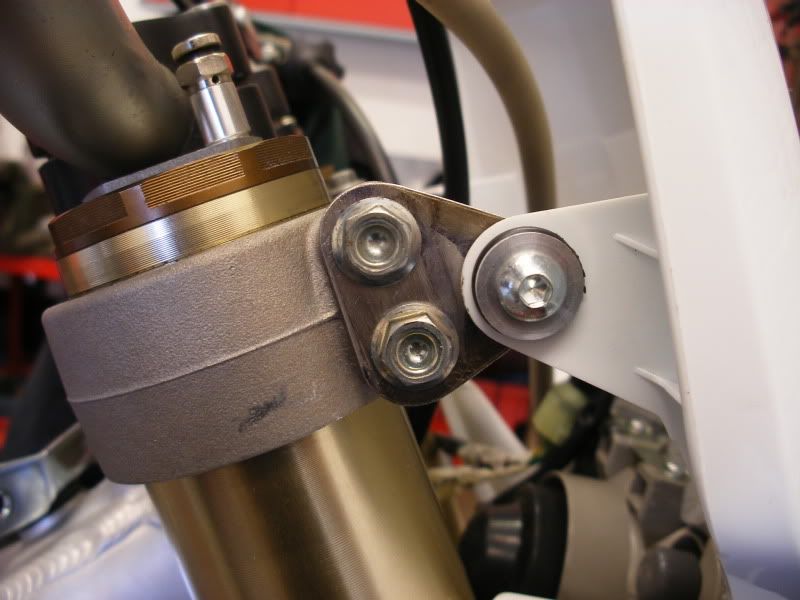
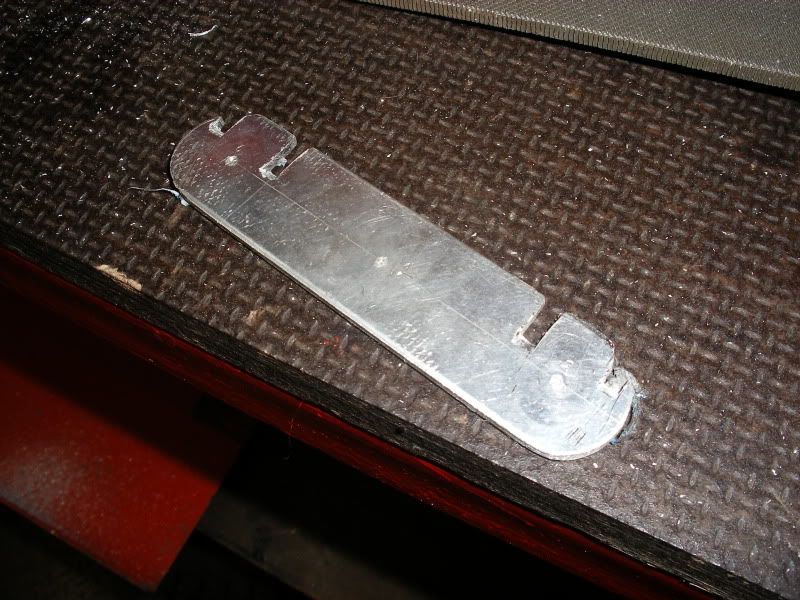
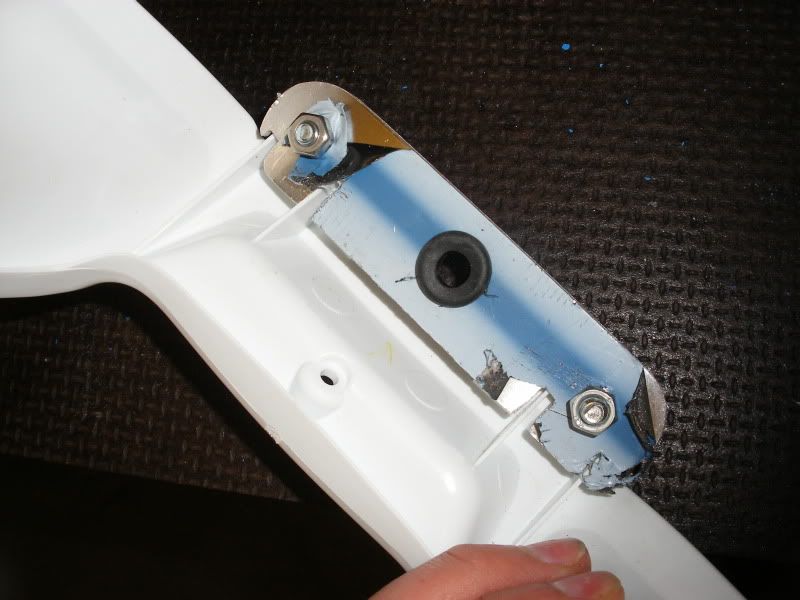
The larger bracket was later powder coated, and I polished the stainless triangle brackets.
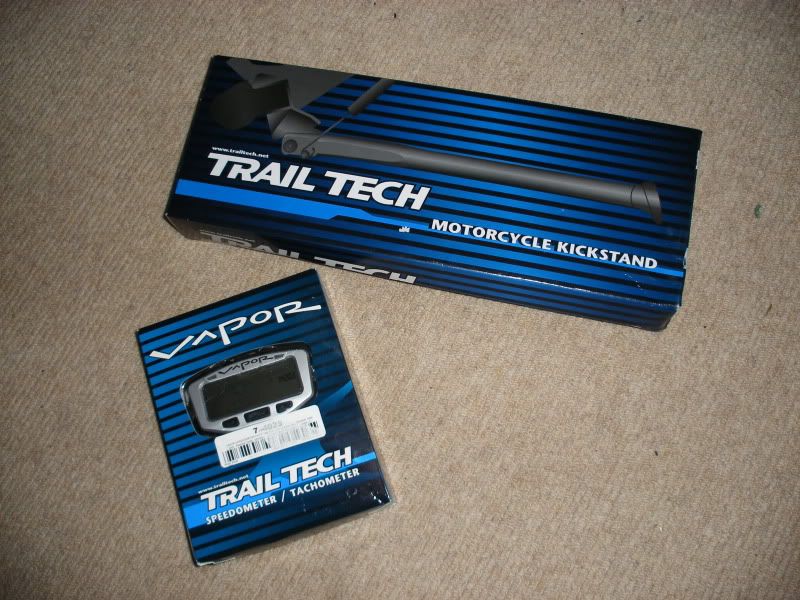
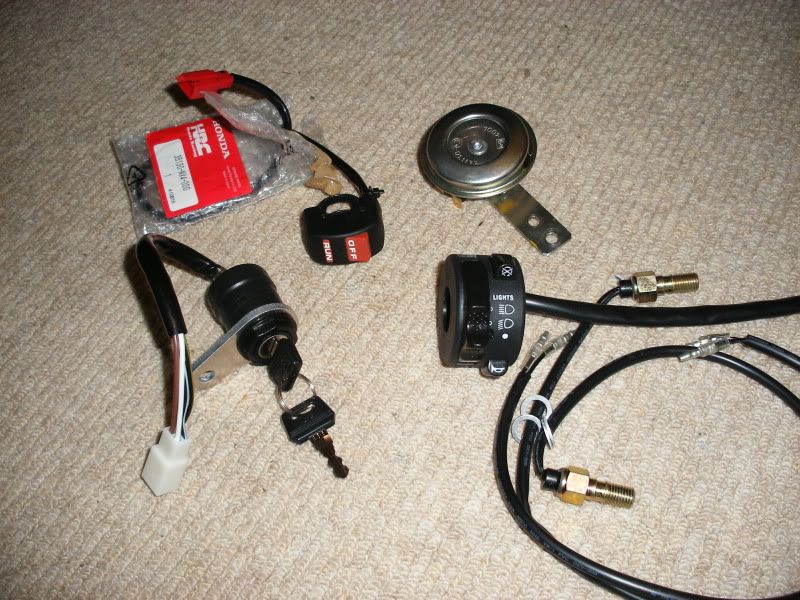
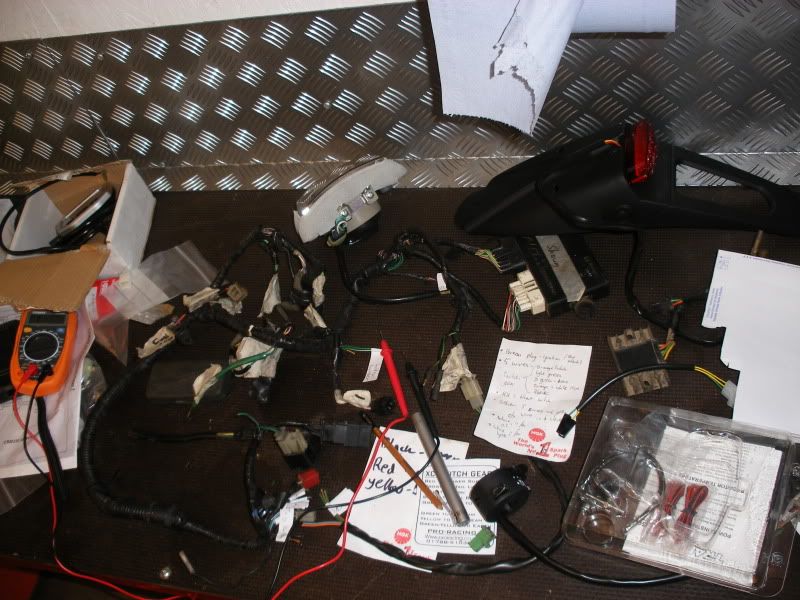
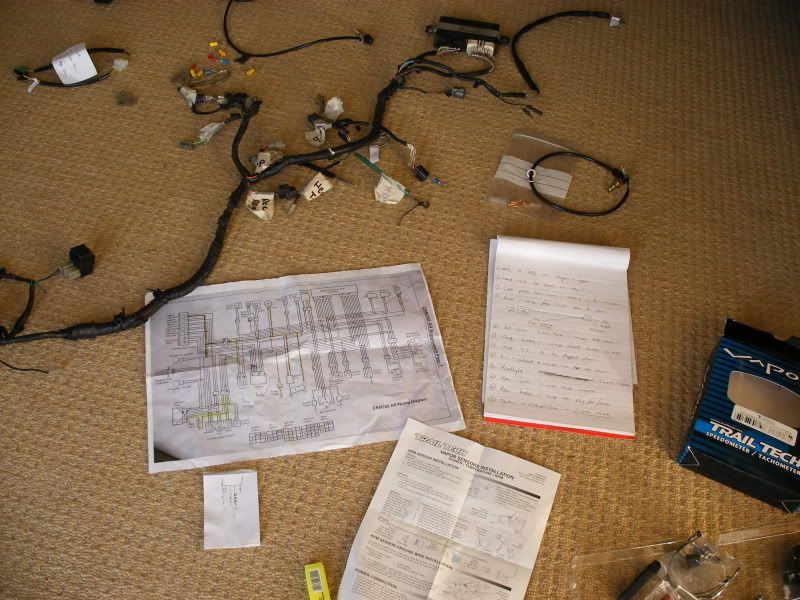
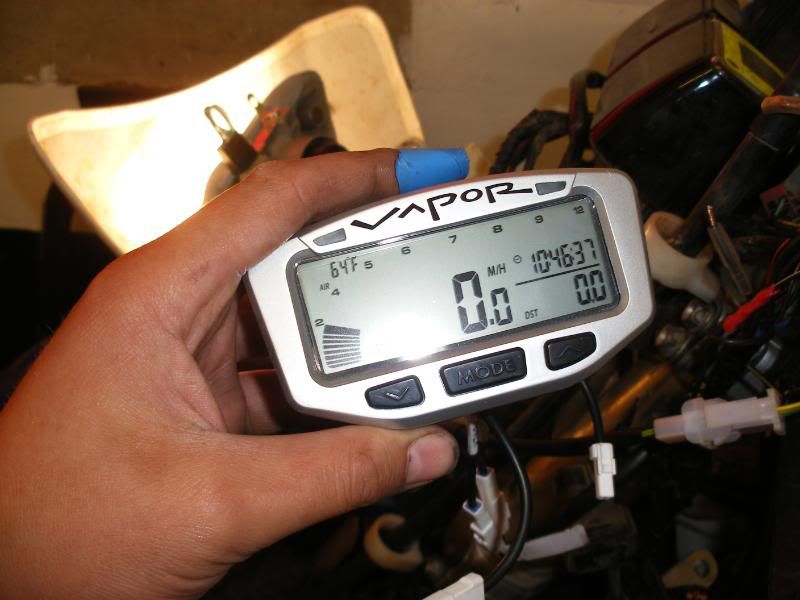
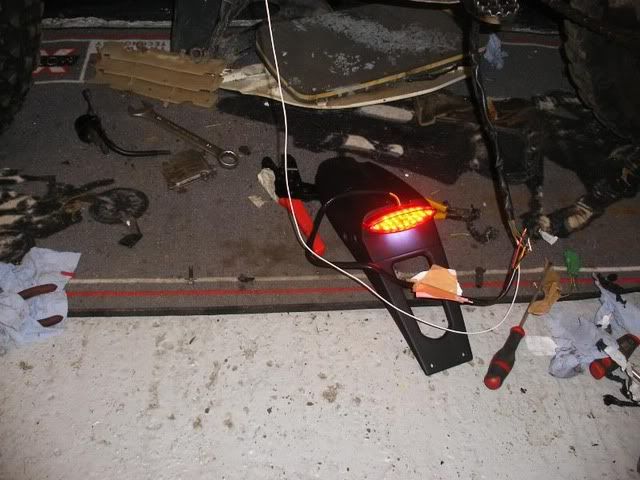
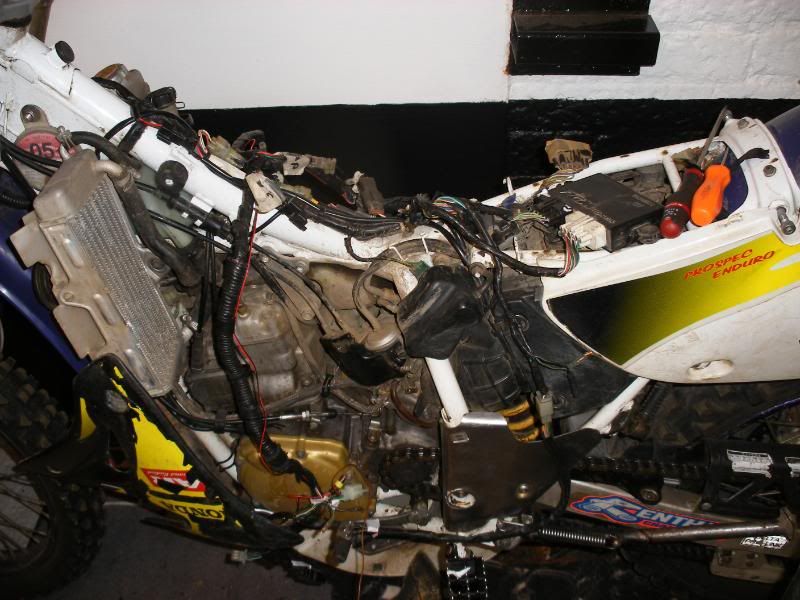
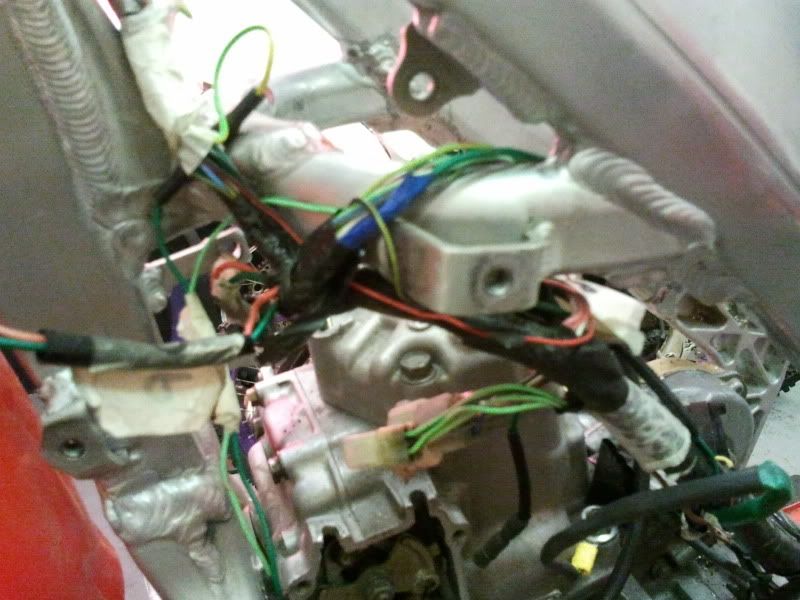
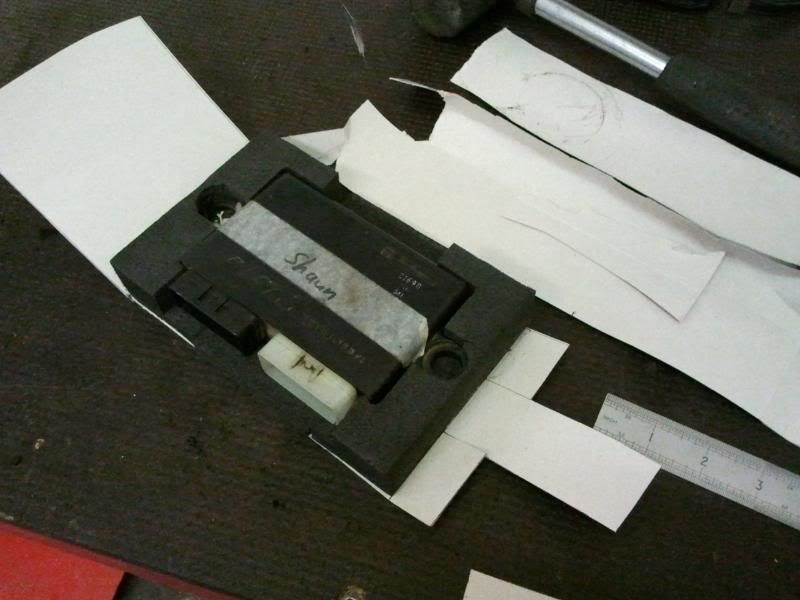
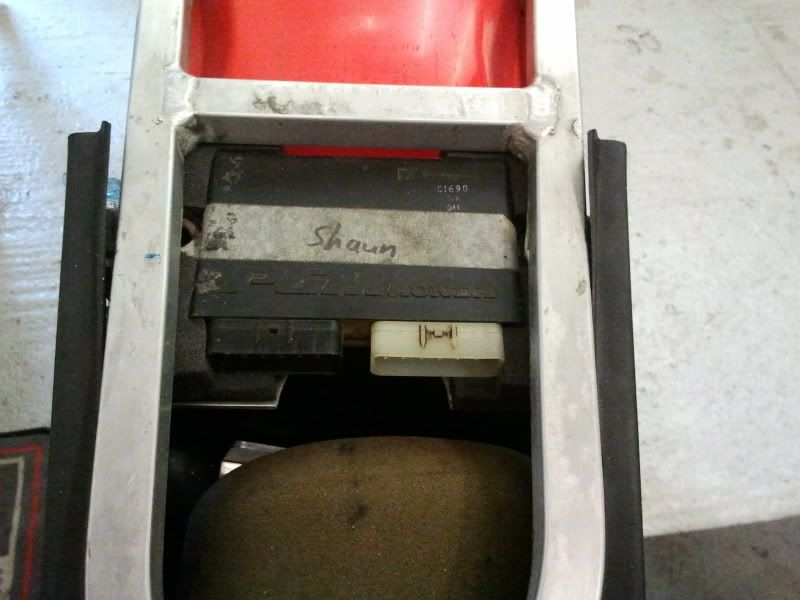
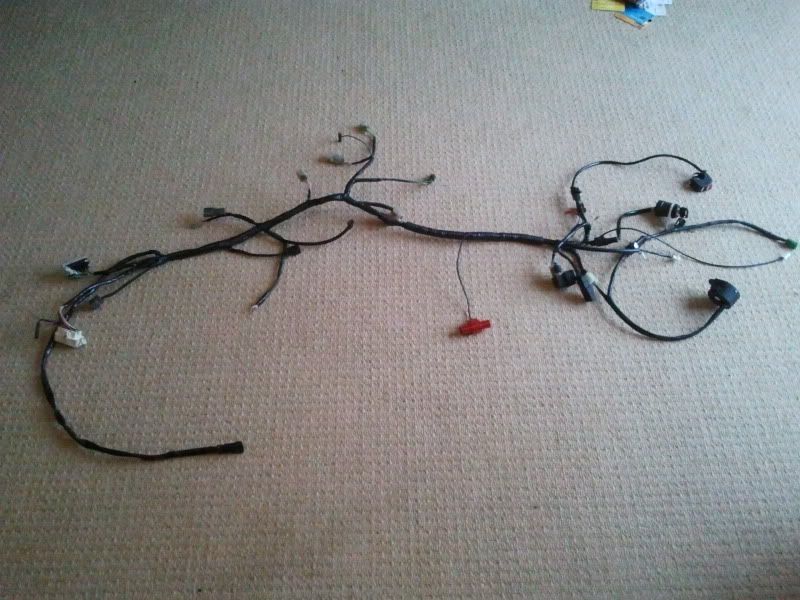
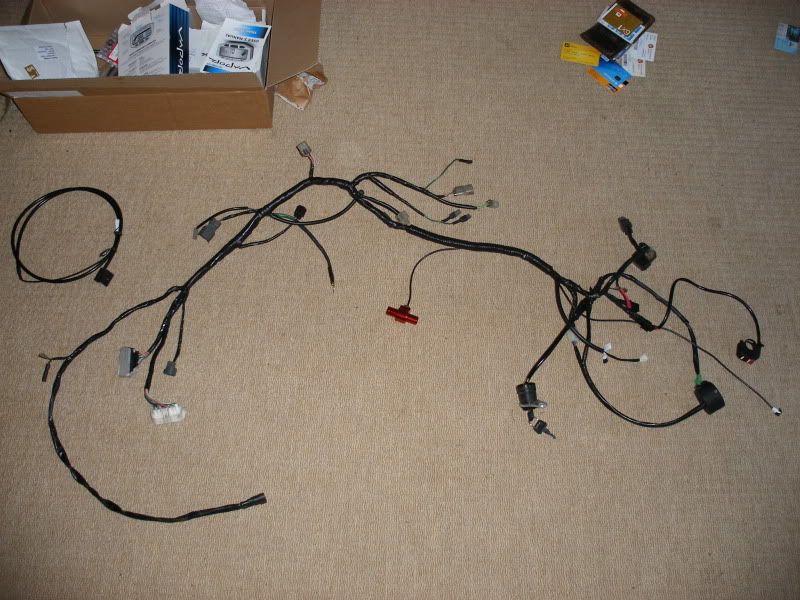
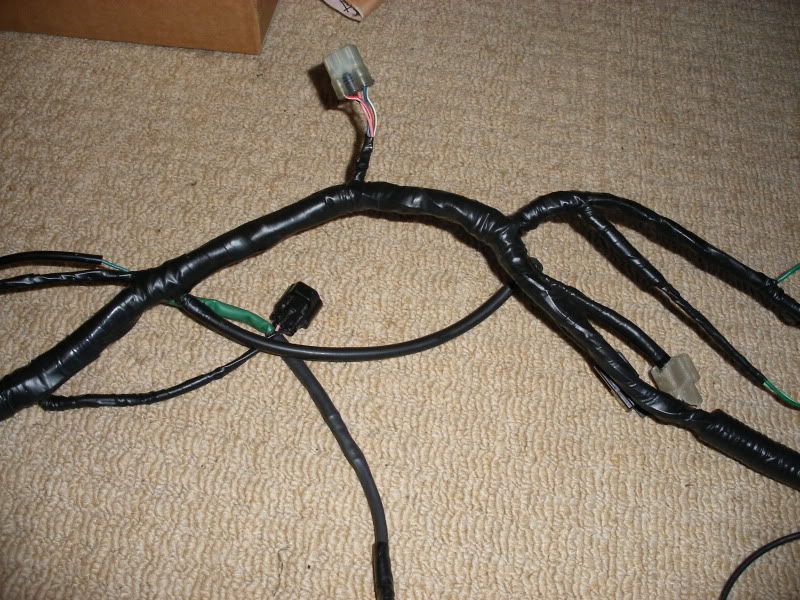
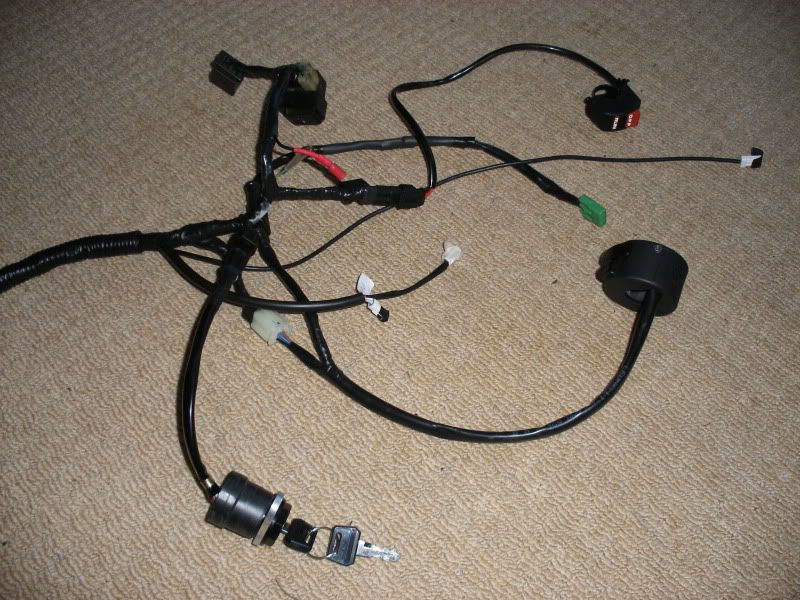
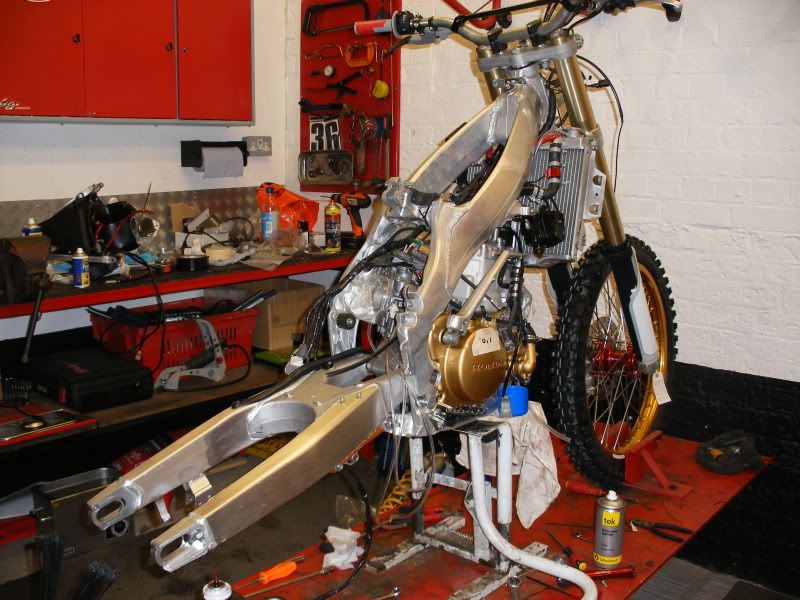
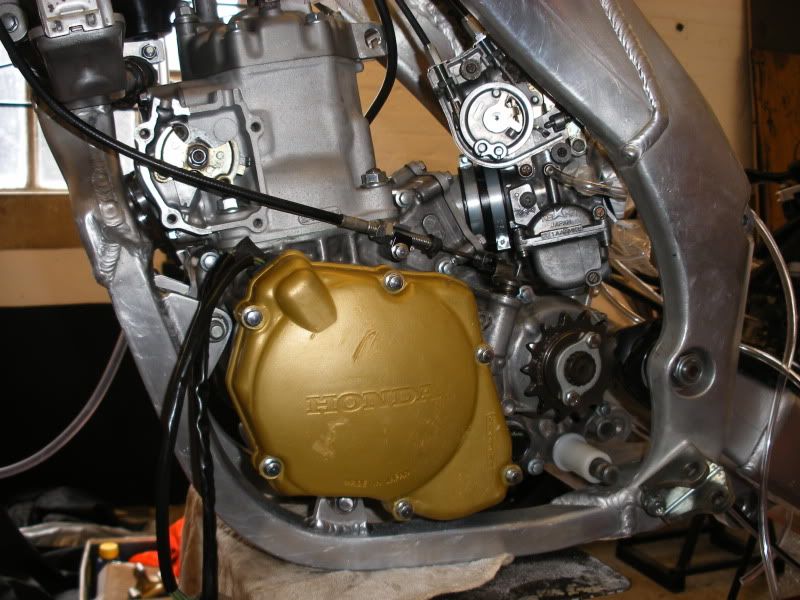
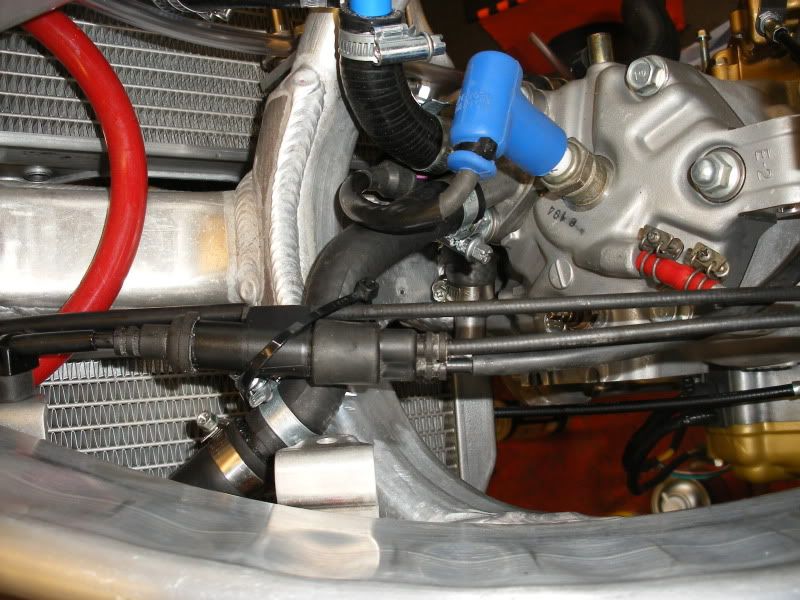
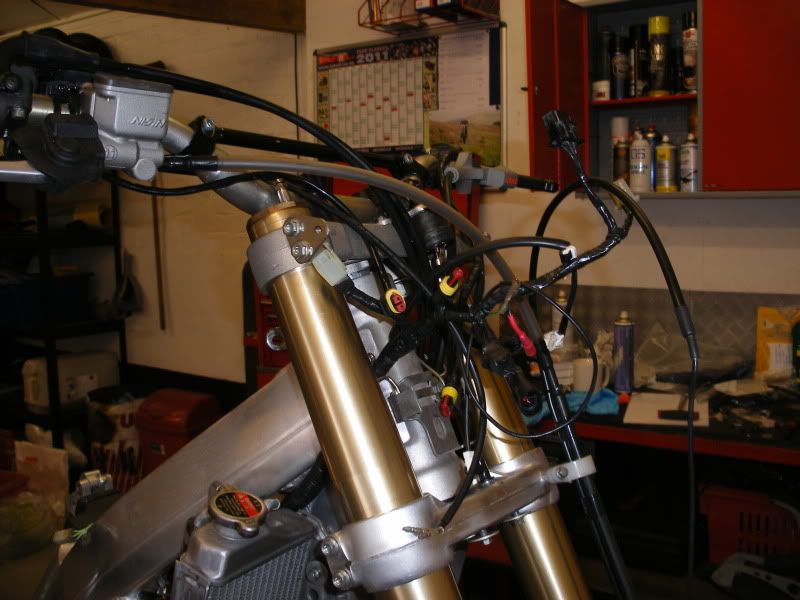
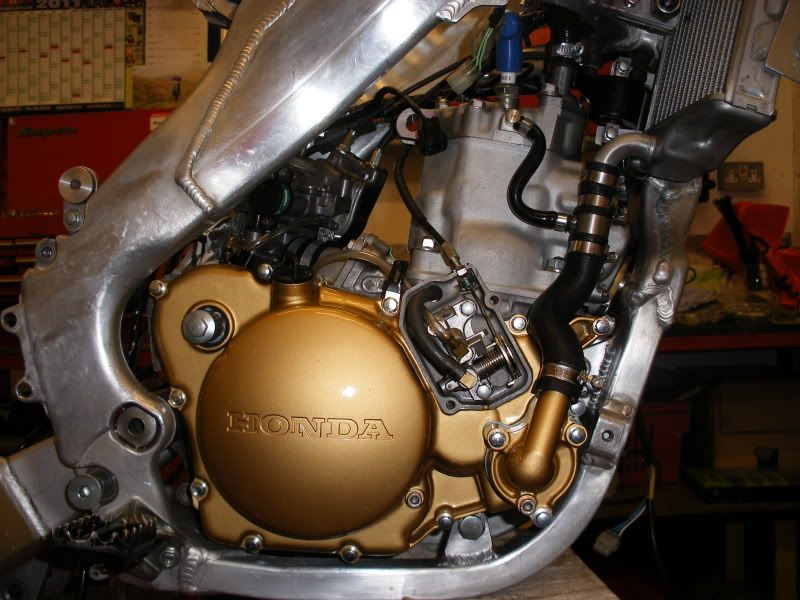
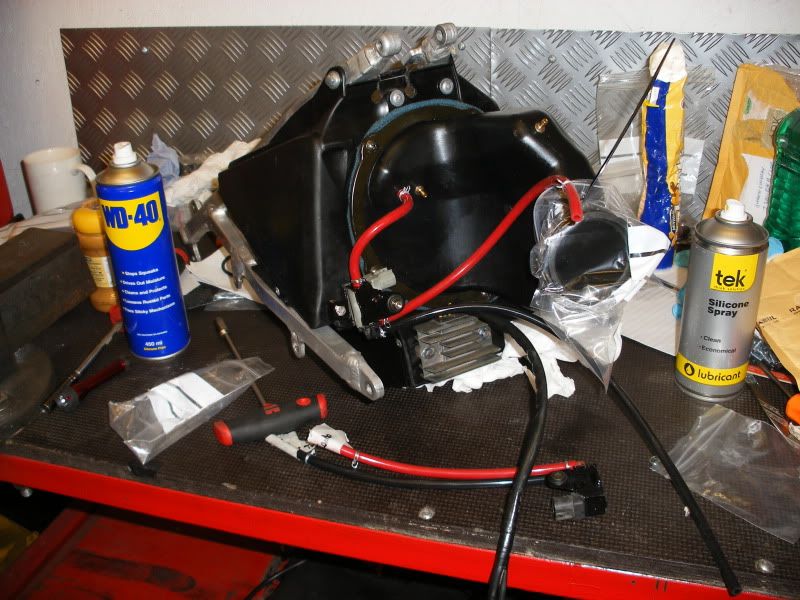
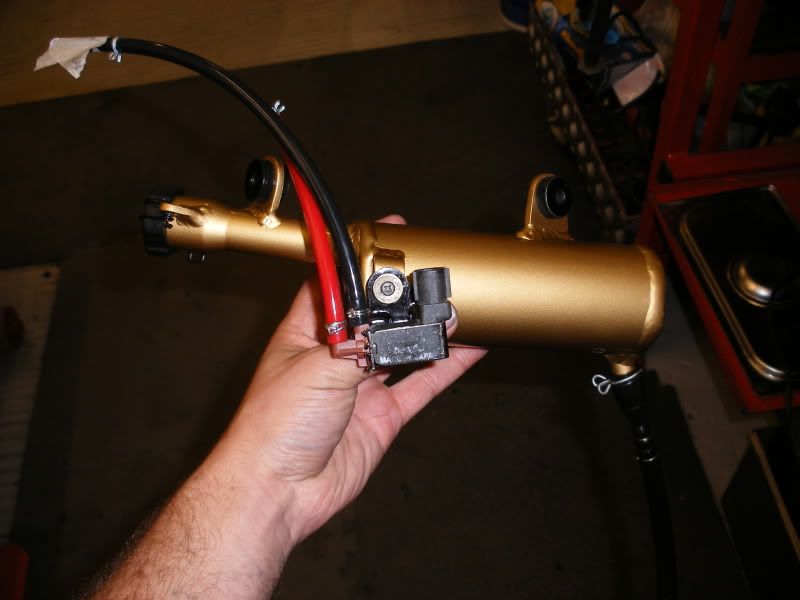
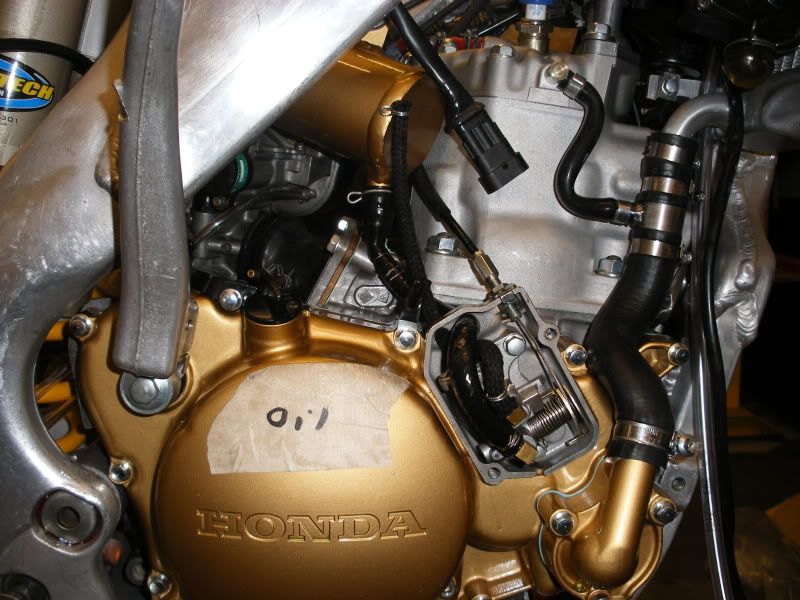
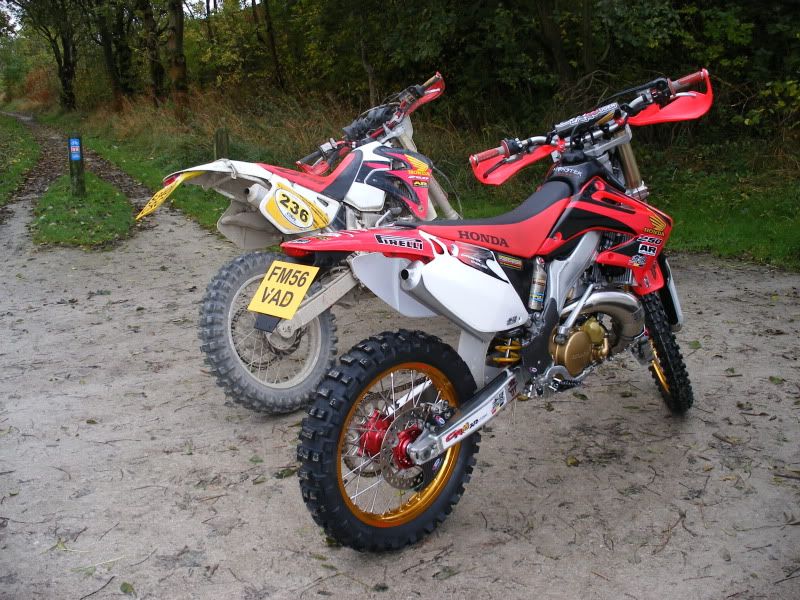
The next thing on the cards was sorting the wiring loom!! I had already labelled it and worked out where everything went pretty much, but I had to wire in the aftermarket headlight and tail light, kill switch and ignition key, along with all the new switch gear, brake light switches and Trail Tech speedo. I spent a lot on the electrical items as I was searching for quality and reliability. I also chose to used waterproof 2 and 3 pin plugs where necessary, for ease of assemble and obviously so they’re waterproof and therefore reliable and durable.
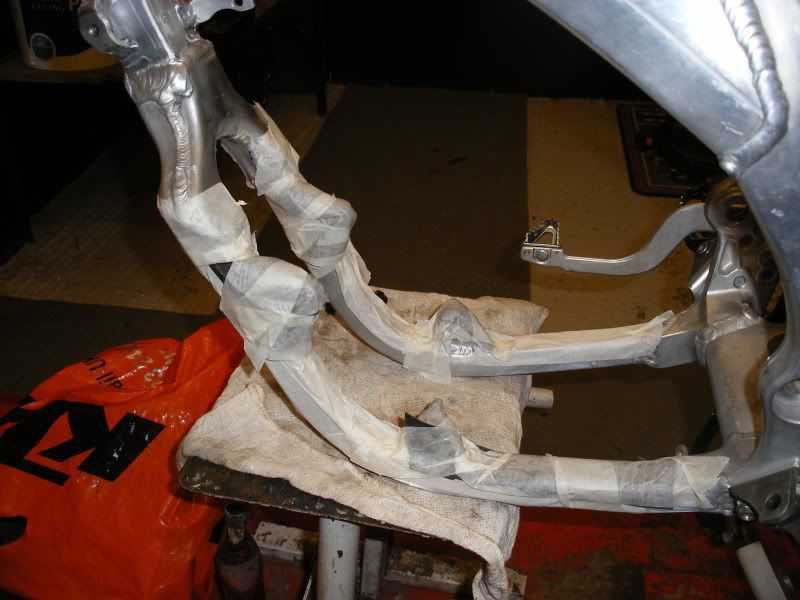
A few cups of tea, masking tape and a multimeter had the wiring pretty much sorted.
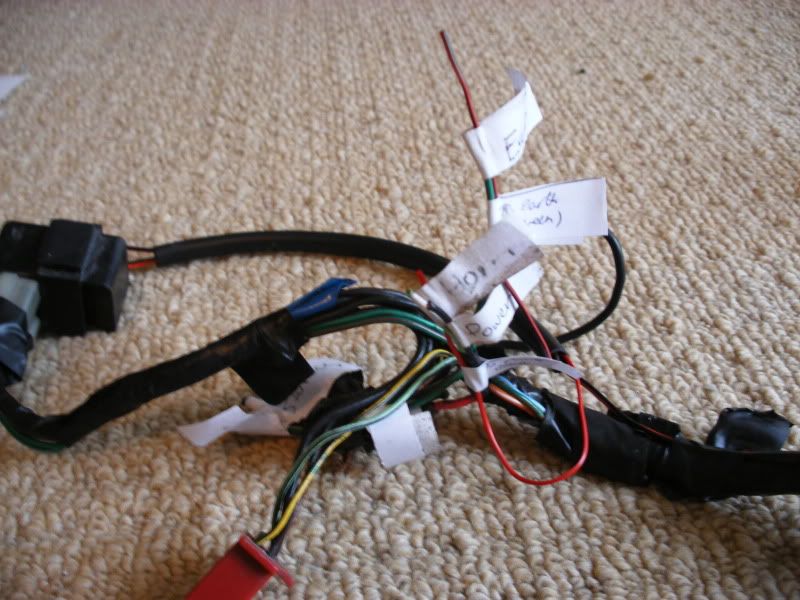
Once this was all in place, I managed to test it on my old running AR, and everything seemed to work fine!! However when finally crimped I couldn’t get a spark… which made me extremely annoyed!! I traced it and found that I has mixed the kill switch and ignition wire on the loom up (I remembered the labels had fallen off and I assumed the thicker wire was for the ignition).
In the mean time, between me and Gary at fusion-mx, we designed the custom graphics which I’m still to this day thrilled with and wouldn’t change. I gave him rough designs via email, photos and sketches in paint etc. After many, many tweeks, eventually they were perfect and on order, along with new plastics. I was chuffed when they arrived:
Obviously the first thing I did was try them on the bike, and oh did this get me excited and put a smile on my face:
Anyway, as mentioned earlier, now came the mounting of the headlight. This was a fairly tricky one as the original should be rubber mounted, however not too challenging in comparison to other bits of the bike. I had the special top-hat washers made once I’d worked the sizes out, and made the brackets myself:
The larger bracket was later powder coated, and I polished the stainless triangle brackets.
The next thing on the cards was sorting the wiring loom!! I had already labelled it and worked out where everything went pretty much, but I had to wire in the aftermarket headlight and tail light, kill switch and ignition key, along with all the new switch gear, brake light switches and Trail Tech speedo. I spent a lot on the electrical items as I was searching for quality and reliability. I also chose to used waterproof 2 and 3 pin plugs where necessary, for ease of assemble and obviously so they’re waterproof and therefore reliable and durable.
A few cups of tea, masking tape and a multimeter had the wiring pretty much sorted.
Once this was all in place, I managed to test it on my old running AR, and everything seemed to work fine!! However when finally crimped I couldn’t get a spark… which made me extremely annoyed!! I traced it and found that I has mixed the kill switch and ignition wire on the loom up (I remembered the labels had fallen off and I assumed the thicker wire was for the ignition).


