Arj256 - Mk2 Restoration
Posted: 24 Mar 2013, 17:10
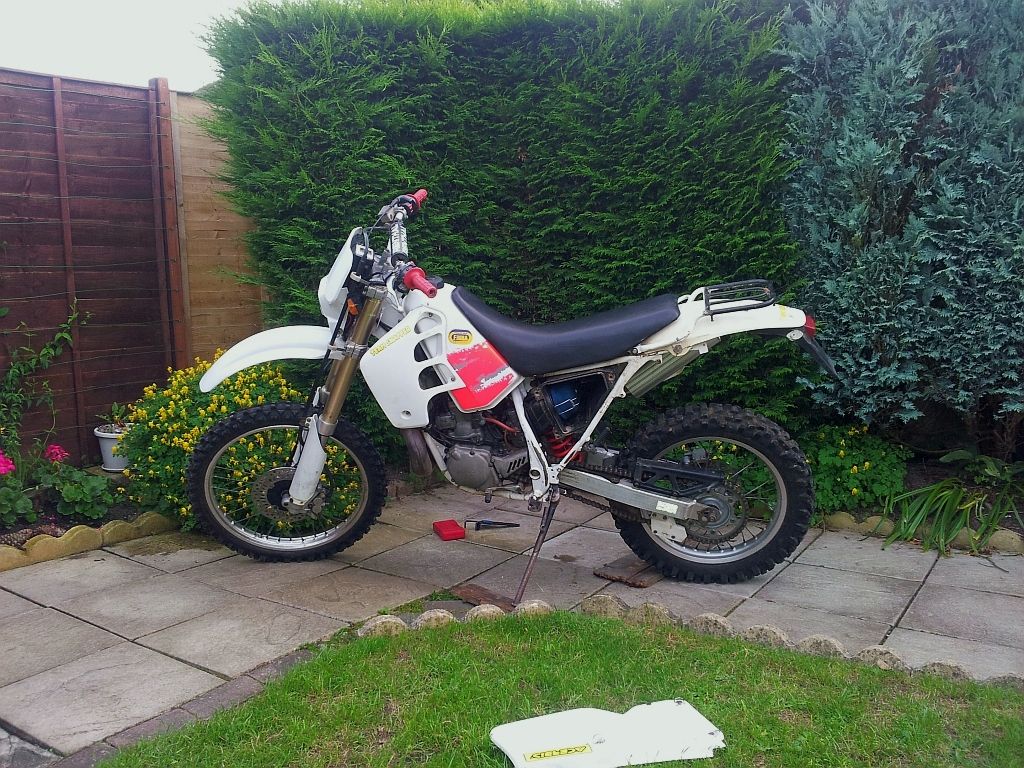
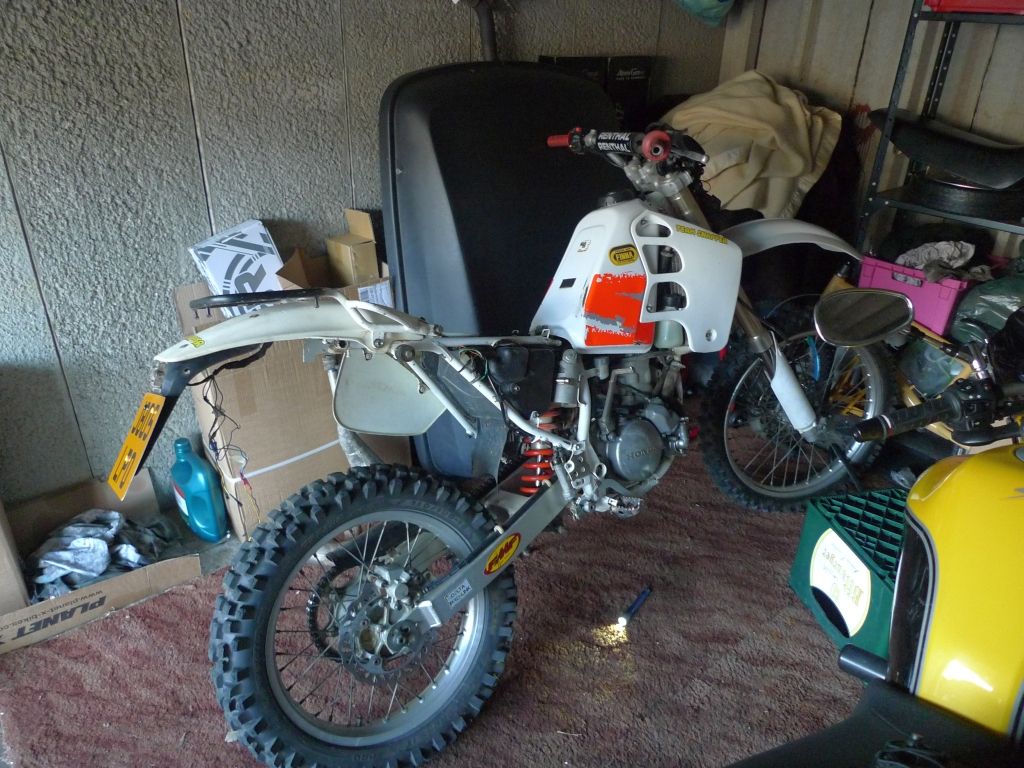
Having been tempted with giving greenlaning a go for a while, I was scouring Gumtree for bikes in the area and stumbled across an advert for a 1991 Honda CRM 250.
Liking the look of the bike and having never heard of it before I did abit of research finding it had a good owner’s forum, something which a lot of the other bike forums lacked, so arranged to have a look.
Had a look and the bike was as described with having all new service bits replaced along with tyres and chain so came across cared for. So a deal was done and had a new bike to tinker with.
The bike didn't have an MOT or Tax so these where two things I set about sorting out straight away.
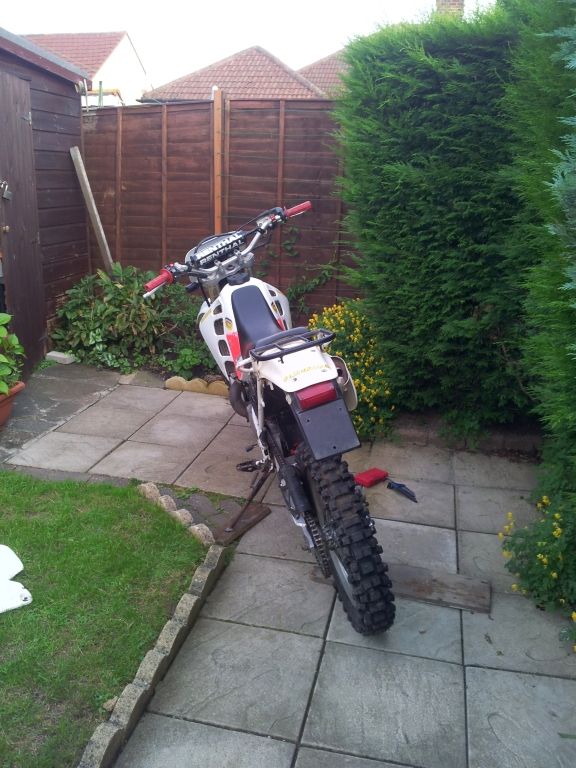
Giving the bike a good once over, I noticed that only one of the indicators worked, so removed those, along with the pillion pegs.
Next I noticed that the brake light switch was faulty so swapped that over for a universal one which works nicely.
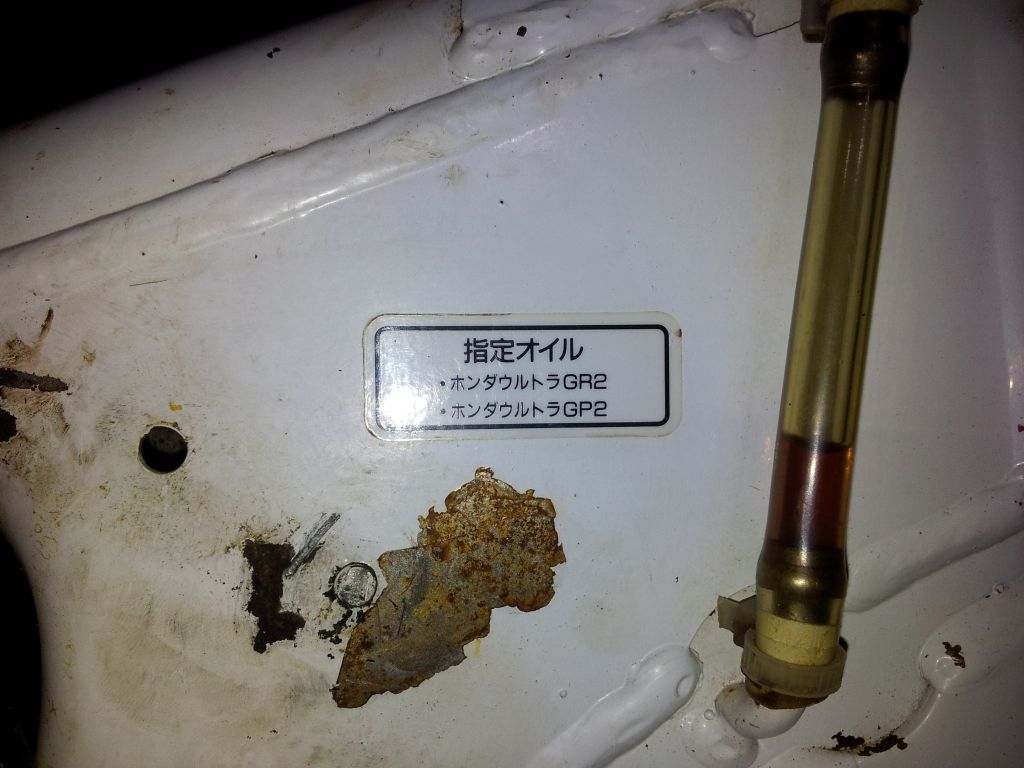
Gave the oil pump pulley a quick once over for being correct, and took it down for its MOT:
After a nervous waiting during its MOT and it being stubborn to start up for checking the electrics, it passed with a few advisories
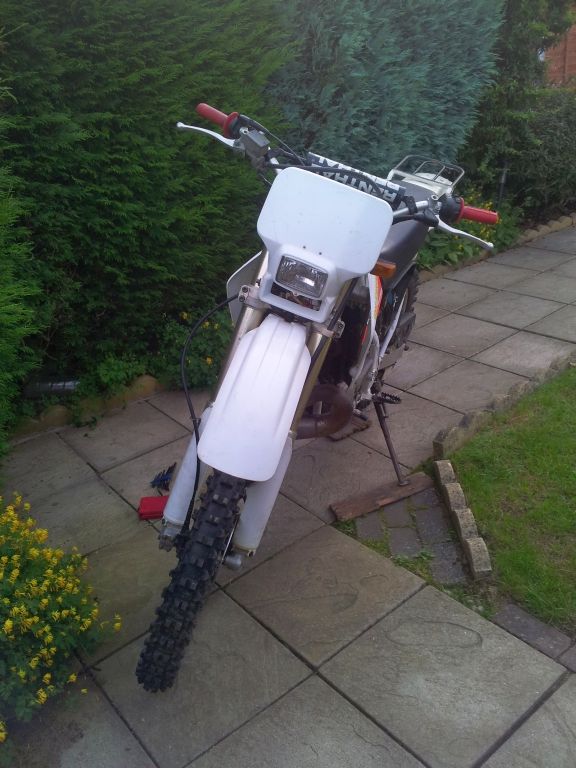
Popped out for a ride that evening on the bike, and noticed that it had a hesitant throttle which cleared higher up the revs, but bogged down on low throttle, and that the front brake wasn't very good.
Bike rode well, other than not being as quick as I imagined.
Despite being tempted to go and explore I thought it would be more sensible to get to the bottom of the rough running and give the bike a proper going over to avoid breaking down in the middle of nowhere.
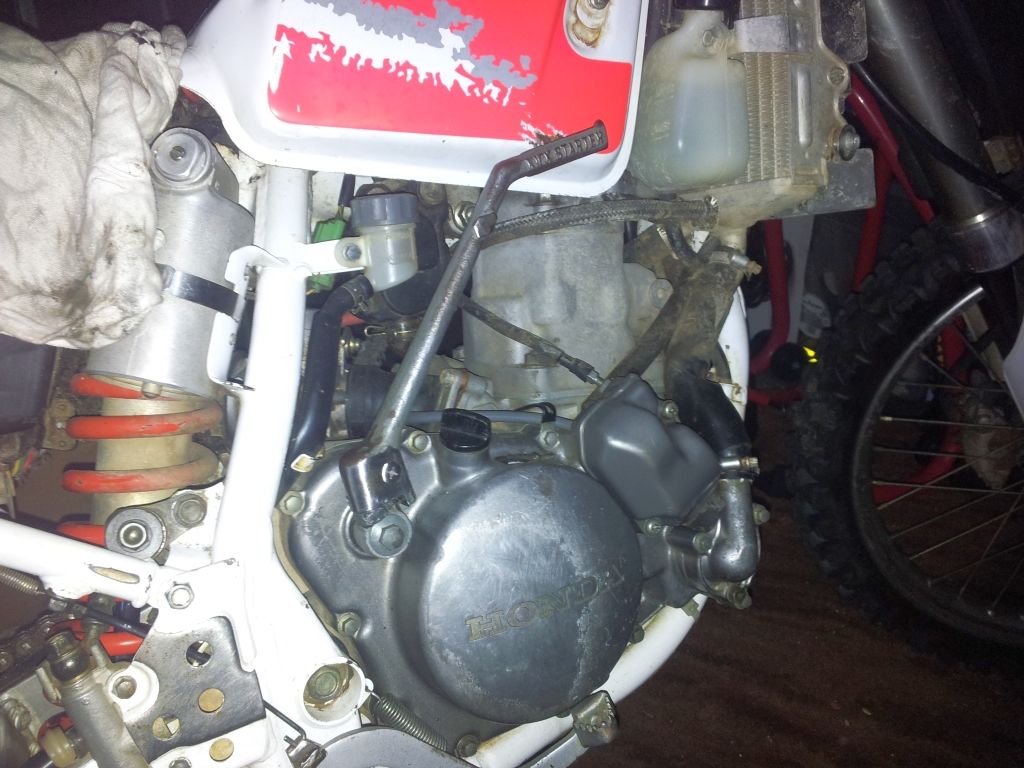
So I set about having a good inspection of the bike:
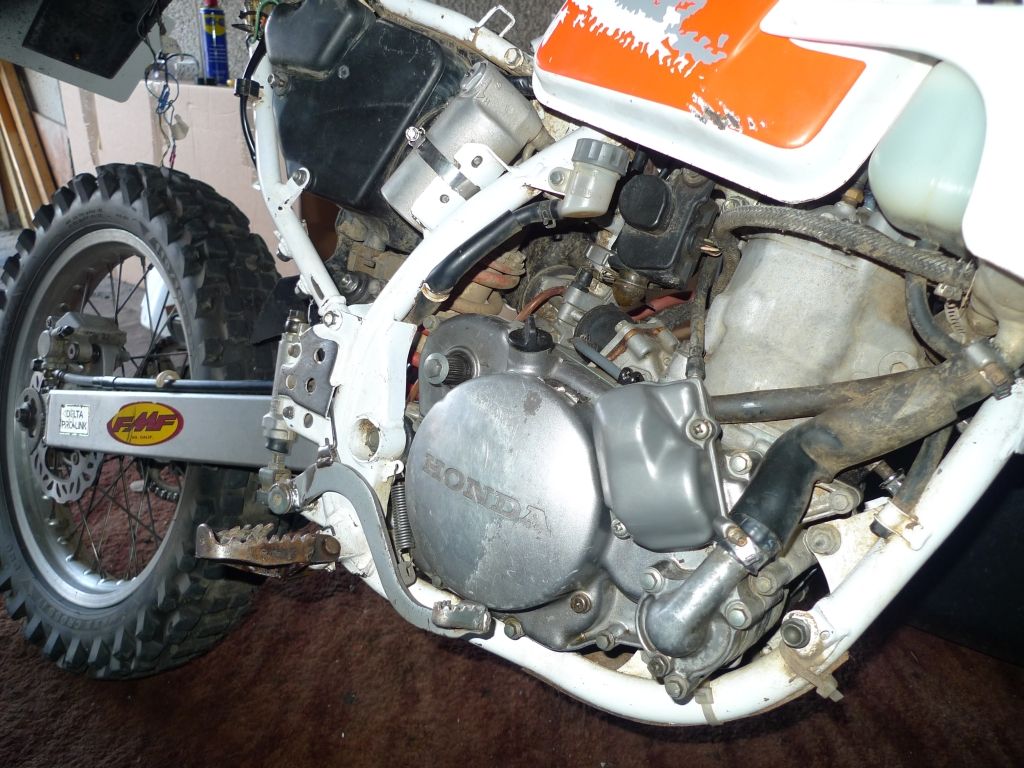
What I initially noticed was that the exhaust was blowing from the port to the manifold, so I took the exhaust off as I wanted to have a look at the piston anyway.
Upon inspecting the exhaust it had a hole just below the flange.
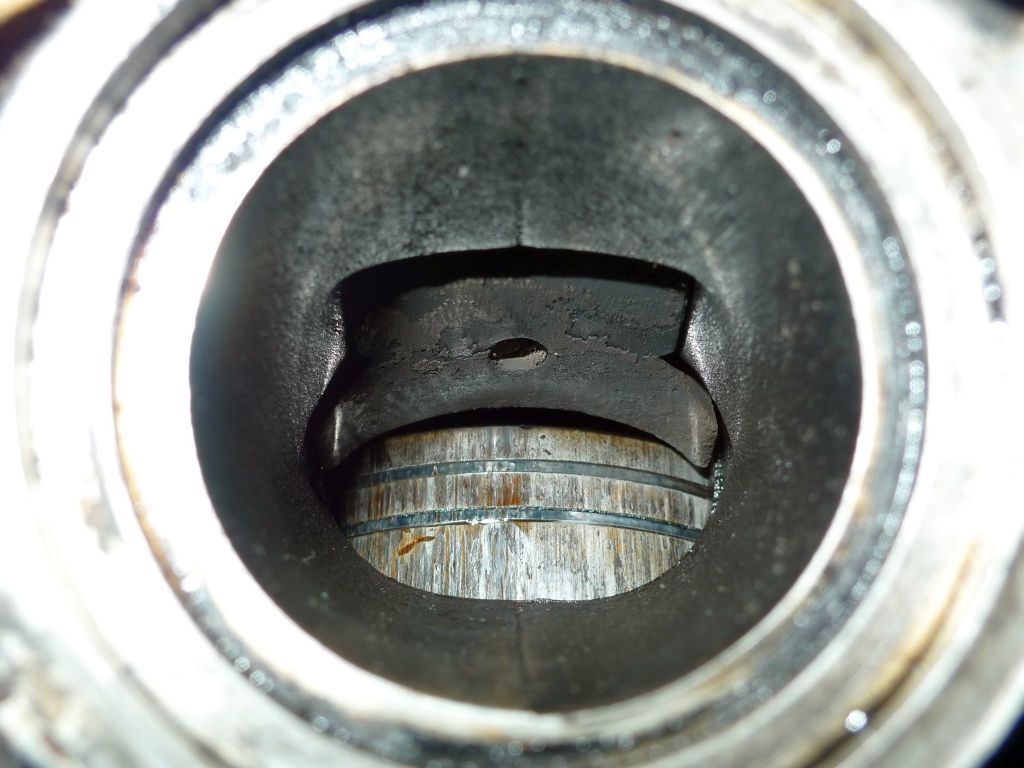
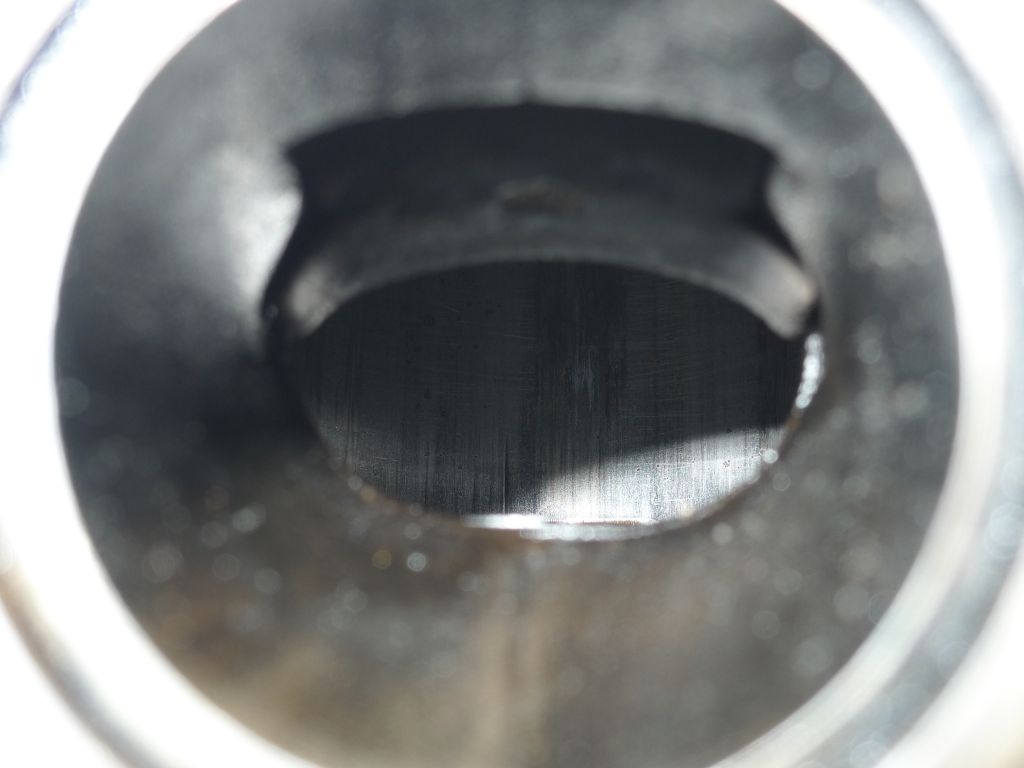
Looking inside the exhaust port I could see that there was scoring on both the piston and the barrel.
Because of this it would be sensible to replace it before any further damage ensued.
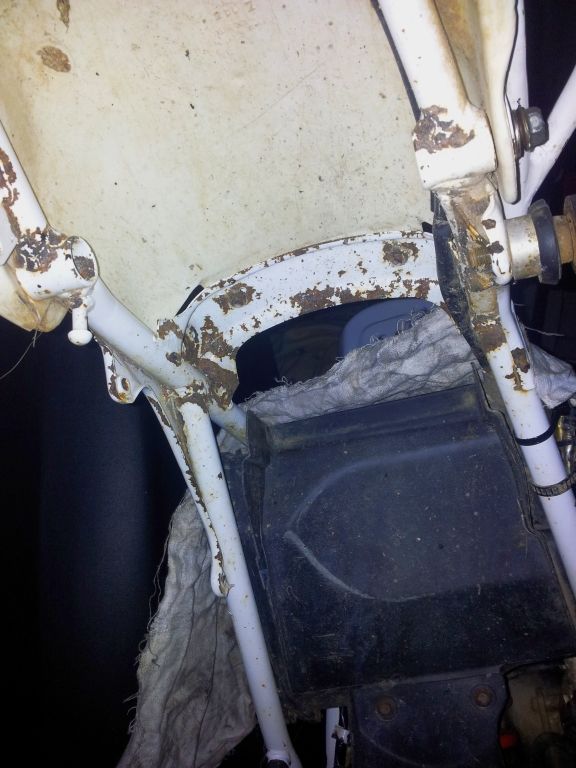
Due to the need to remove the barrel I thought this would be a good opportunity to give the frame and sub frame a fresh coat of paint and inspect the steering and suspension bearings at the same time.
I noticed from the first ride out that the fork seals had started to weep so will do those as well.
I also noticed that the kick starter was loose on its shaft, so much so that it had been making contact with the fuel tank and had dented it.
Wanting to sort this out I removed it and had an inspection.
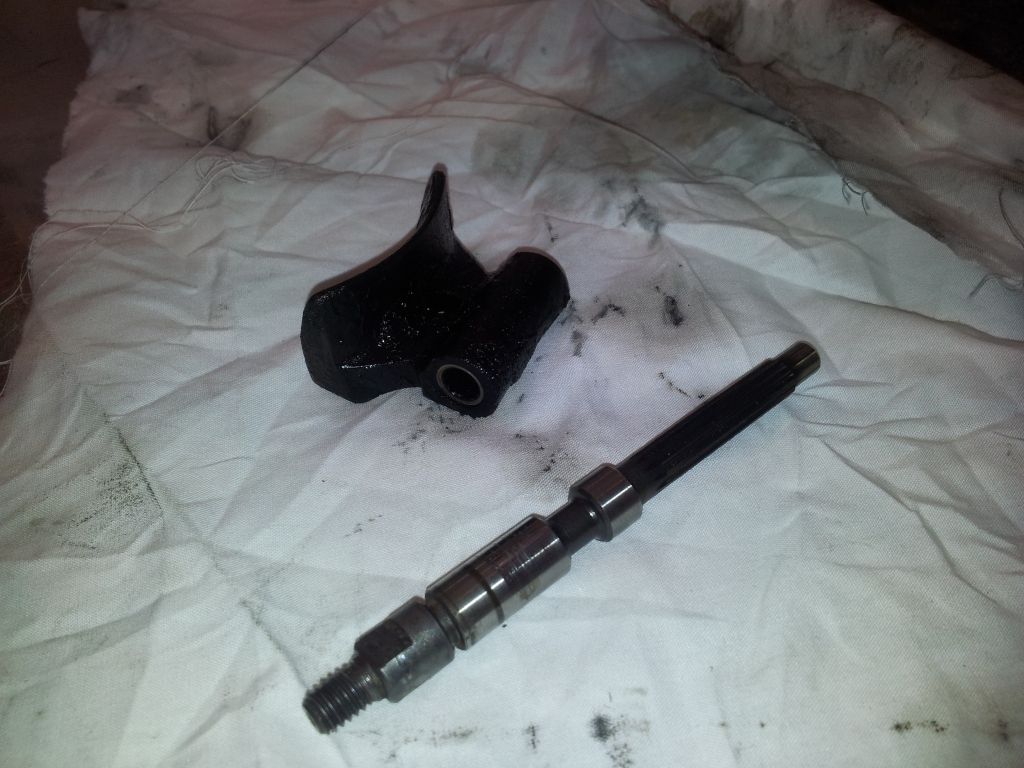
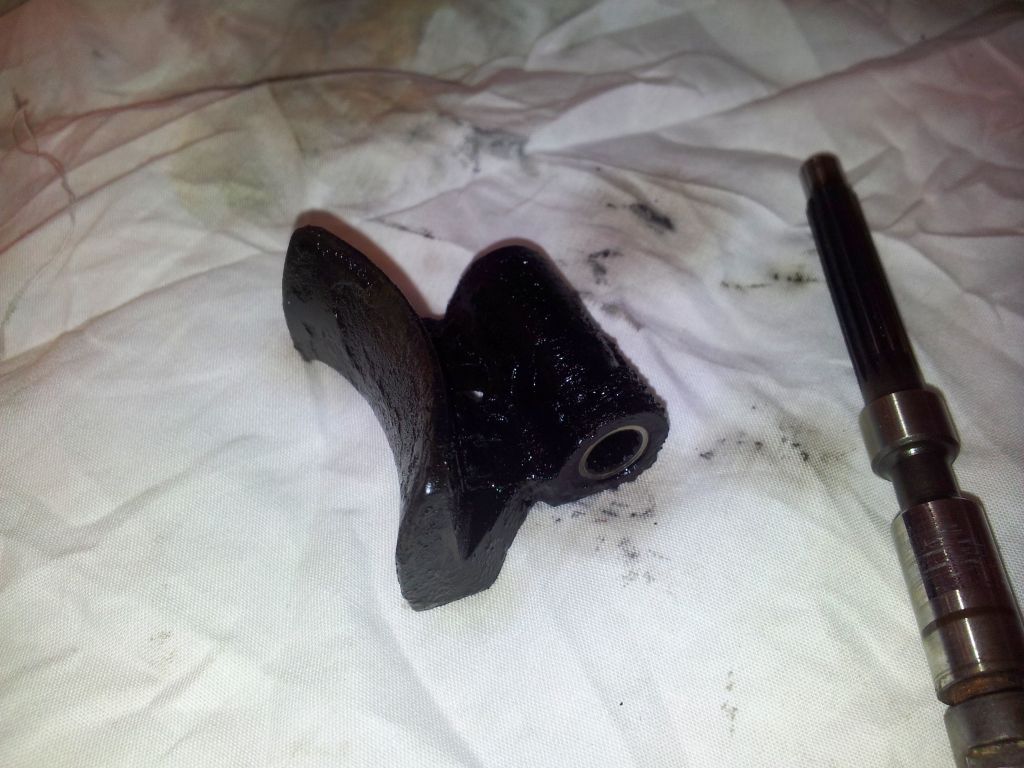
Upon inspection it turned out that the kick starter shaft had worn, the bolt and kick start shaft hole had ovalized. The combination of these was resulting in play.
The simplest way I could think of to remove the play was to build the kick starter shaft back up with weld and then file the groove for the bolt so that it was tight again.
After doing this and making sure that the ball bearing inside the kick starter was free, I reassembled it and it has eliminated most of the play meaning that it is no longer making contact with the fuel tank
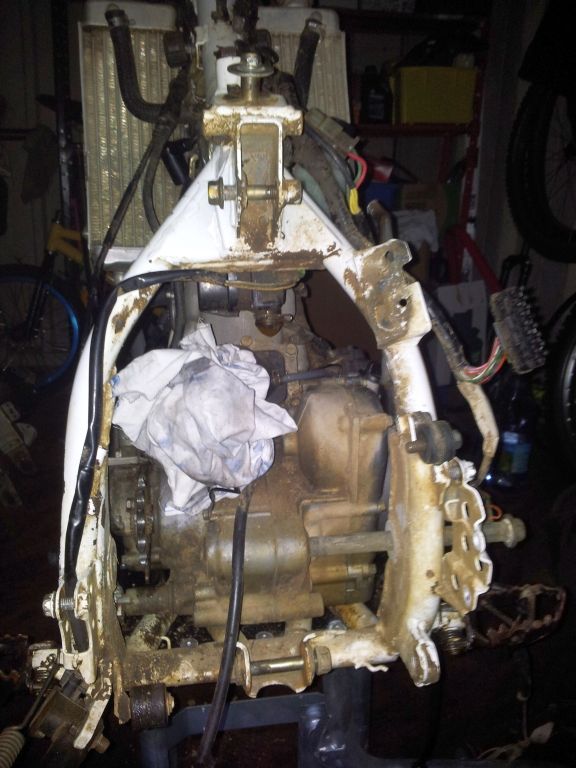
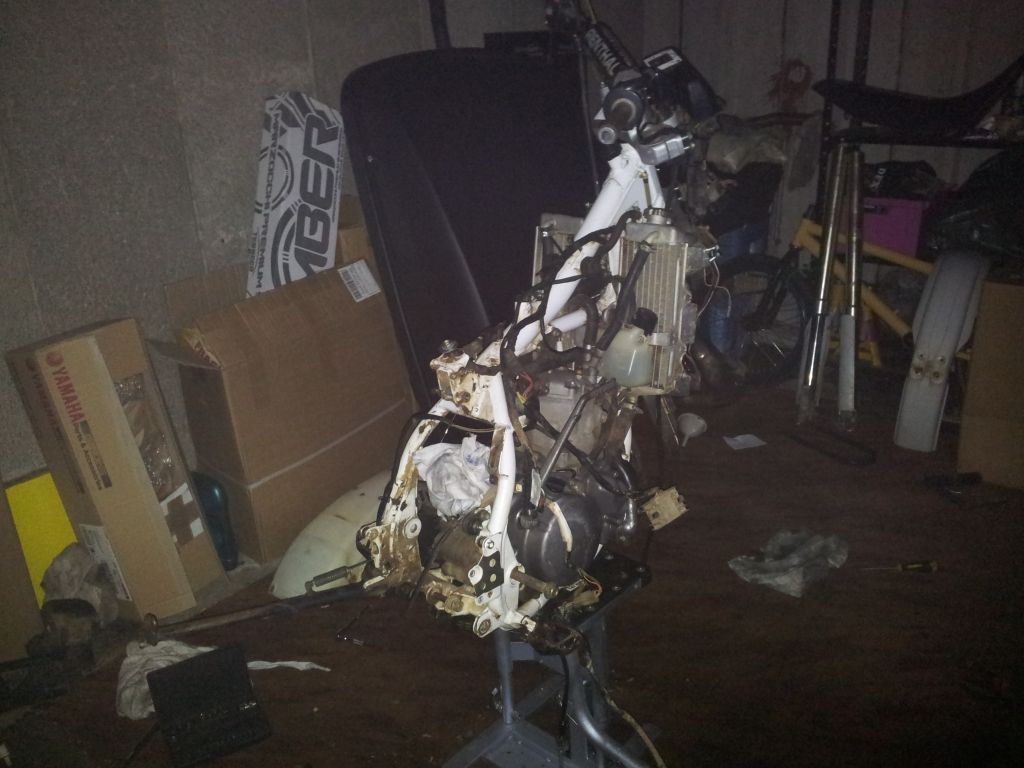
So I began to strip the bike down:

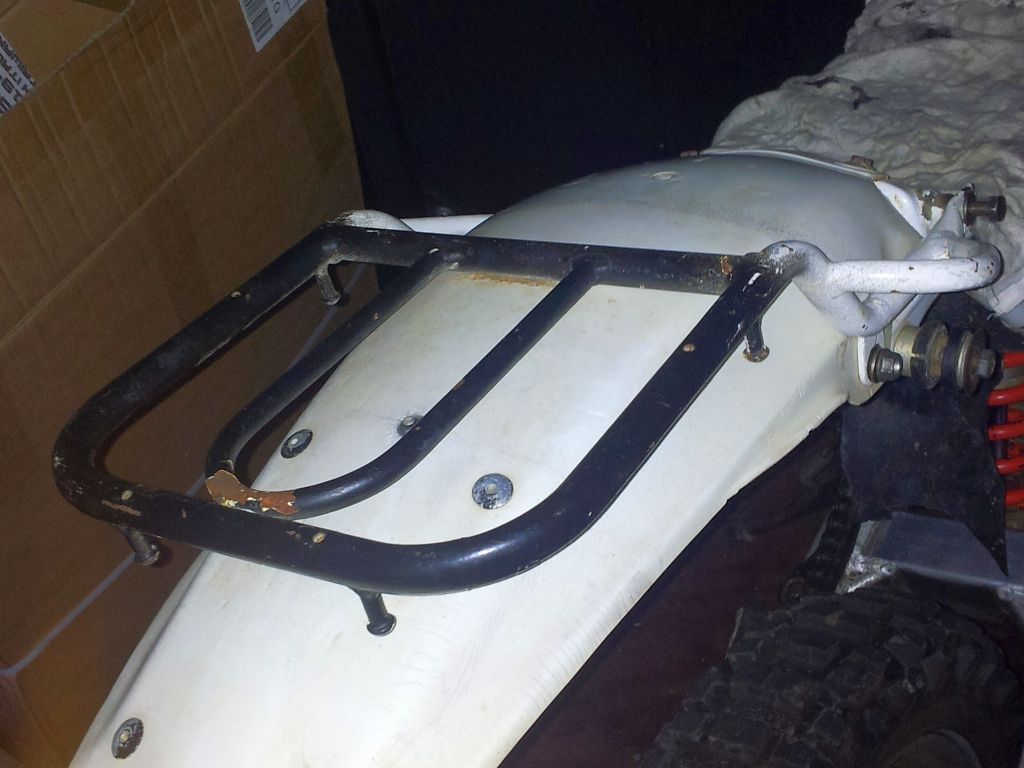
Anyone know where the rear rack comes from? Not seen one like it on other CRM's.
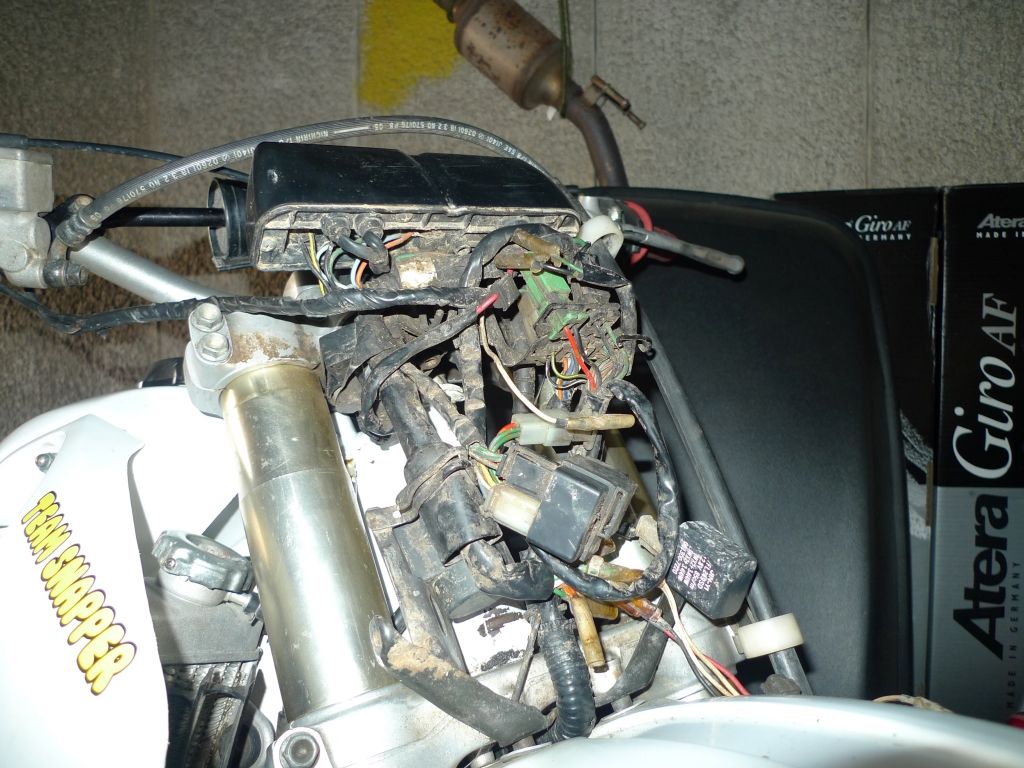
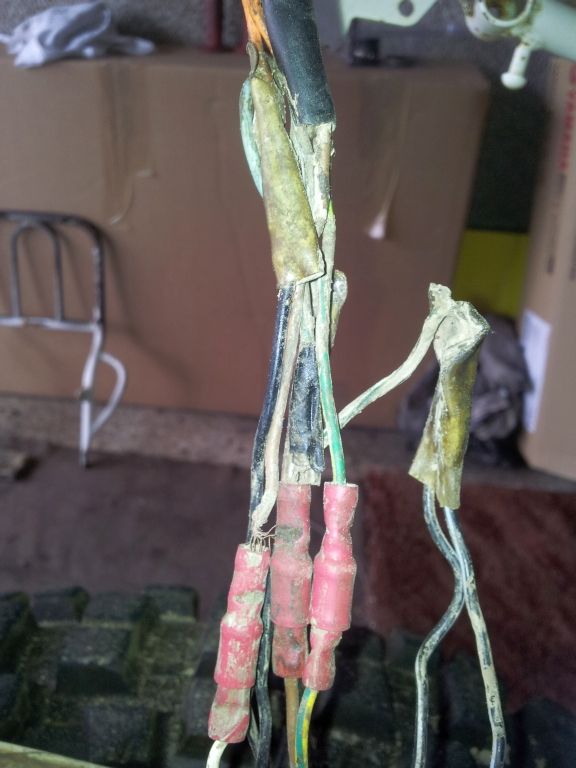
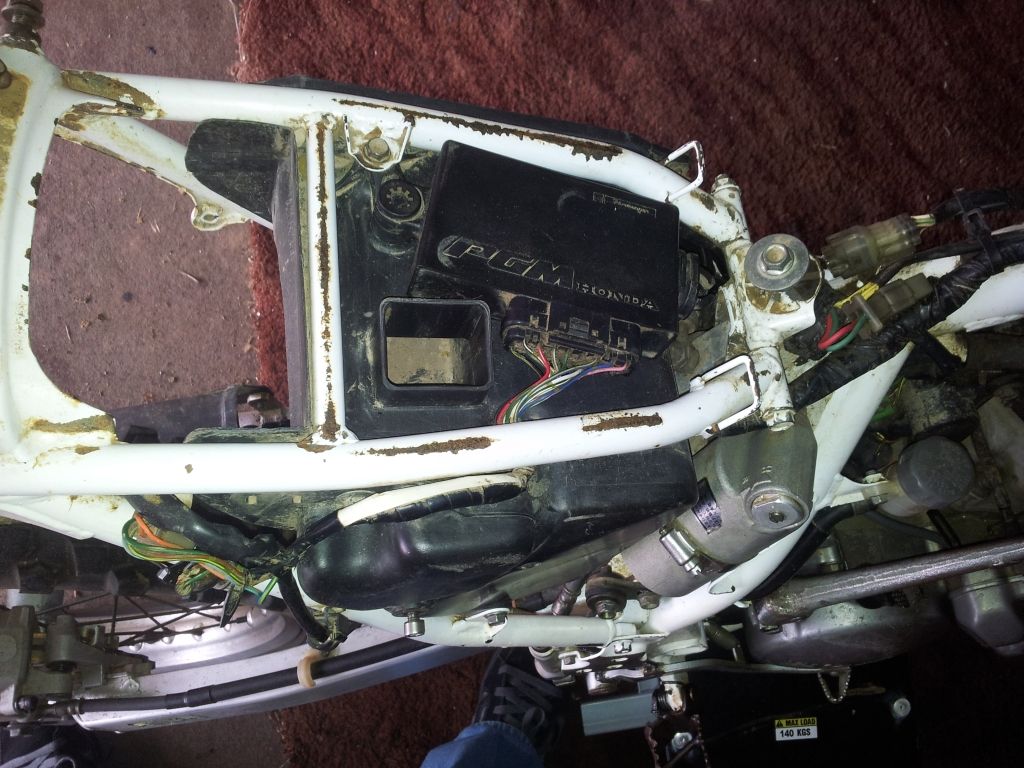
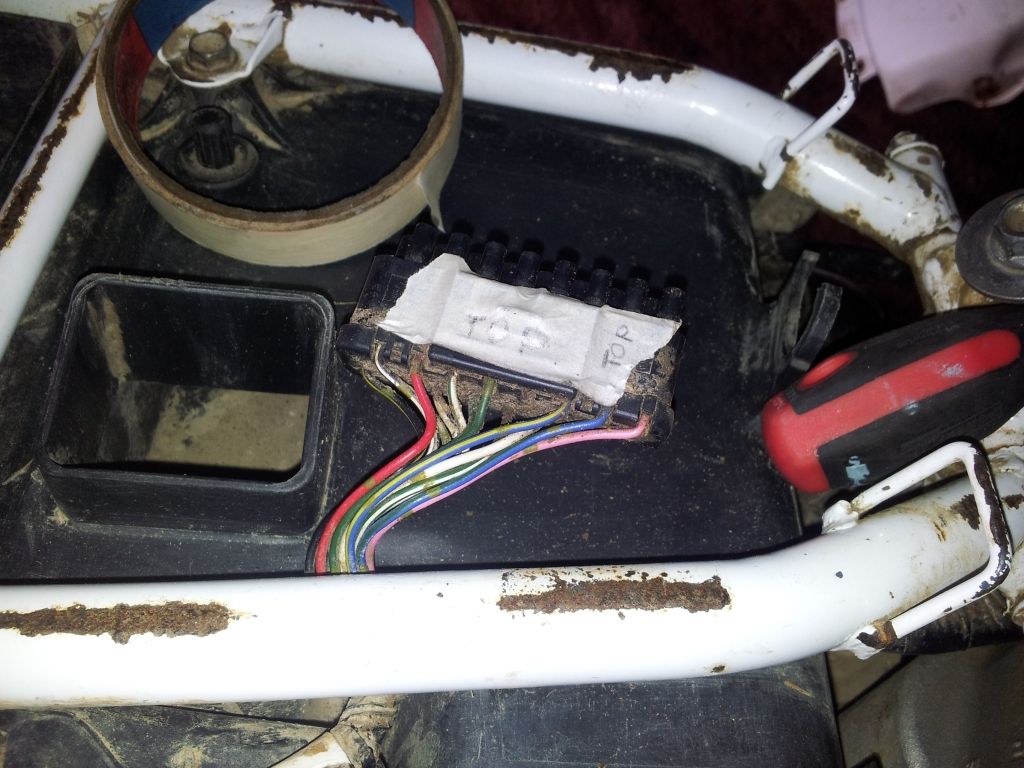
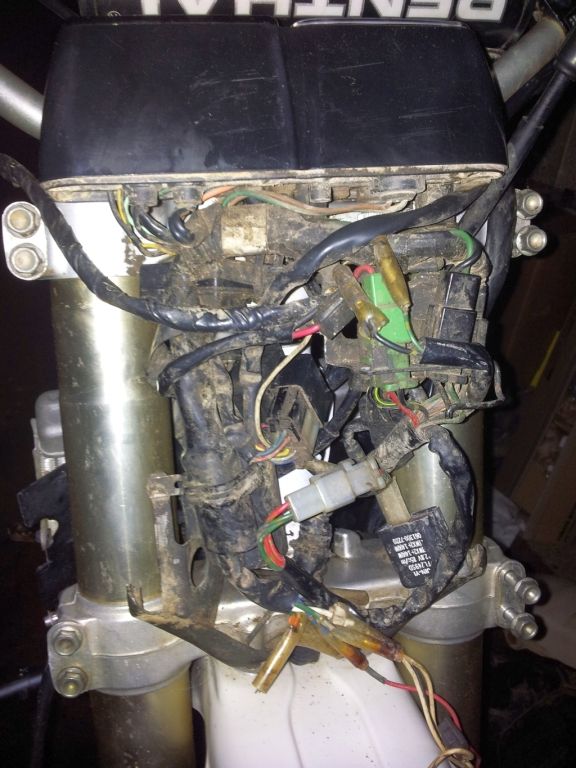
Found out the reason why the rear indicators didn't work after unwrapping plenty of electrical tape on the rear loom:
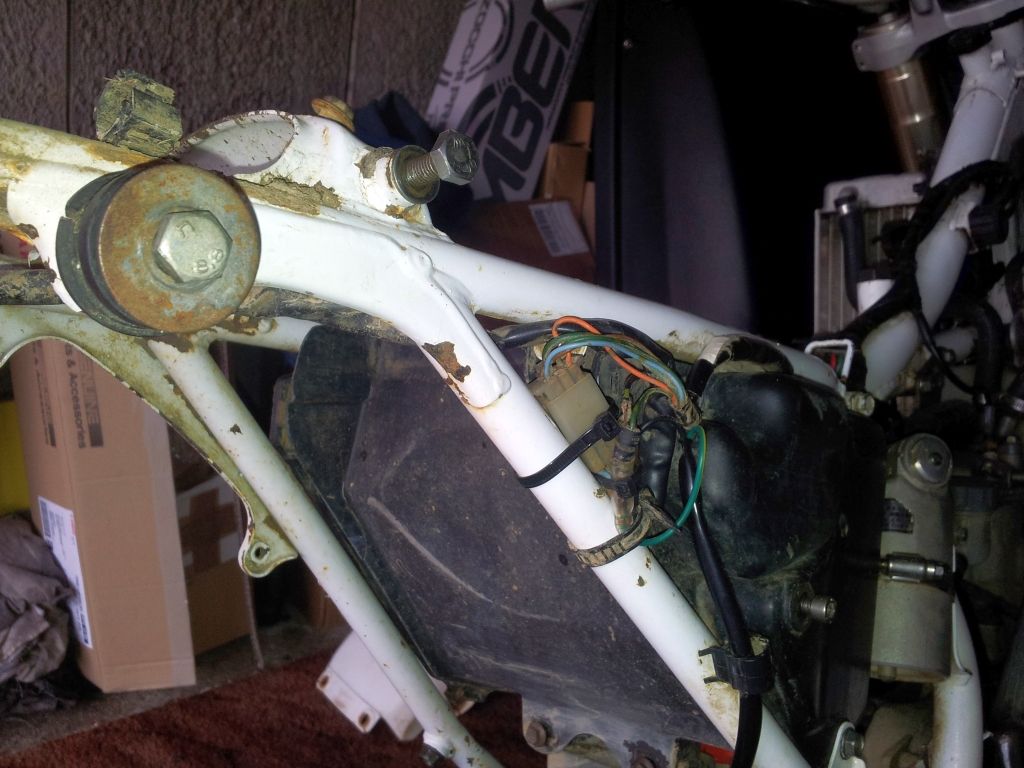
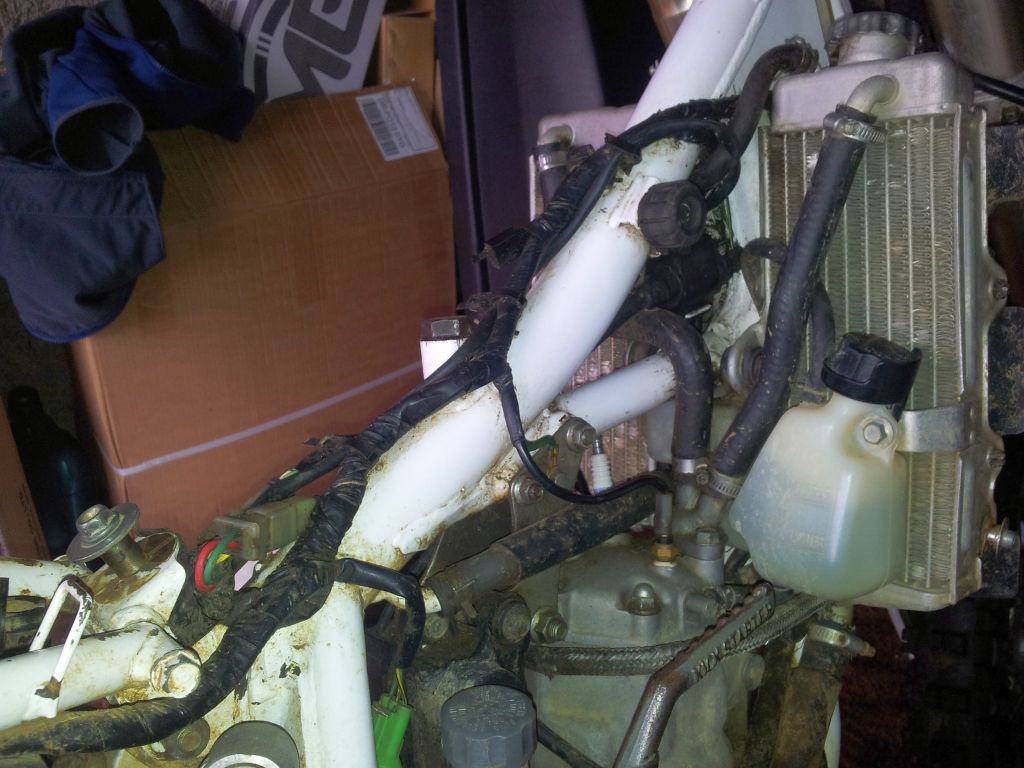
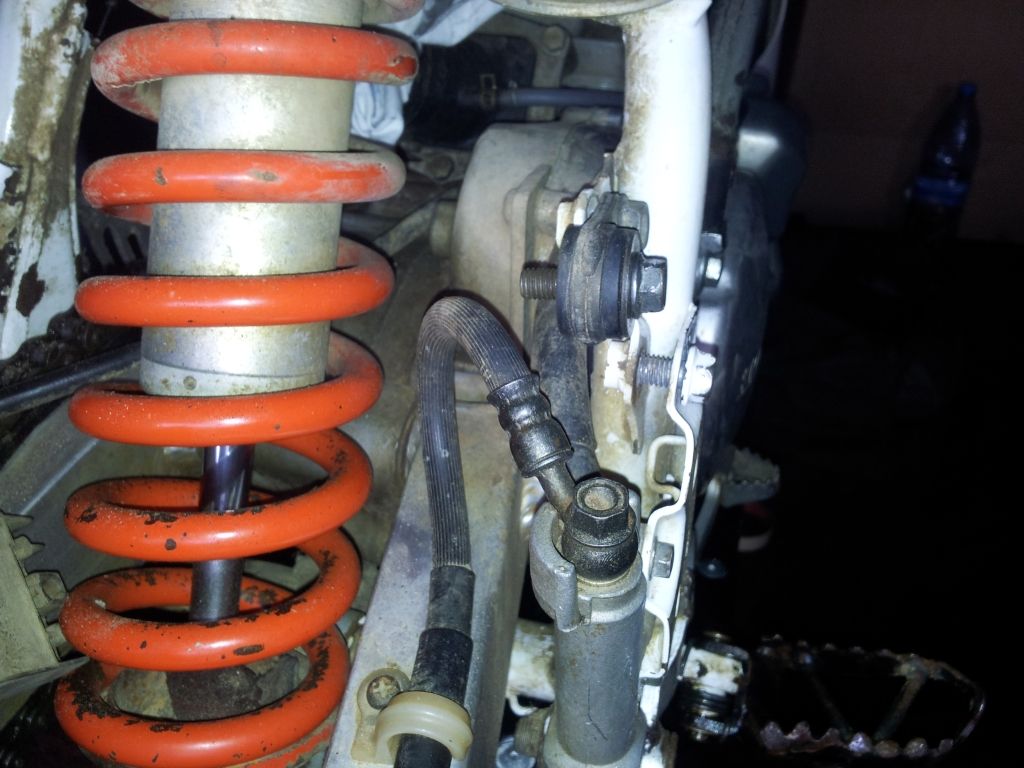
Continuing stripping down the bike and taking plenty of pictures for future reference:
Fortunately when it came to the swing arm, the bolt came out with little fuss, which was relieving after reading how much grief they can cause!
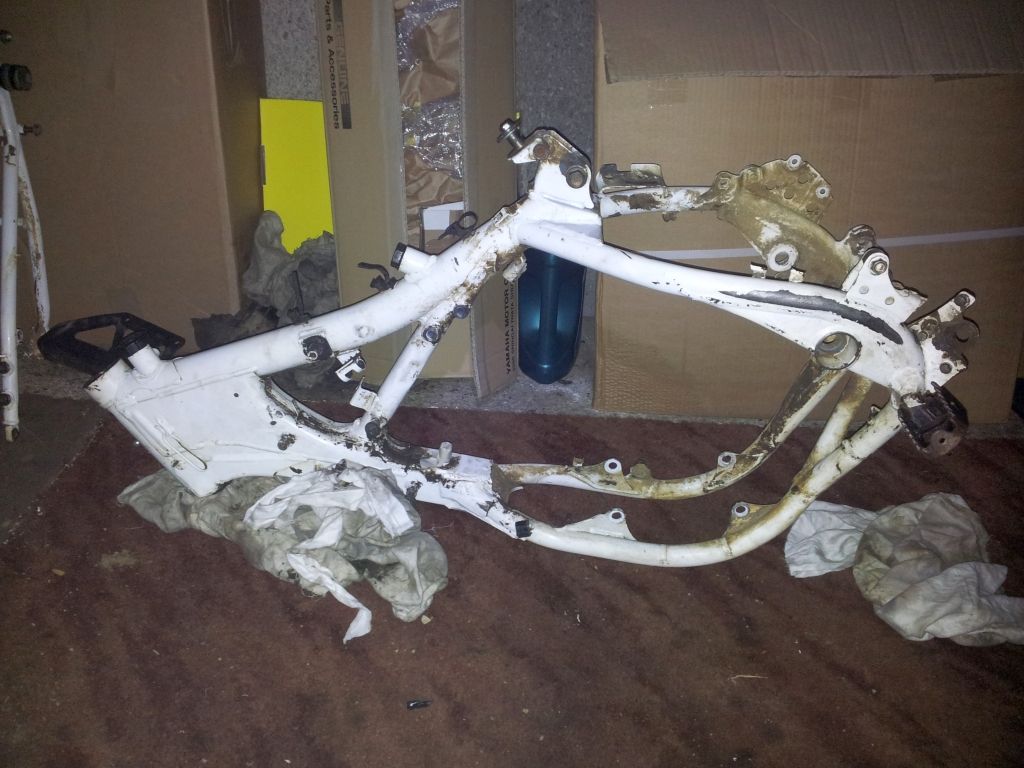
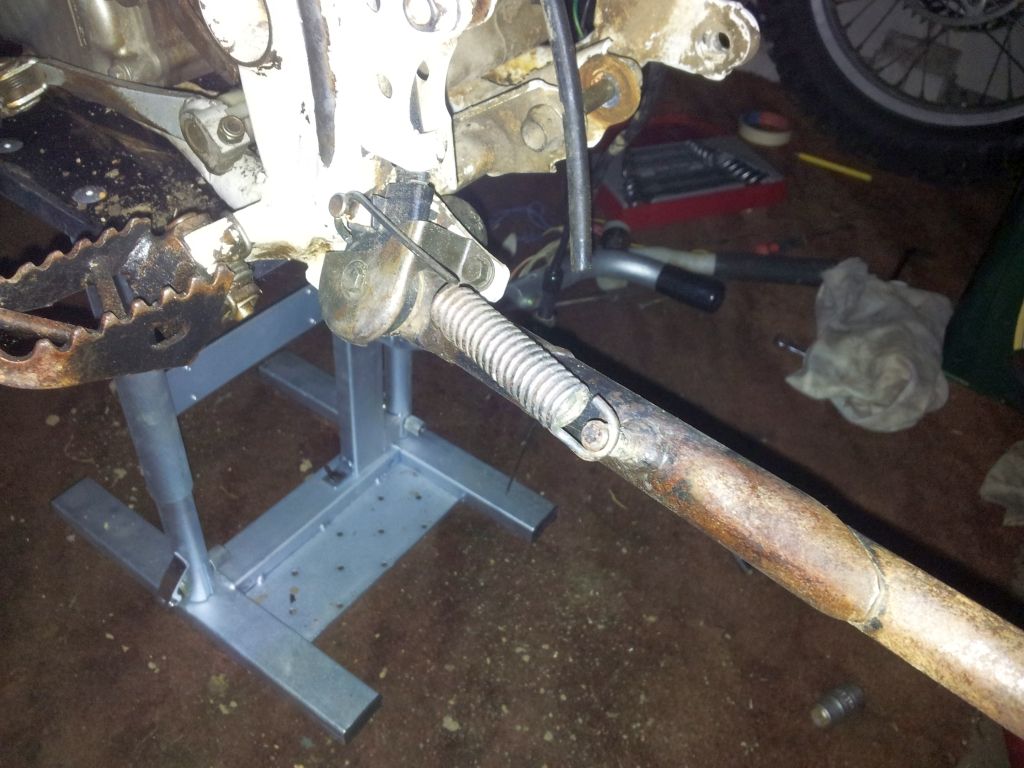
With the engine and frame removed, I begun cleaning up various bits and bobs and sorting out various bits which needed renovating.
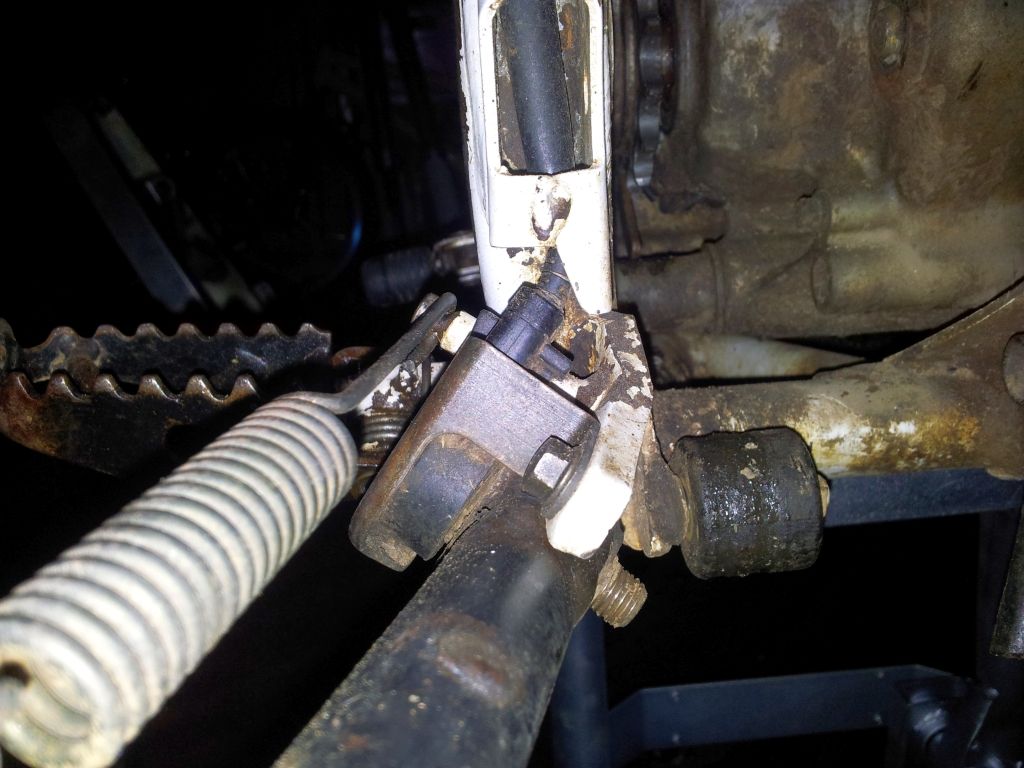
One part of which was the rear brake lever, which was making contact with the clutch cover.
This was a relatively simple fix involving an oxy acetylene torch and a few gentle taps from the hammer to bend it out slightly.
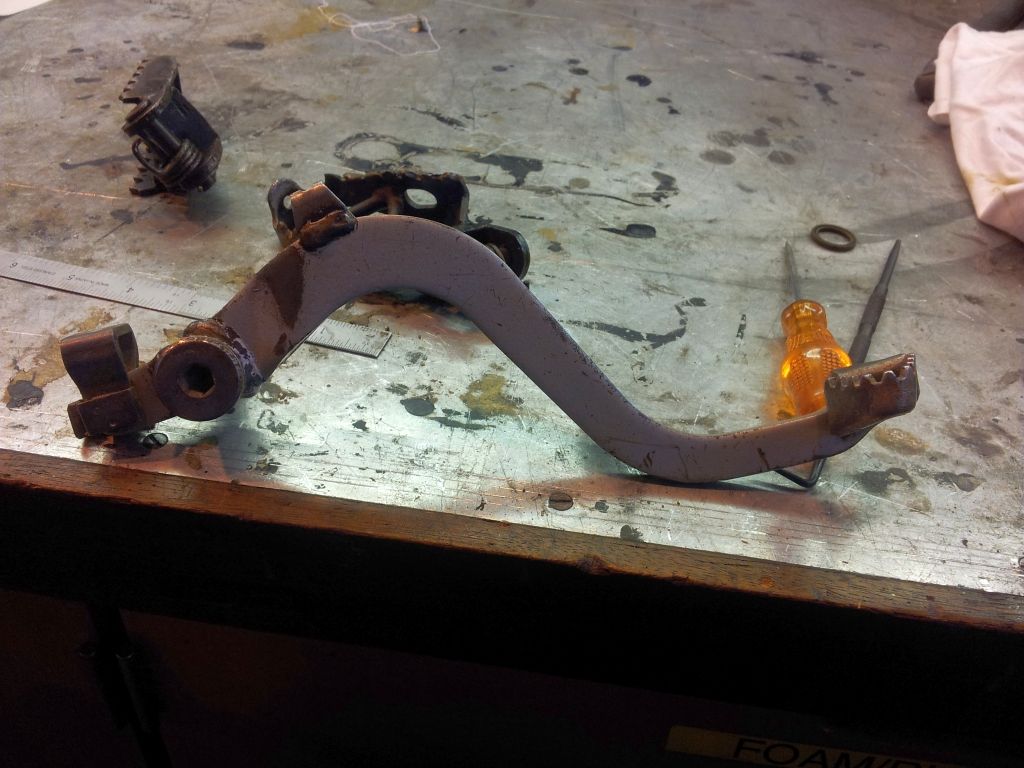
One of the foot pegs had its teeth bent in, so these was also heated up and straightened to, then dressed up with a file.
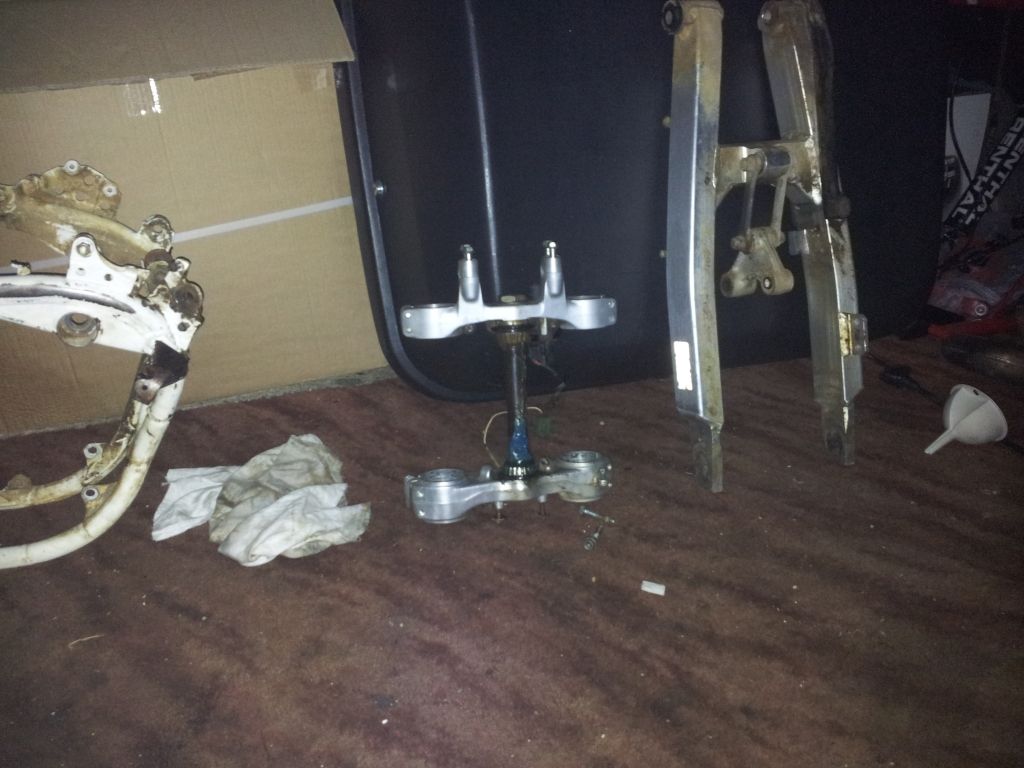
Next up was giving the yokes a good clean and inspection:
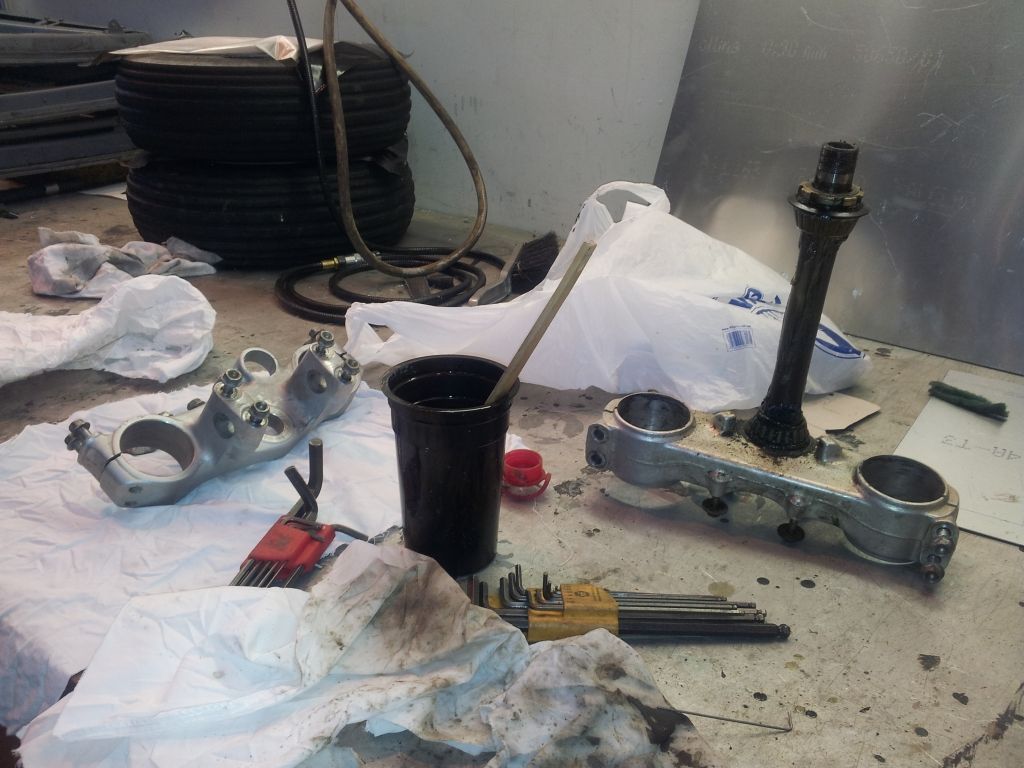
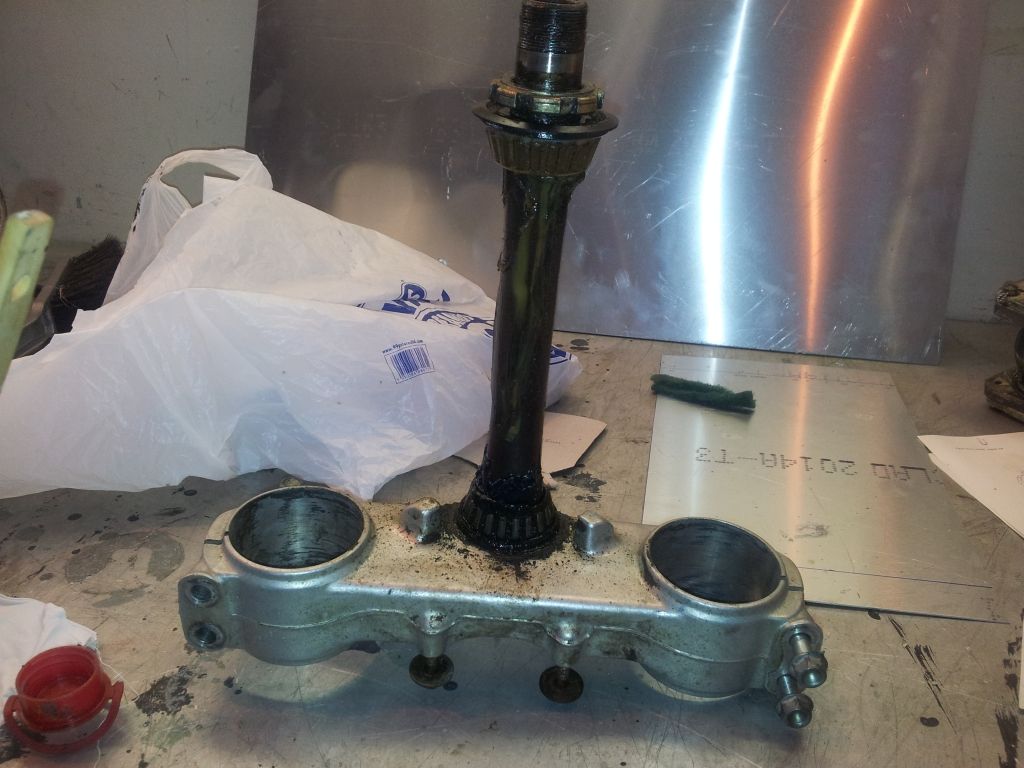
Unfortunately despite the bearings appearing to have been replaced recently there was signs of pitting and rust, not to mention them not feeling particularly smooth, so sought the opportunity to remove them now and replace.
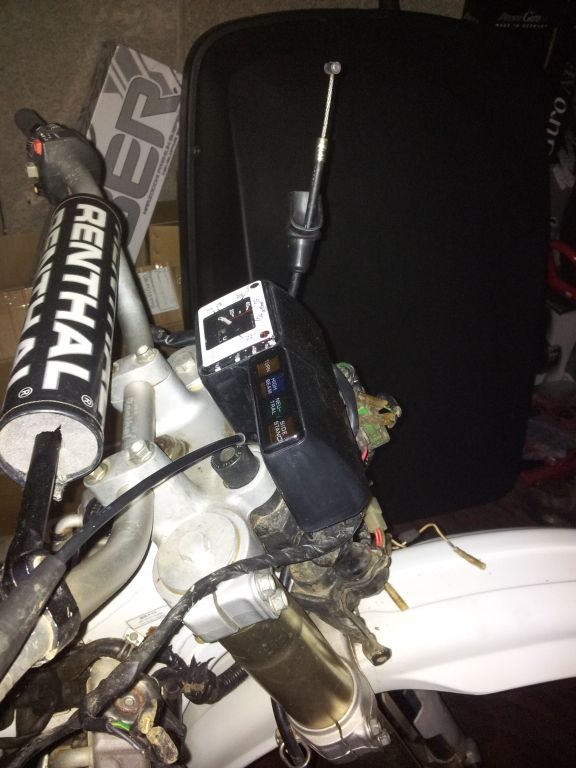
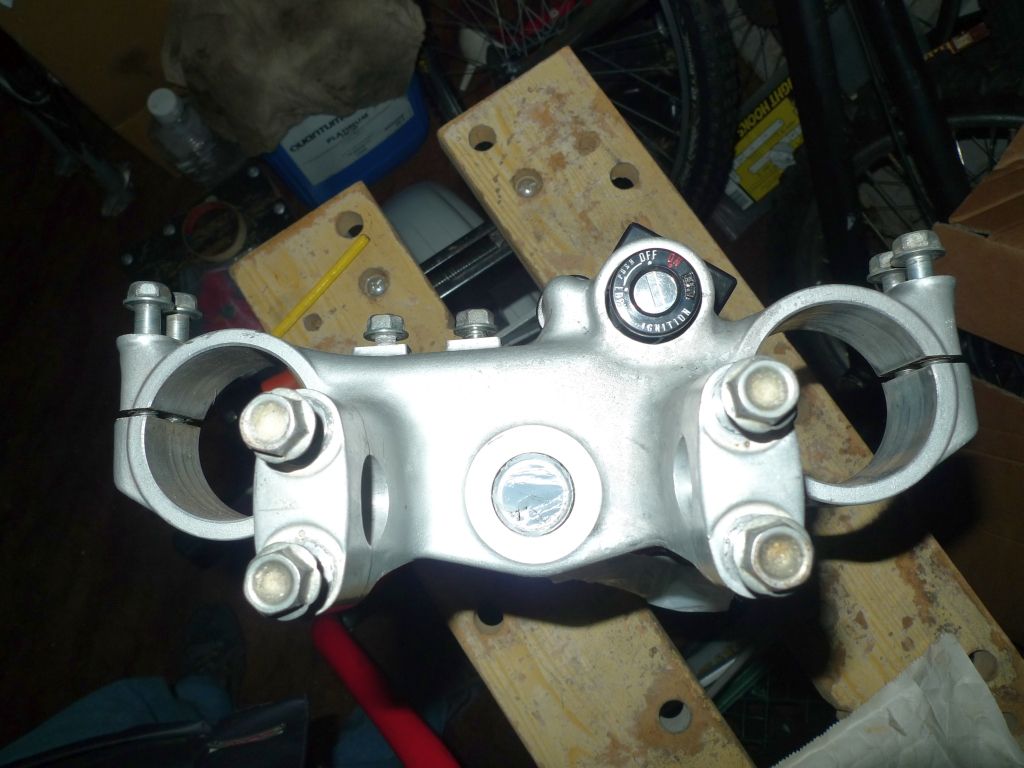
With the bearings replaced, I also changed the ignition switch for a Honda XL400 Transalp 88-98 Ignition Switch as the old one had seen better days.
These lines up fine with the existing holes in the yoke, with the main difference being that you have to solder the original cable onto the bottom of the new ignition due to it being 3 cable plug rather than the 2 the CRM uses.

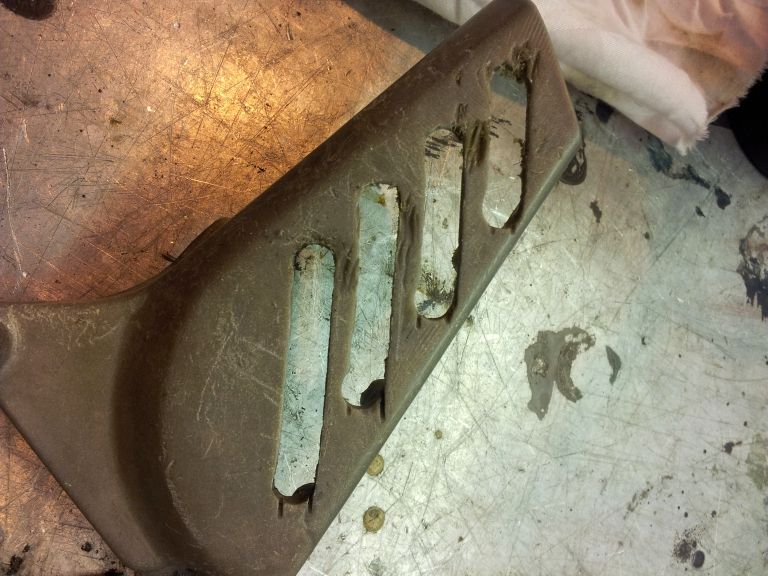
Next the front sprocket cover has been tidied up.
It would appear that it has had material taken out of it by the previous owner:
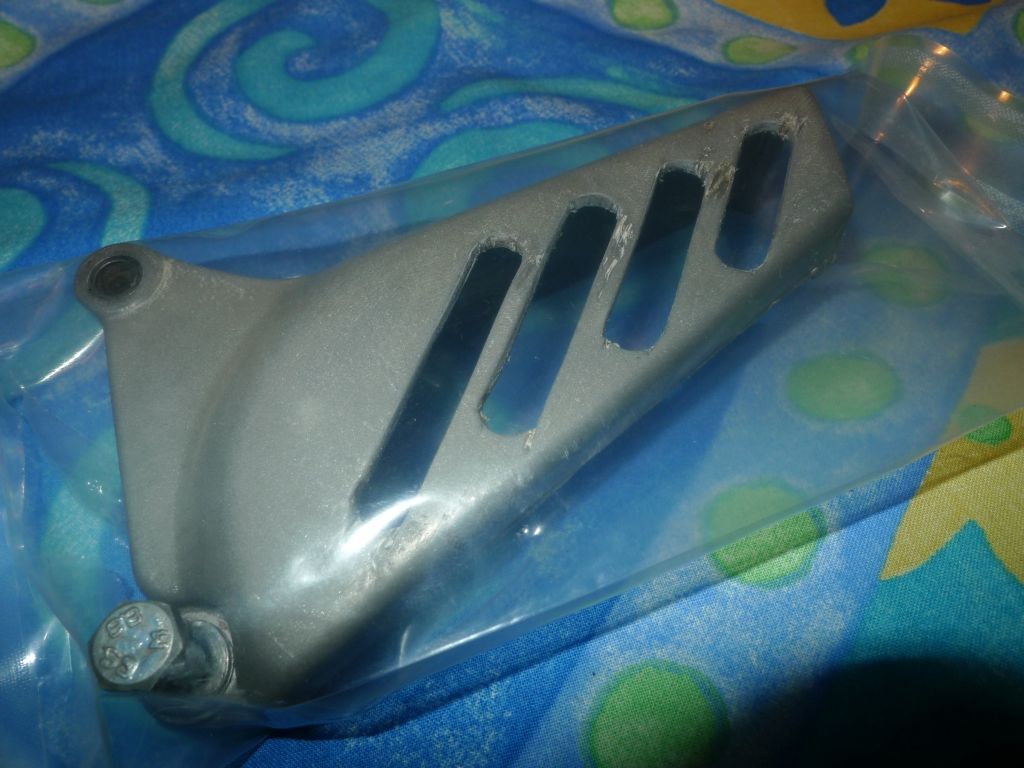
A bit of filing later to try and dress out the worst of it:
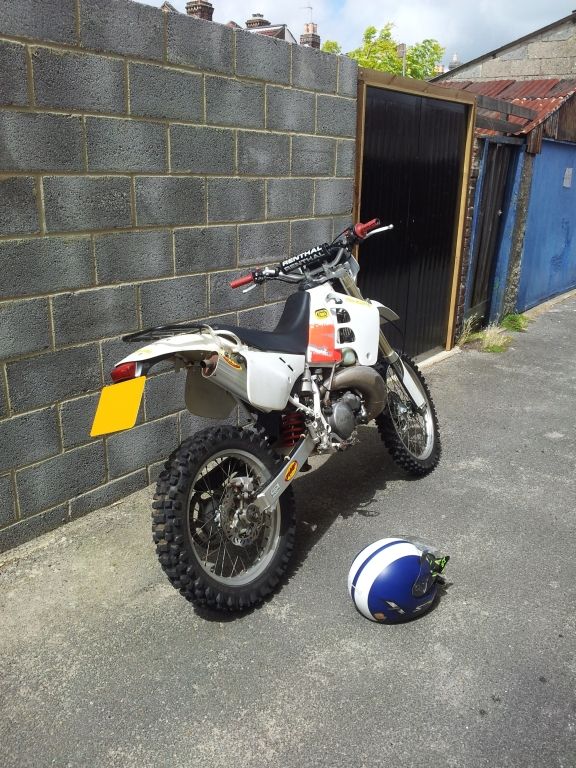
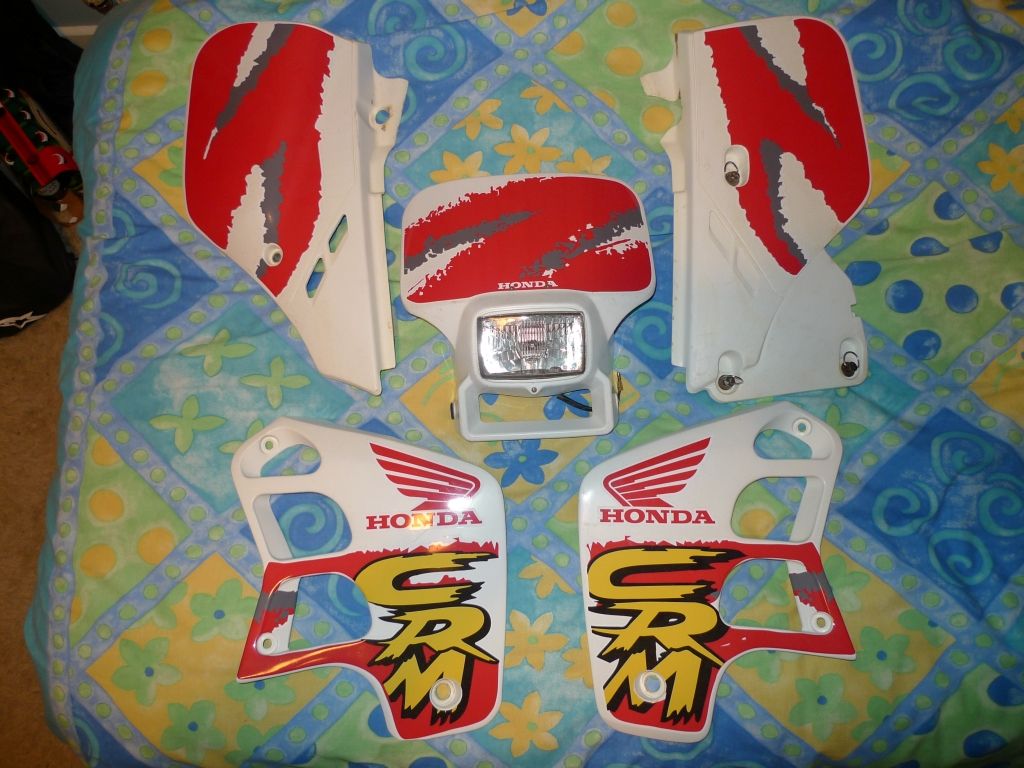
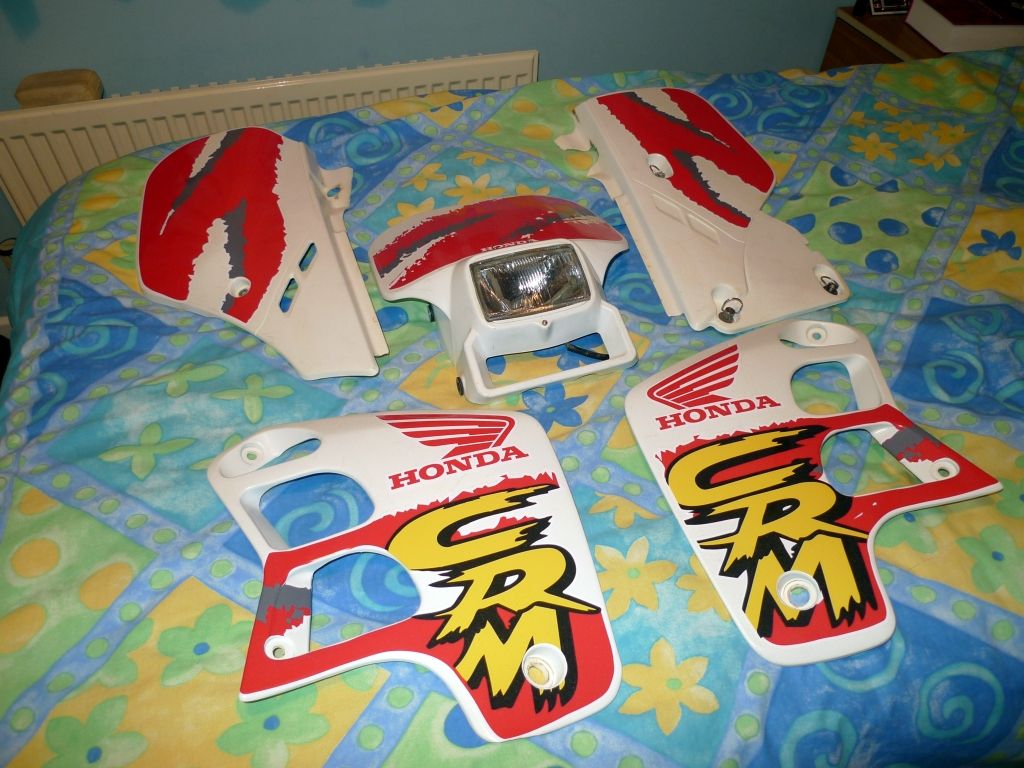
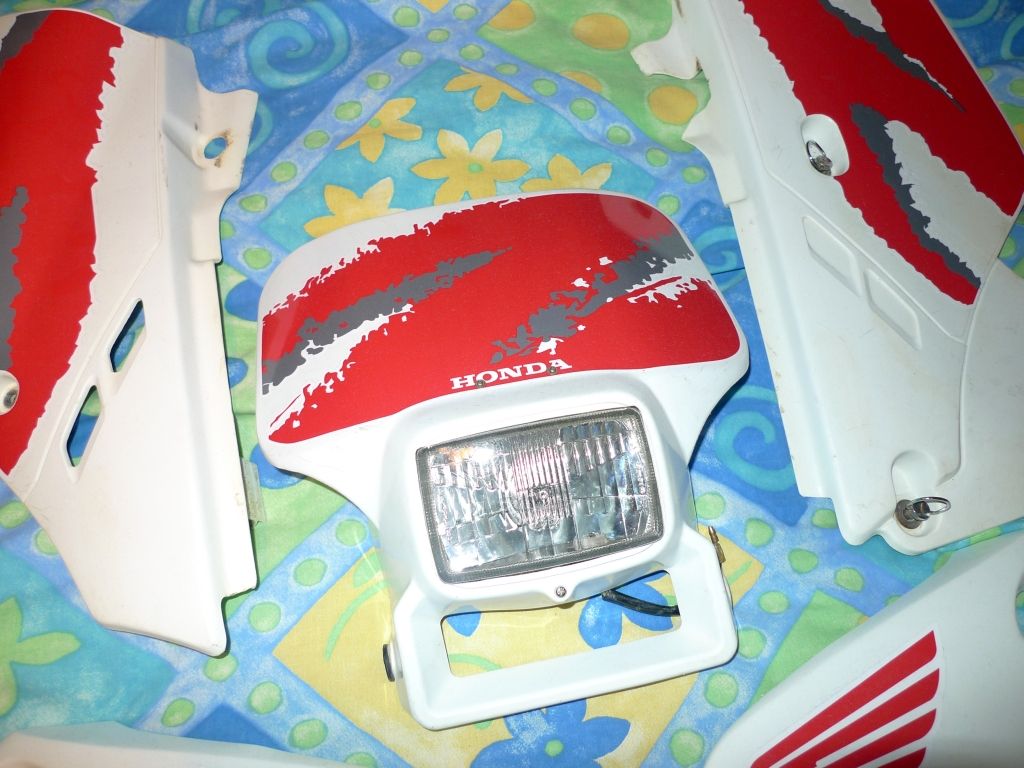
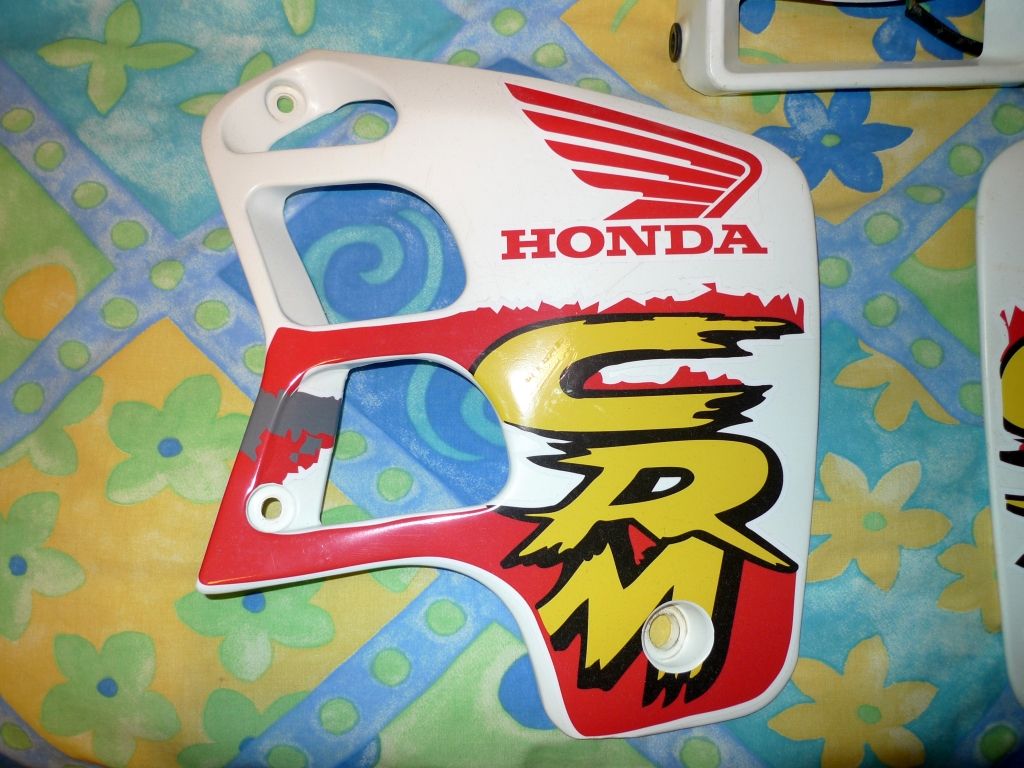
After spending some time cleaning up the original fairings, which I found brass polish worked rather well at getting out the stained in mud and the yellowing of the plastic from age.
I ordered a decal set from eBay, upon arrival it was pink and had a blue bit on the wording after CRM not to mention being a poor fit.
So a friend who is a sign maker, made new decals up for me and fitted them to the panel.
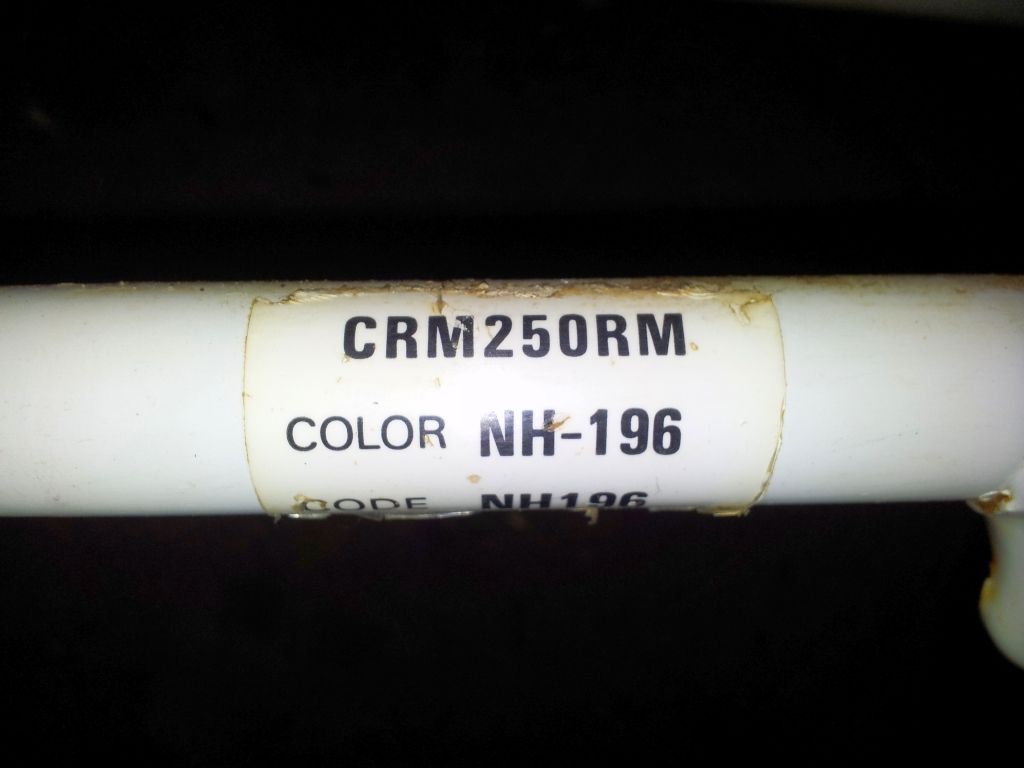
Unfortunately they couldn't do the luminous colour the originals seem to be, so I settled for red instead:
Due to the exhaust having a hole below the flange, I set about brazing on a suitable patch to resolve this:
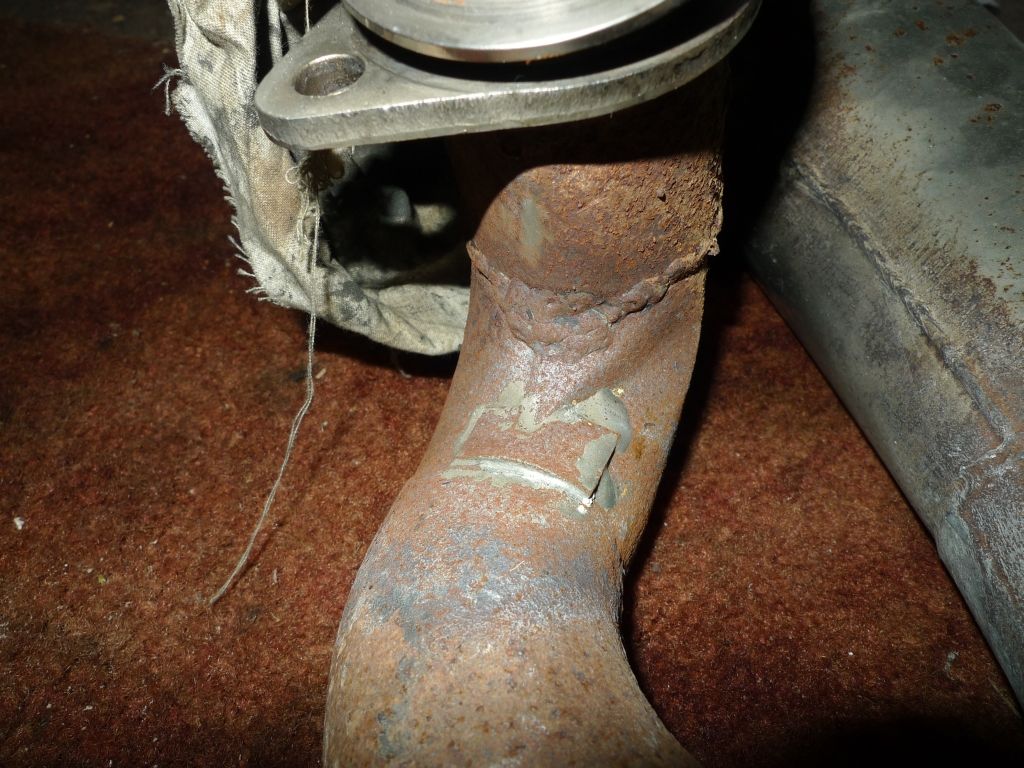
Will give that area a lick of paint at some time to try and stop it rusting through again.
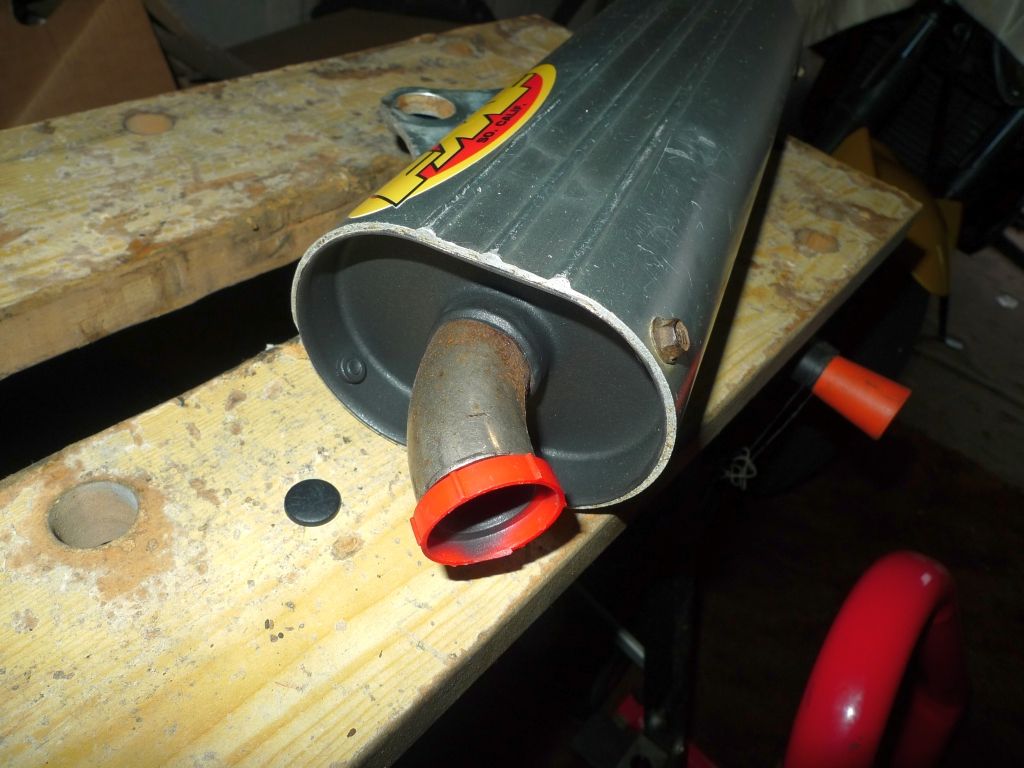
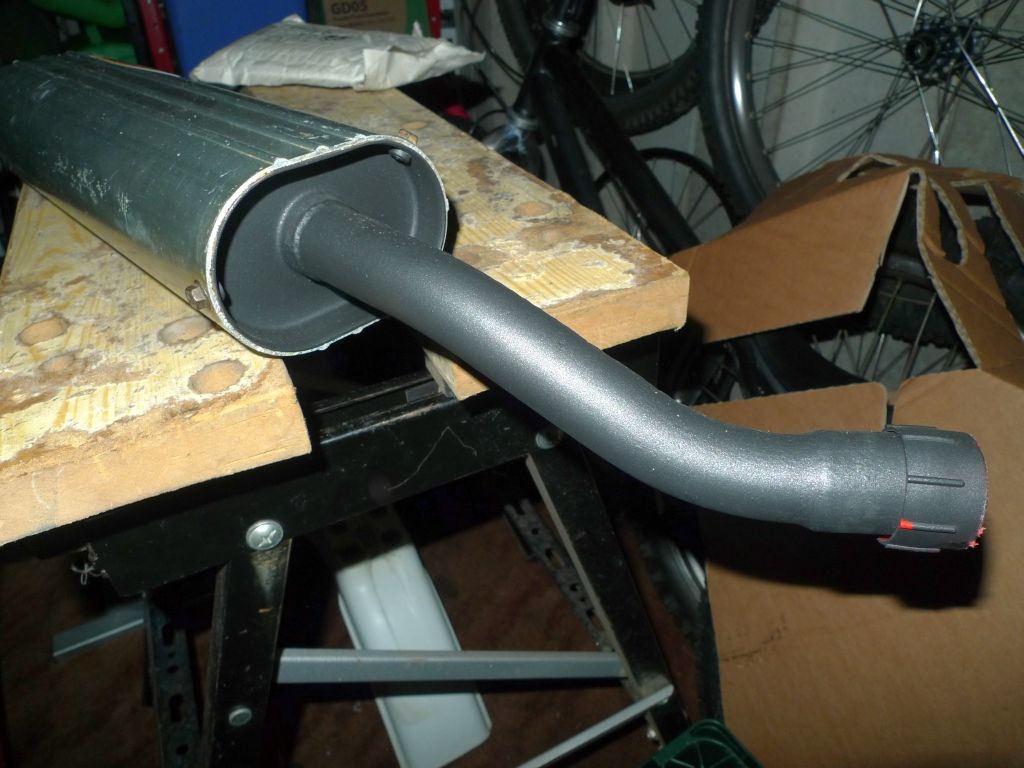
As I had abit of time spare, I also tarted up the back box as its exhaust pipe and end plates where very rusty, so abit of masking and shot blasting later, a few coats of heatproof paint where added and it looked much tidier.
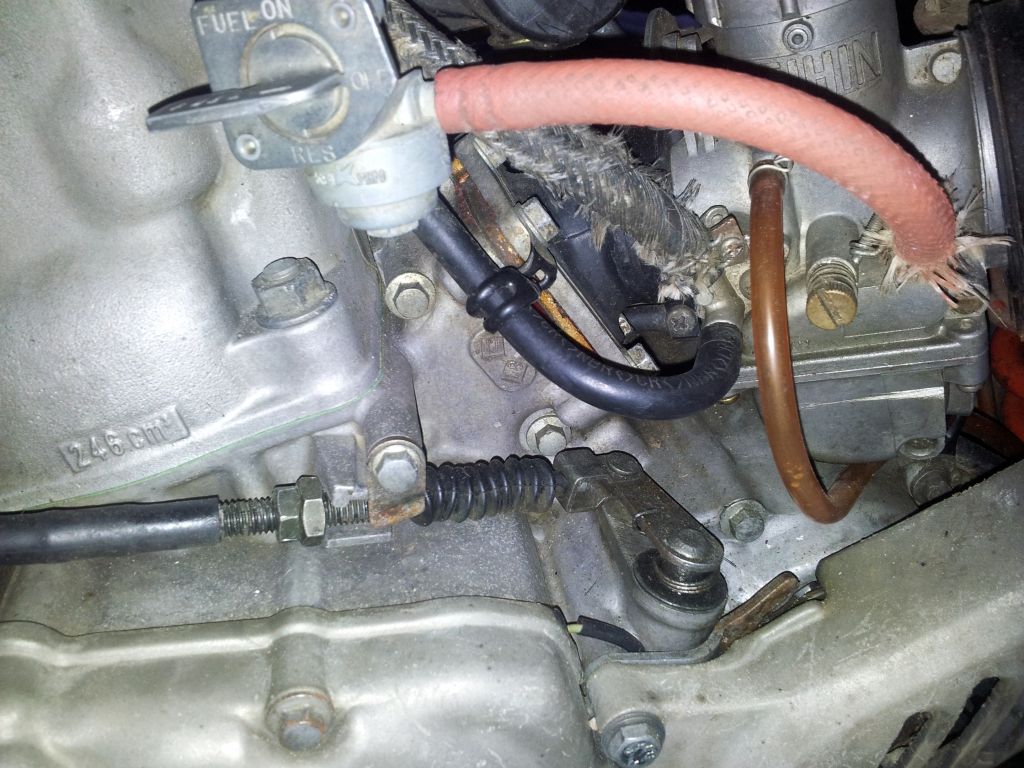
Thought it would be wise to have a look at the carb and see if this was the cause of the hesitant ride.
Took it apart to clean everything up:
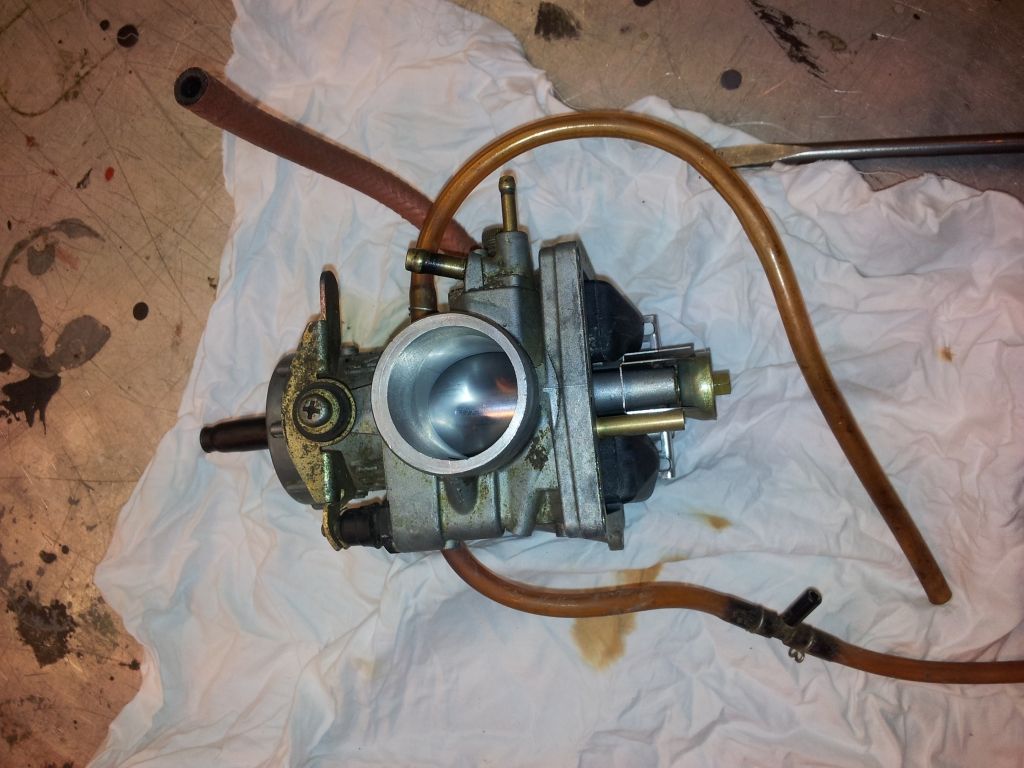
The fuel that came out of the carb float chamber was rather green, so that wouldn't have been helping things.
I ended up using the fuel out of the tank in another bike before stripping the carb and that didn't run very well so I recon it was bad fuel that had been sitting for a while.
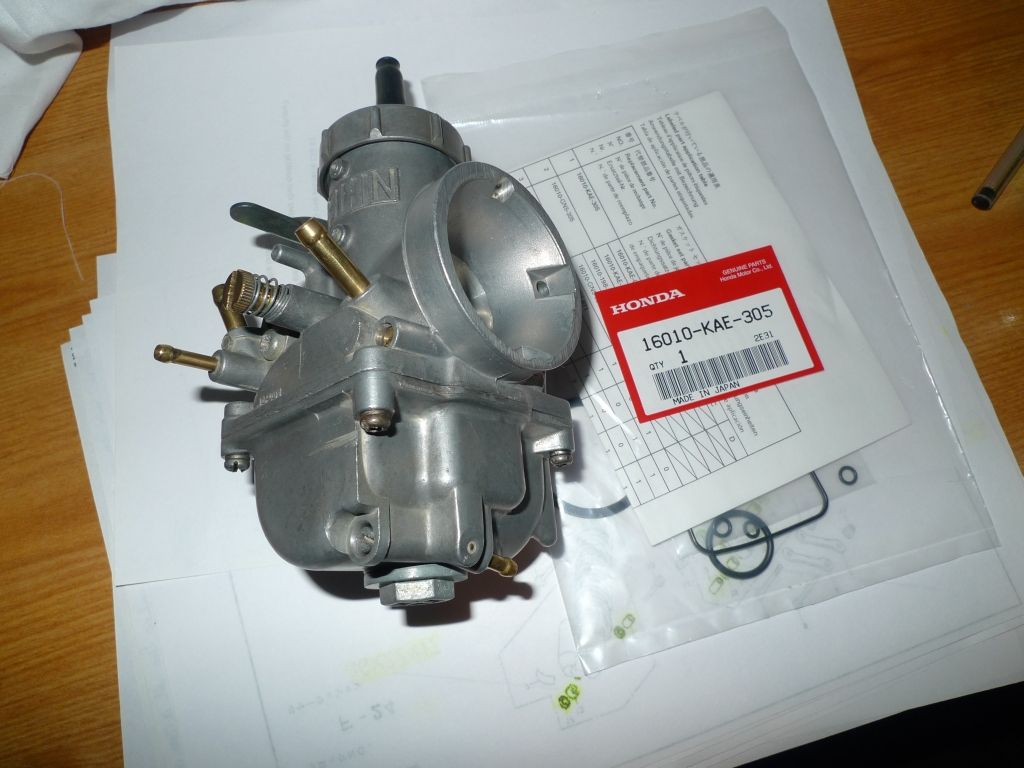
The rest of the carb was quite clean, and the float height was as per specification.
Carb all cleaned up awaiting new gasket kit and pilot jet:
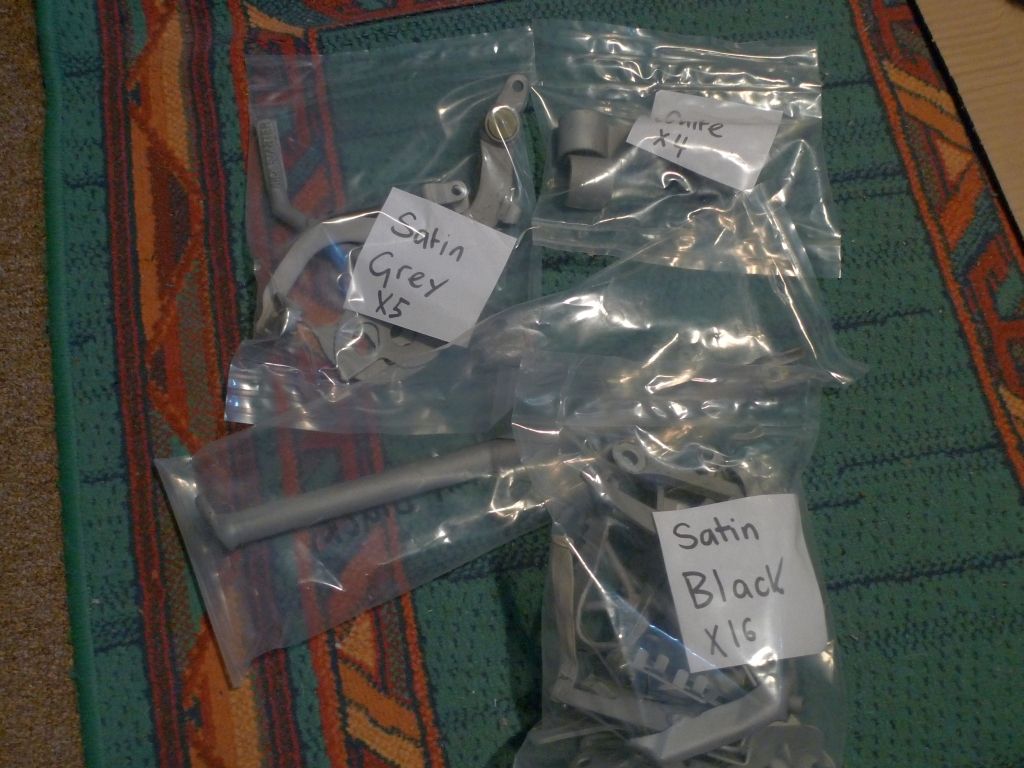
In preparation for getting the frame powder coated I have been grit blasting the various parts and brackets of the bike and assorting them ready to go all in together to hopefully keep the price down when it’s done:
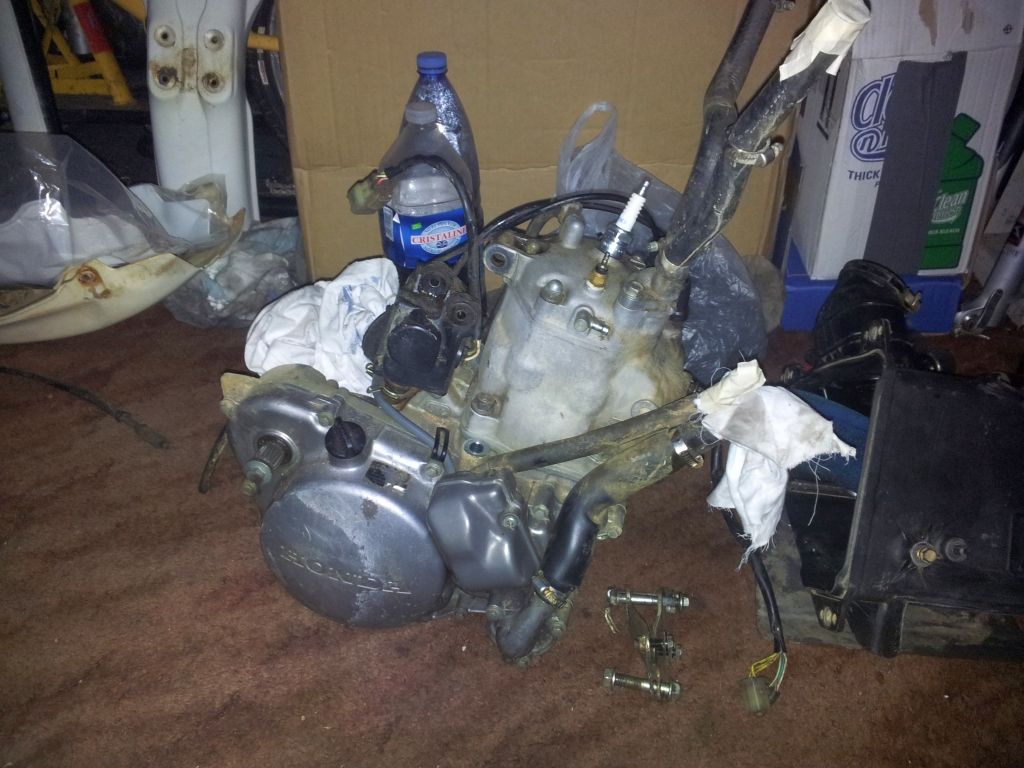
After seeing helisupp's recommendation for using a Nylon impregnated wheel containing abrasive grit for cleaning up the engine I had a go.
First of all I made some blanks to make sure nothing could get into the engine and then set about cleaning the engine.
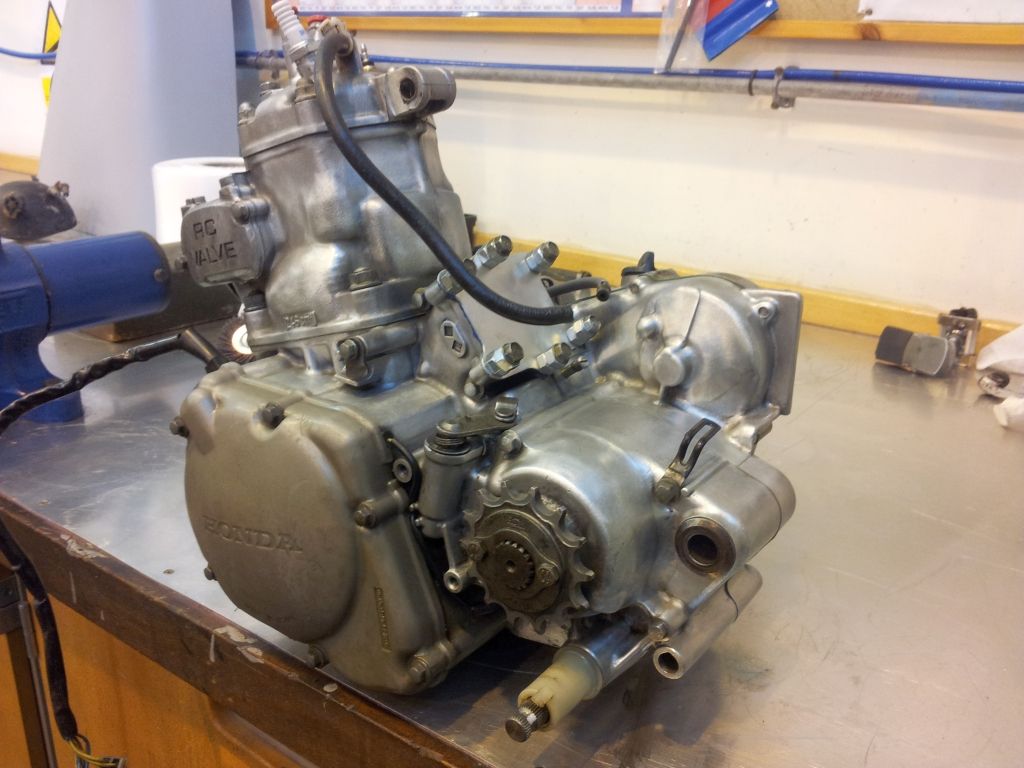
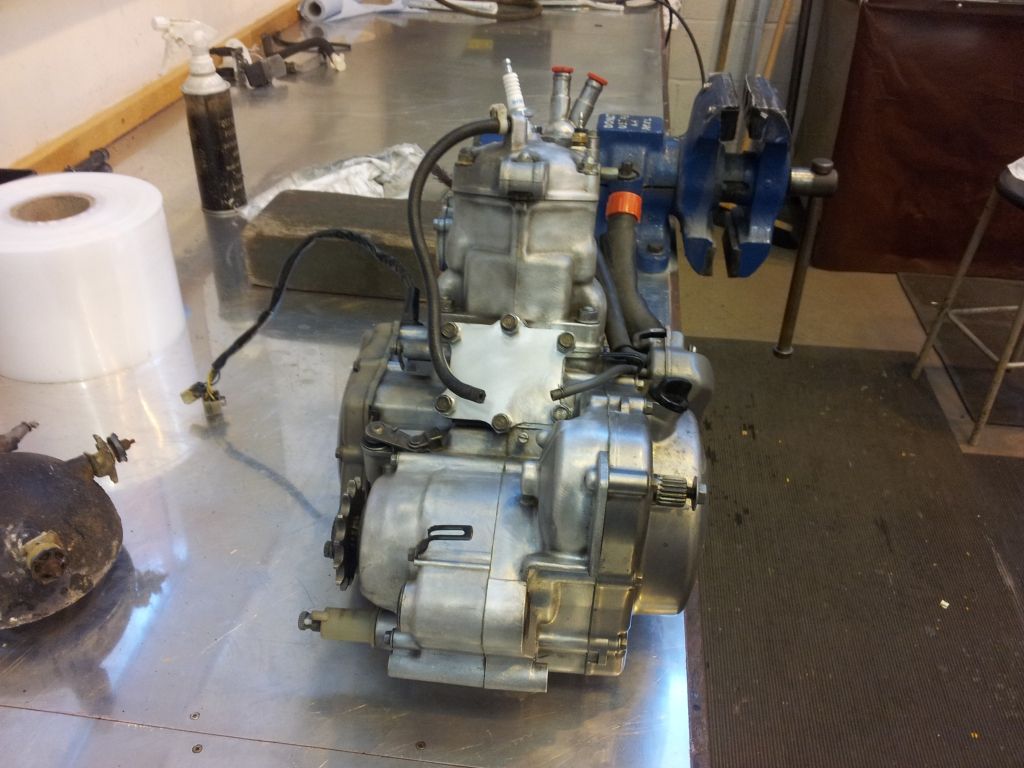
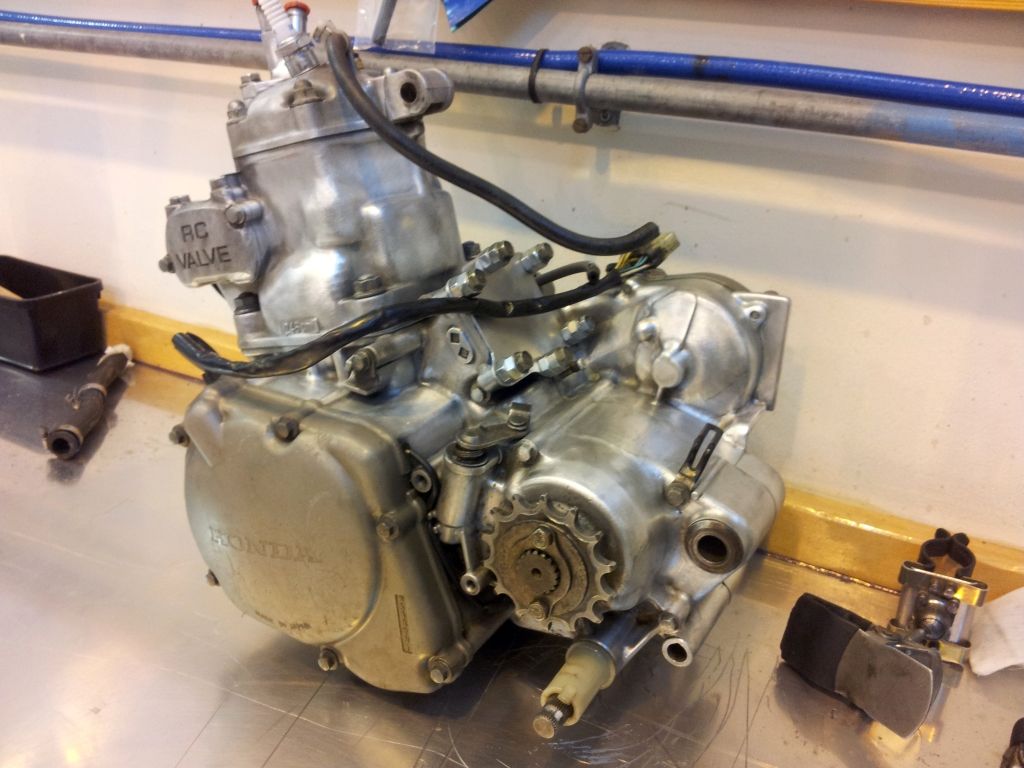
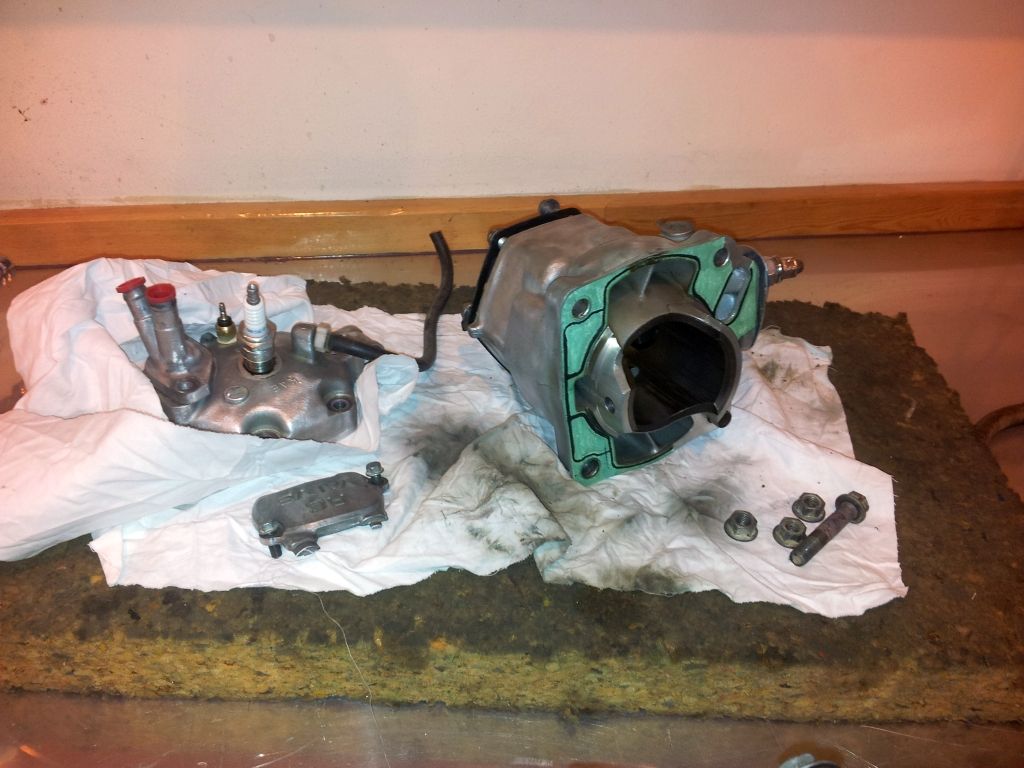
Once the engine was cleaned up, I could then remove the barrel so that I could have a good inspect of the bores, and check the crank for wear.
Everything was quite hard to remove which made me think it hadn't been off before, once off it was noticed that the barrel had quite abit of scoring along with the piston.
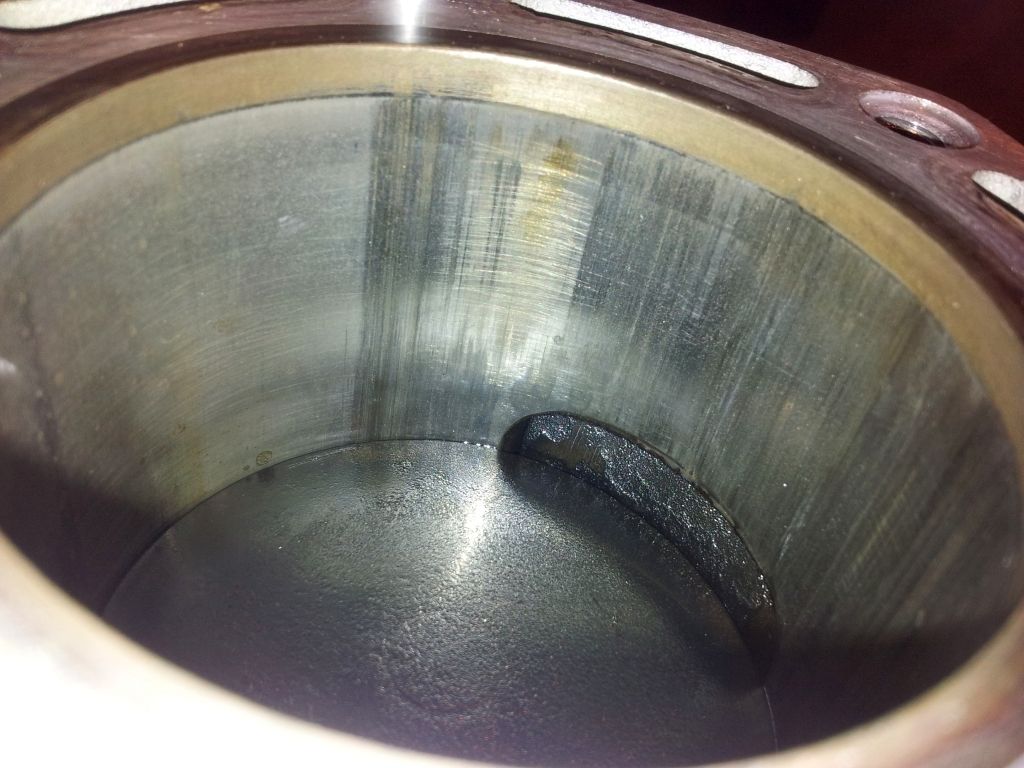

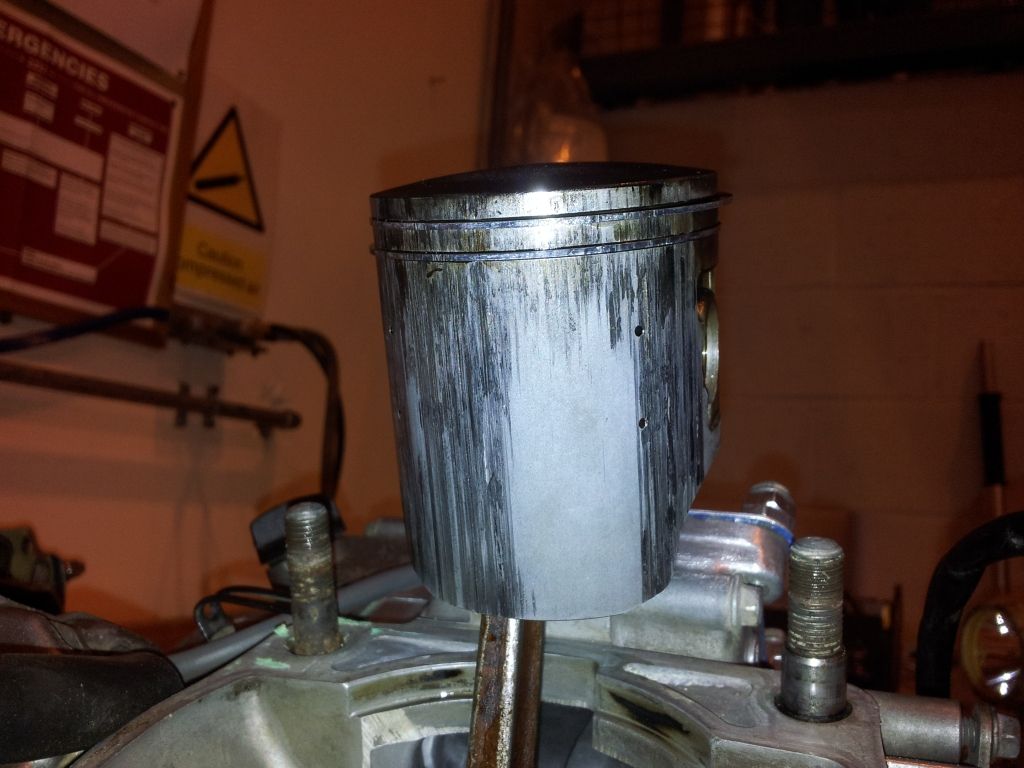
With the barrel off I could remove the piston as it was well past its best. Interestingly it gave quite alright compression when tested before removal. It was 135psi down 42 psi of what would be ideal.
With the piston off I could check the crank big end bearing for play and that was fine fortunately, so a top end refresh shall suffice for now.
As I am going to send the barrel away for re boring, and that the power valve has to be removed for re profiling, I thought I would remove it so I could clean it up and check all was well with it.
After making up a slide hammer to try and get it out, that didn't work, so in the end tapping the slide hammer with a hammer gently persuaded it to come out and I could see it was quite coked up which would explain why it didn't pull out with minimal force.
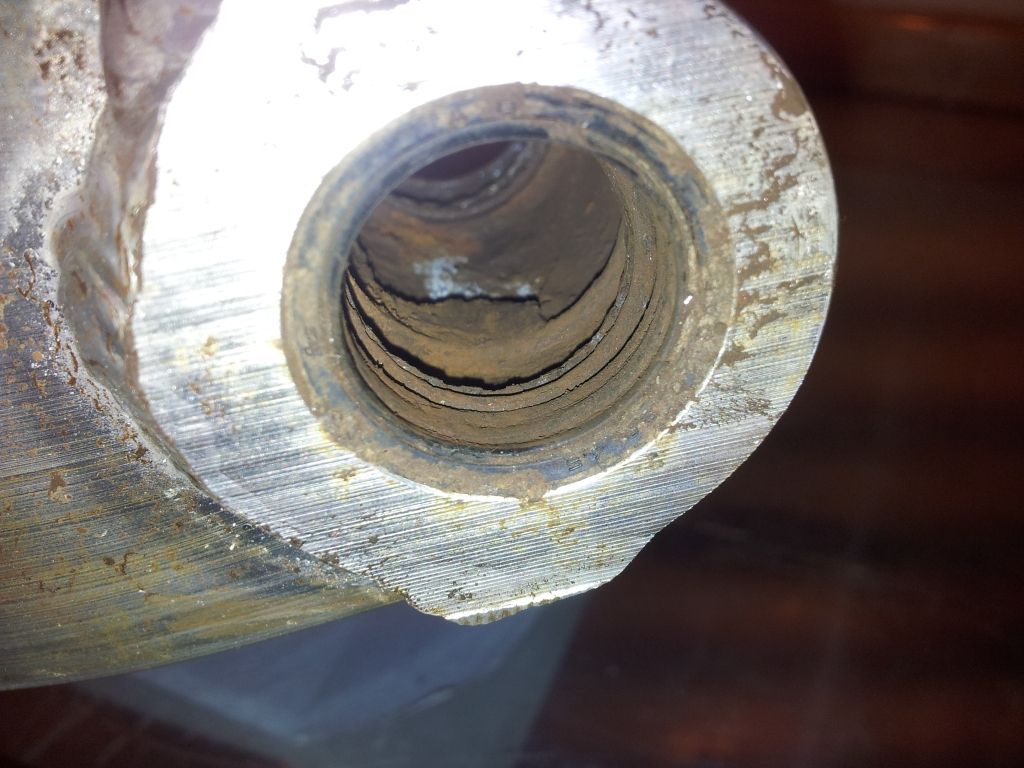
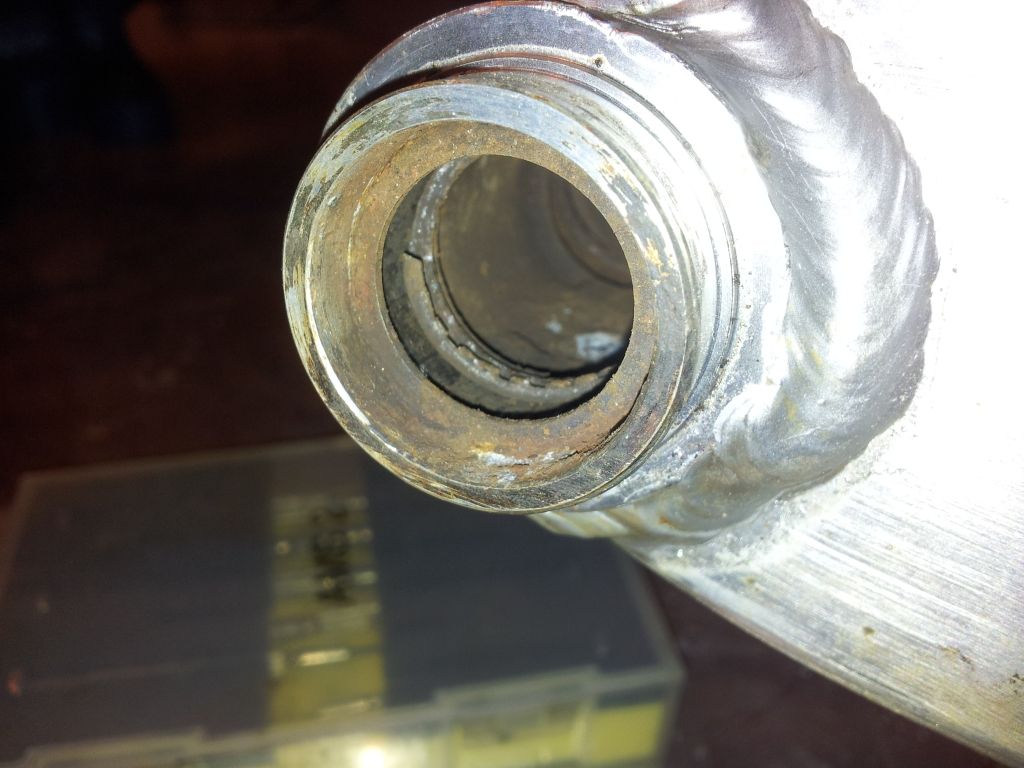
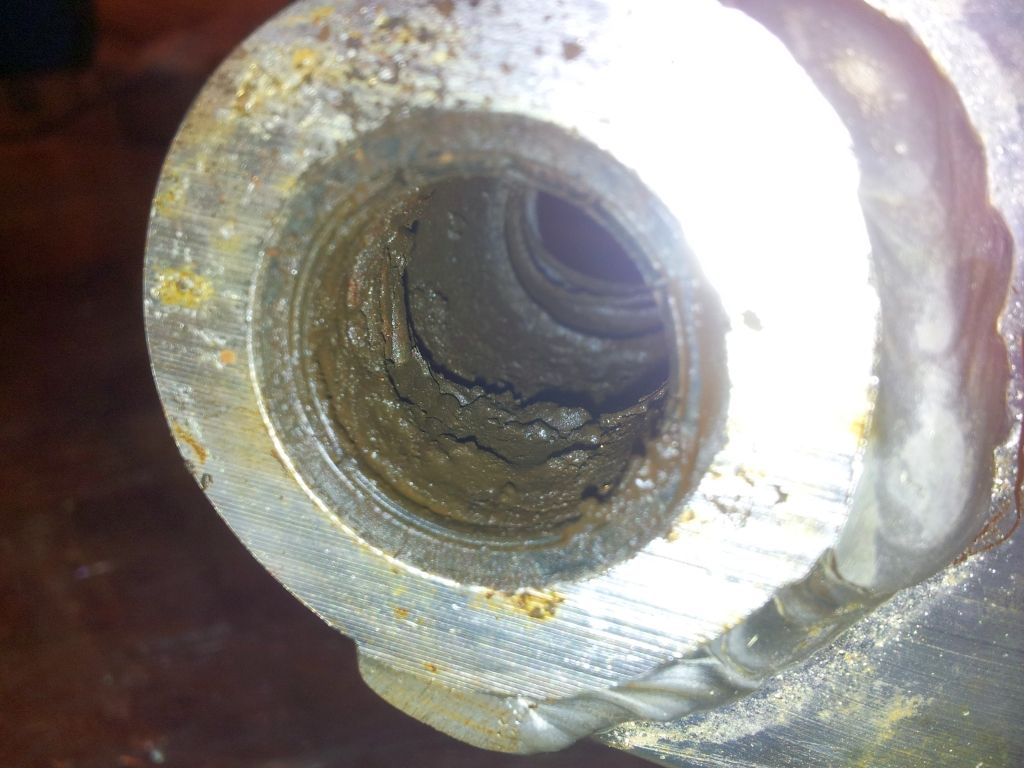
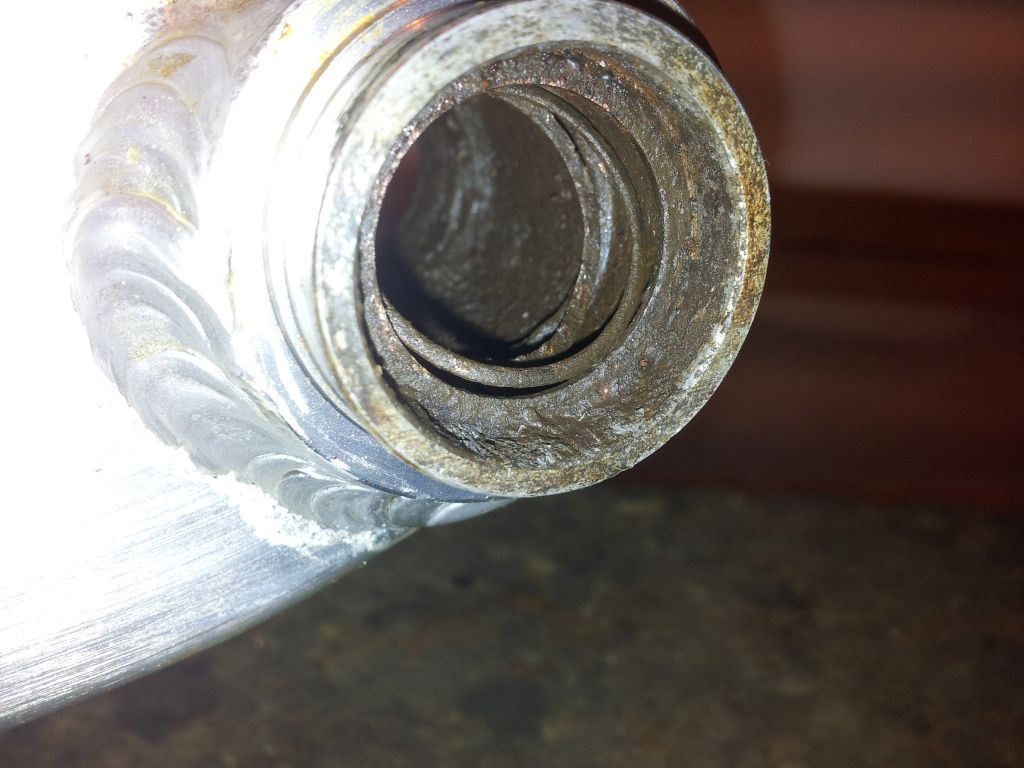
In between doing the barrel I have also started replacing the bearings on my swing arm and bell crank. This is because they all had quite abit of side to side play other than the swing arm bearings, which I thought was fine due to them having no play on the MOT. Upon disassembly it was apparent why.
They had seized in situé and the rollers came out in half when I removed the bushings, so they had seen better days..
Liking the look of the bike and having never heard of it before I did abit of research finding it had a good owner’s forum, something which a lot of the other bike forums lacked, so arranged to have a look.
Had a look and the bike was as described with having all new service bits replaced along with tyres and chain so came across cared for. So a deal was done and had a new bike to tinker with.
The bike didn't have an MOT or Tax so these where two things I set about sorting out straight away.
Giving the bike a good once over, I noticed that only one of the indicators worked, so removed those, along with the pillion pegs.
Next I noticed that the brake light switch was faulty so swapped that over for a universal one which works nicely.
Gave the oil pump pulley a quick once over for being correct, and took it down for its MOT:
After a nervous waiting during its MOT and it being stubborn to start up for checking the electrics, it passed with a few advisories
Popped out for a ride that evening on the bike, and noticed that it had a hesitant throttle which cleared higher up the revs, but bogged down on low throttle, and that the front brake wasn't very good.
Bike rode well, other than not being as quick as I imagined.
Despite being tempted to go and explore I thought it would be more sensible to get to the bottom of the rough running and give the bike a proper going over to avoid breaking down in the middle of nowhere.
So I set about having a good inspection of the bike:
What I initially noticed was that the exhaust was blowing from the port to the manifold, so I took the exhaust off as I wanted to have a look at the piston anyway.
Upon inspecting the exhaust it had a hole just below the flange.
Looking inside the exhaust port I could see that there was scoring on both the piston and the barrel.
Because of this it would be sensible to replace it before any further damage ensued.
Due to the need to remove the barrel I thought this would be a good opportunity to give the frame and sub frame a fresh coat of paint and inspect the steering and suspension bearings at the same time.
I noticed from the first ride out that the fork seals had started to weep so will do those as well.
I also noticed that the kick starter was loose on its shaft, so much so that it had been making contact with the fuel tank and had dented it.
Wanting to sort this out I removed it and had an inspection.
Upon inspection it turned out that the kick starter shaft had worn, the bolt and kick start shaft hole had ovalized. The combination of these was resulting in play.
The simplest way I could think of to remove the play was to build the kick starter shaft back up with weld and then file the groove for the bolt so that it was tight again.
After doing this and making sure that the ball bearing inside the kick starter was free, I reassembled it and it has eliminated most of the play meaning that it is no longer making contact with the fuel tank
So I began to strip the bike down:
Anyone know where the rear rack comes from? Not seen one like it on other CRM's.
Found out the reason why the rear indicators didn't work after unwrapping plenty of electrical tape on the rear loom:
Continuing stripping down the bike and taking plenty of pictures for future reference:
Fortunately when it came to the swing arm, the bolt came out with little fuss, which was relieving after reading how much grief they can cause!
With the engine and frame removed, I begun cleaning up various bits and bobs and sorting out various bits which needed renovating.
One part of which was the rear brake lever, which was making contact with the clutch cover.
This was a relatively simple fix involving an oxy acetylene torch and a few gentle taps from the hammer to bend it out slightly.
One of the foot pegs had its teeth bent in, so these was also heated up and straightened to, then dressed up with a file.
Next up was giving the yokes a good clean and inspection:
Unfortunately despite the bearings appearing to have been replaced recently there was signs of pitting and rust, not to mention them not feeling particularly smooth, so sought the opportunity to remove them now and replace.
With the bearings replaced, I also changed the ignition switch for a Honda XL400 Transalp 88-98 Ignition Switch as the old one had seen better days.
These lines up fine with the existing holes in the yoke, with the main difference being that you have to solder the original cable onto the bottom of the new ignition due to it being 3 cable plug rather than the 2 the CRM uses.
Next the front sprocket cover has been tidied up.
It would appear that it has had material taken out of it by the previous owner:
A bit of filing later to try and dress out the worst of it:
After spending some time cleaning up the original fairings, which I found brass polish worked rather well at getting out the stained in mud and the yellowing of the plastic from age.
I ordered a decal set from eBay, upon arrival it was pink and had a blue bit on the wording after CRM not to mention being a poor fit.
So a friend who is a sign maker, made new decals up for me and fitted them to the panel.
Unfortunately they couldn't do the luminous colour the originals seem to be, so I settled for red instead:
Due to the exhaust having a hole below the flange, I set about brazing on a suitable patch to resolve this:
Will give that area a lick of paint at some time to try and stop it rusting through again.
As I had abit of time spare, I also tarted up the back box as its exhaust pipe and end plates where very rusty, so abit of masking and shot blasting later, a few coats of heatproof paint where added and it looked much tidier.
Thought it would be wise to have a look at the carb and see if this was the cause of the hesitant ride.
Took it apart to clean everything up:
The fuel that came out of the carb float chamber was rather green, so that wouldn't have been helping things.
I ended up using the fuel out of the tank in another bike before stripping the carb and that didn't run very well so I recon it was bad fuel that had been sitting for a while.
The rest of the carb was quite clean, and the float height was as per specification.
Carb all cleaned up awaiting new gasket kit and pilot jet:
In preparation for getting the frame powder coated I have been grit blasting the various parts and brackets of the bike and assorting them ready to go all in together to hopefully keep the price down when it’s done:
After seeing helisupp's recommendation for using a Nylon impregnated wheel containing abrasive grit for cleaning up the engine I had a go.
First of all I made some blanks to make sure nothing could get into the engine and then set about cleaning the engine.
Once the engine was cleaned up, I could then remove the barrel so that I could have a good inspect of the bores, and check the crank for wear.
Everything was quite hard to remove which made me think it hadn't been off before, once off it was noticed that the barrel had quite abit of scoring along with the piston.
With the barrel off I could remove the piston as it was well past its best. Interestingly it gave quite alright compression when tested before removal. It was 135psi down 42 psi of what would be ideal.
With the piston off I could check the crank big end bearing for play and that was fine fortunately, so a top end refresh shall suffice for now.
As I am going to send the barrel away for re boring, and that the power valve has to be removed for re profiling, I thought I would remove it so I could clean it up and check all was well with it.
After making up a slide hammer to try and get it out, that didn't work, so in the end tapping the slide hammer with a hammer gently persuaded it to come out and I could see it was quite coked up which would explain why it didn't pull out with minimal force.
In between doing the barrel I have also started replacing the bearings on my swing arm and bell crank. This is because they all had quite abit of side to side play other than the swing arm bearings, which I thought was fine due to them having no play on the MOT. Upon disassembly it was apparent why.
They had seized in situé and the rollers came out in half when I removed the bushings, so they had seen better days..


